Community in Entrada refers to a mini-website/blog, where users can be added to share information, communicate in forums, upload galleries, etc.
First, request for community website by writing to Education Technology, stating the 1) name of the community, 2) purpose and 3) administrator names and email addresses.
a. Update Community Details
1. Once your community link has been given to you, open the link using Chrome or Mozilla Firefox browser.
2. Log in using your NUSNET username and password.
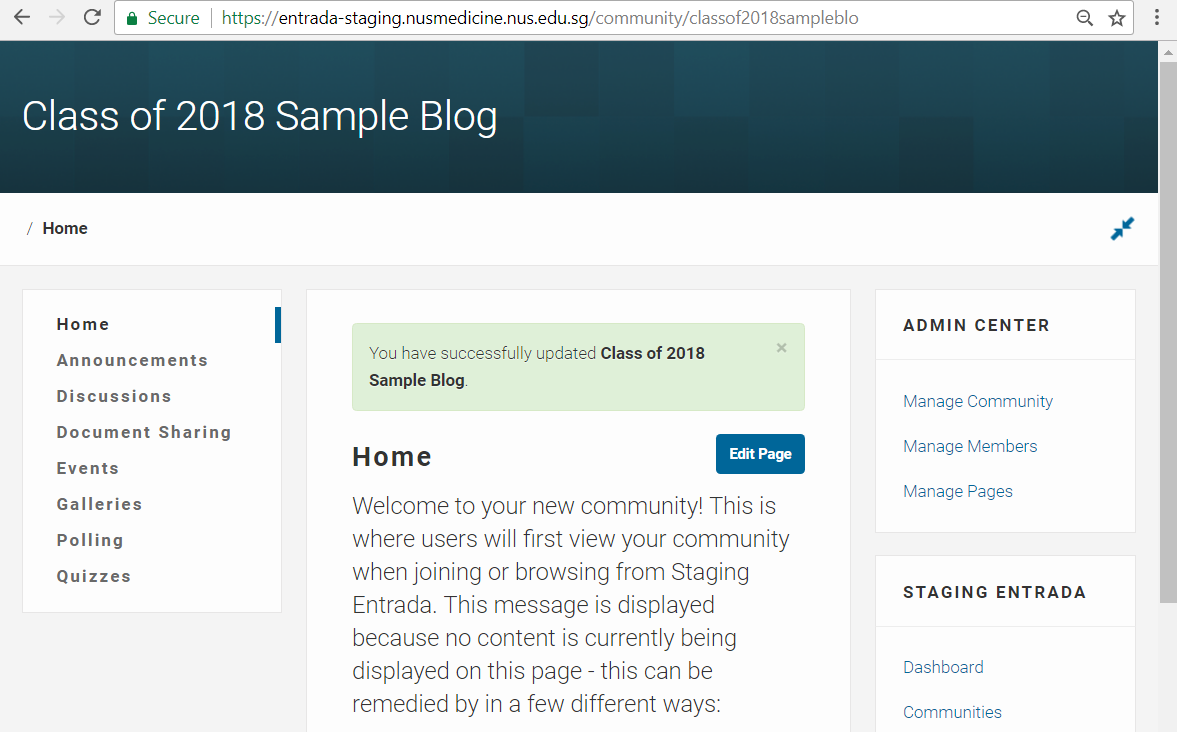
3. To change the name and layout of your community, select Manage Community under the Admin Centre on the right panel.

4. Go to Details. Rename your community and select a template.
5. Click Save Changes.
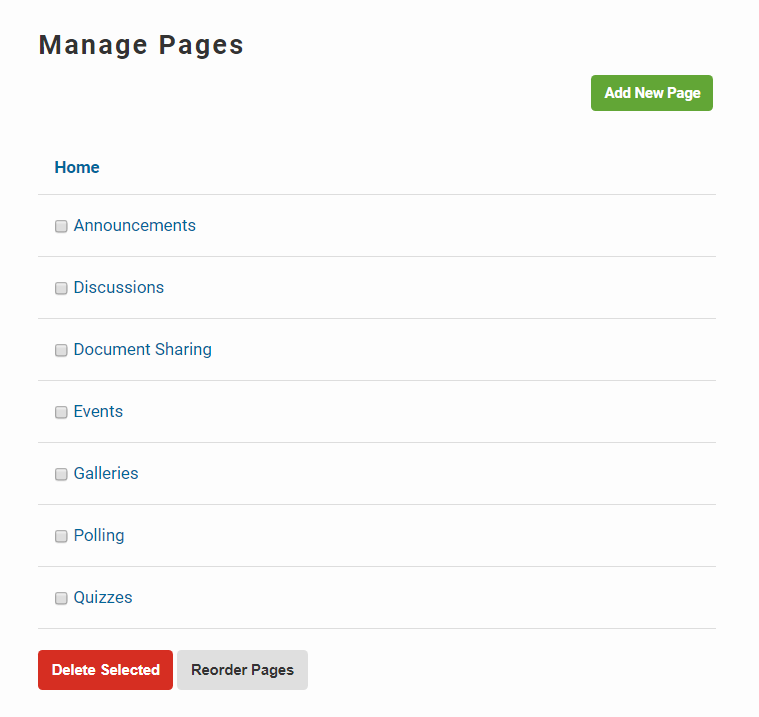
b. Organise Pages
1. Select Manage Pages under the Admin Centre on the right panel.
2. To create a new page, click Add New Page.
3. To remove a page, select the page and click Delete Selected.
4. To arrange the order of the pages, click Reorder Pages.
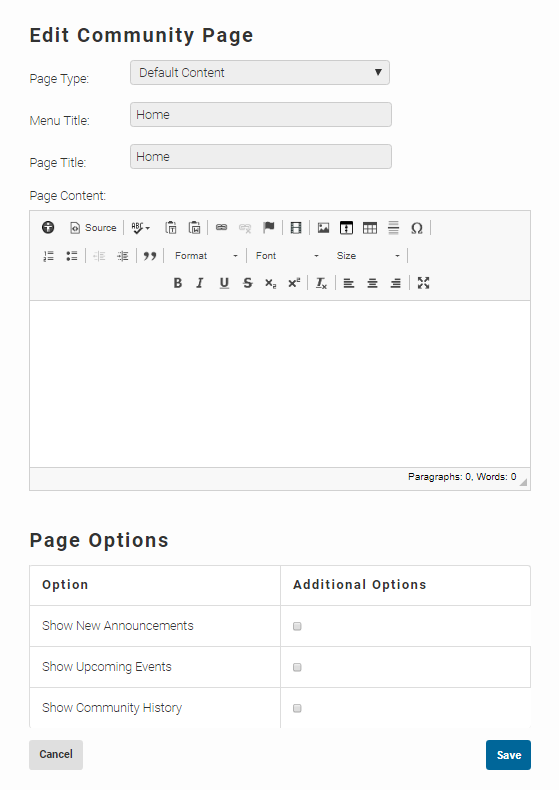
c. Add Content to Page
1. Click the page title, e.g. Home.
2. Use the rich-text editor to enter content into the body.
3. Under Page Options, select what to display at the home page:
- New Announcements
- Upcoming Events
- Community History
4. Click Save.
d. Add an Announcement
1. Click Announcements on the side menu.
2. Click Add Announcement.
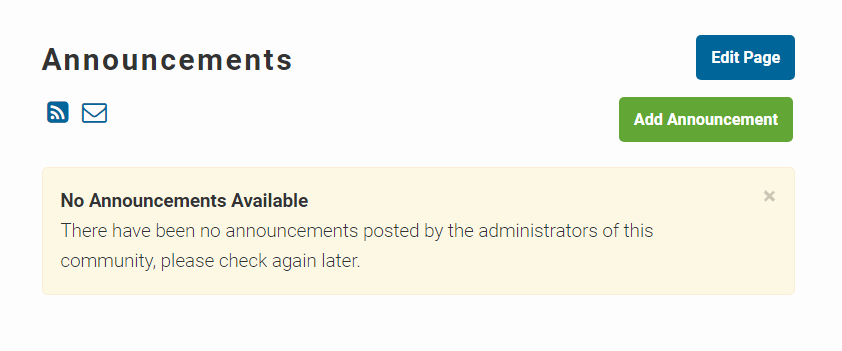
3. Enter the announcement title and content.
4. Select the Notify Community Members of Announcement to notify community members via email of any new announcements.
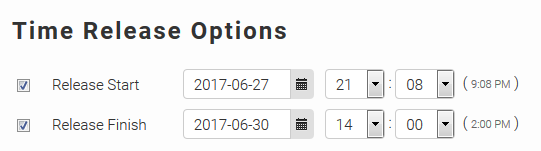
5. To specify the date and time for the announcement to be made visible to community members, change the Time Release Options.
6. Click Save.
e. Add a Discussion Forum
1. Click Discussions on the side menu.

2. Click Add Discussion Forum.
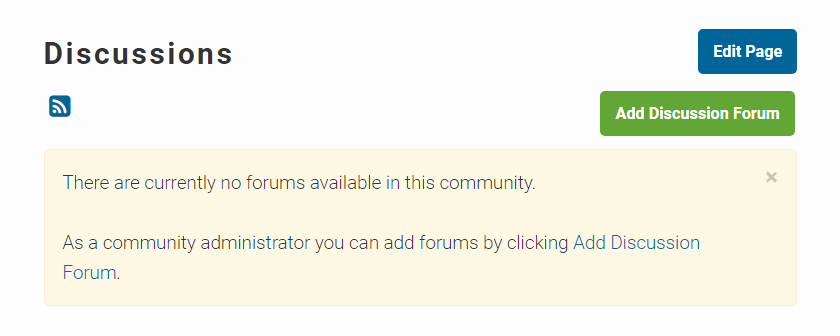
3. Enter discussion title, description and category.
4. Under Forum Permissions, specify who can View Forum, Write New Posts and Reply to Posts.
5. Set Time Release Options, if necessary.
6. Click Save.
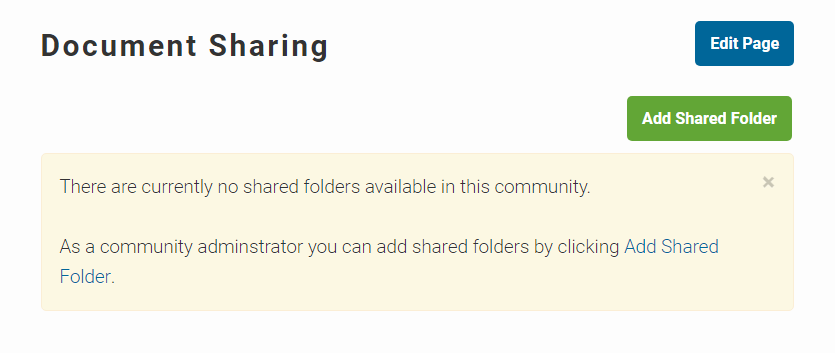
f. Add Document Sharing Folder
1. Click Document Sharing on the side menu.
2. Click Add Shared Folder.
3. Enter the Folder Title and Folder Description and select Folder Icon.
4. Under Folder Permissions, you can set who is able to Browse Folder, Upload Files and Allow Comments.
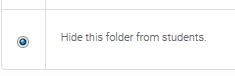
5. By default, all shared folders are visible to members. To hide the folder, select the second option under Hide Folder.
6. Set Time Release Options, if necessary
7. Click Save.
8. As a creator of the folder, you can also upload files. Click Upload File.
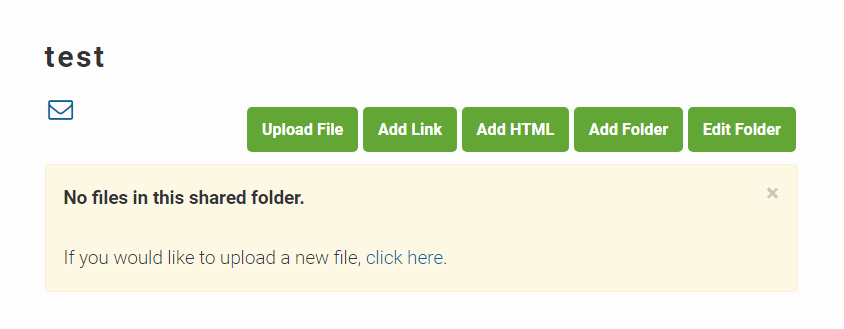
9. Select the file from your computer; enter File Title and File Description.
10. Under Access Method, you can set whether the file is to be downloaded or viewed directly on a web browser.
11. By default, all files are visible to all members. To hide the file, select Hide this file from students.
12. Under Batch File Permissions, set who is able to View File, and Upload New Version.
13. Set the Batch Time Release Options, if necessary.
14. Check the I will comply with this copyright policy box.
15. Click Upload File(s).
g. Add an Event
1. Select Events from the menu.
2. Click Add Event.
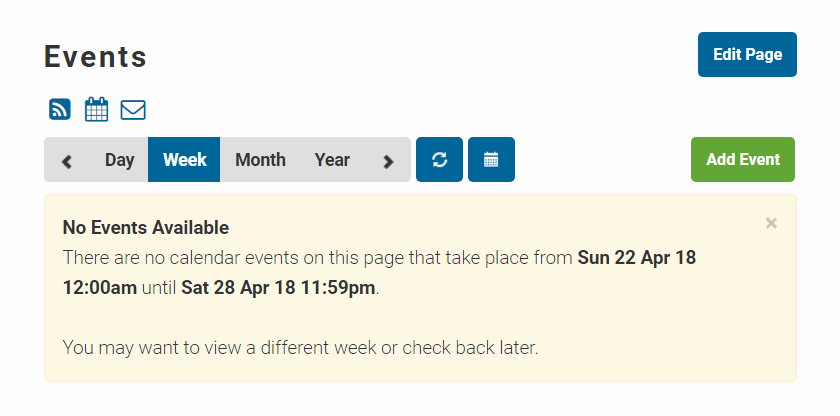
3. Enter the Event Title, Event Location, Event Start and Finish, Event Details and Description.
4. Click Notify Community Members of Event, if you wish to inform members by email.
5. You may set Time Release Options, if necessary.
6. Click Save.
h. Add a Gallery
1. Click Galleries on the side menu.
2. Click Add Photo Gallery.
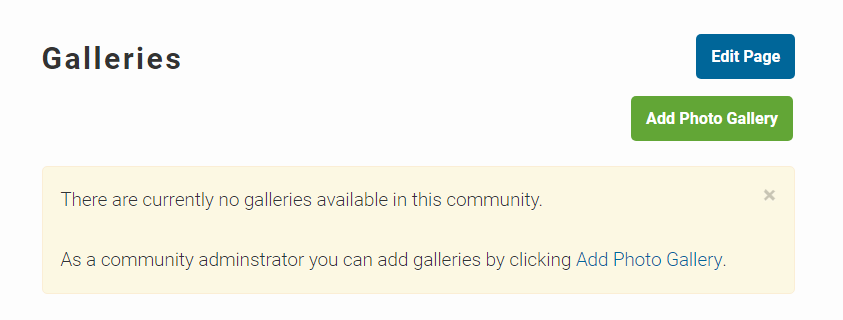
3. Enter in your Gallery Title and Gallery Description.
4. Under Gallery Permissions, set who is able to View Gallery, Upload Photos, and Allow Comments.
5. Set Time Release Options, if necessary.
6. Click Save.
7. Click Upload Photo to upload a photo.
8. Photos uploaded are displayed as thumbnails.
i. Add a Poll
1. Click Polling on the side menu.
2. Click Add Poll or Add Vote. (Similar function)
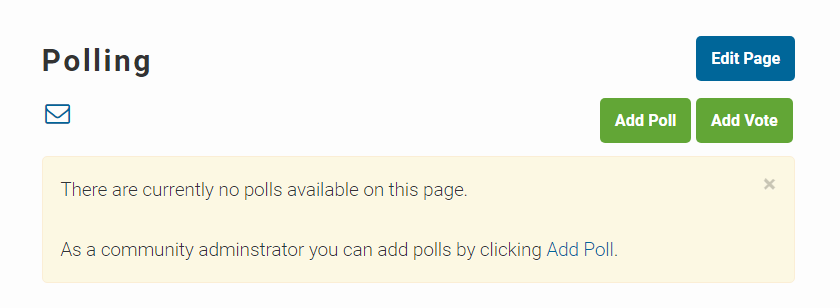
3. Enter in your Title and Description.
4. Set Allow Multiple Votes to Yes, if necessary.
5. Fill in the Question.
6. Check Multiple Responses if more than one selection is allowed.
7. Fill your responses.
8. Under Poll Permissions, set who is able to View, Vote, View Results, and Post Vote Results.
9. Set Time Release Options, if necessary.
10. Click Proceed.
11. Click Add New Question, if you have more questions to add.
j. Add a Quiz
1. Click Quizzes on the side menu.
2. Click Create New Quiz or Attach Existing Quiz.

3. For new quizzes, click Create New Quiz then follow the same instructions as in Adding Quizzes to teaching events.
4. To attach your created quiz, click Attach Existing Quiz.
5. Select the quiz.
6. Click Next Step.
7. Follow the steps in the Quiz Wizard.
8. Click Finish.
9. Click Close.
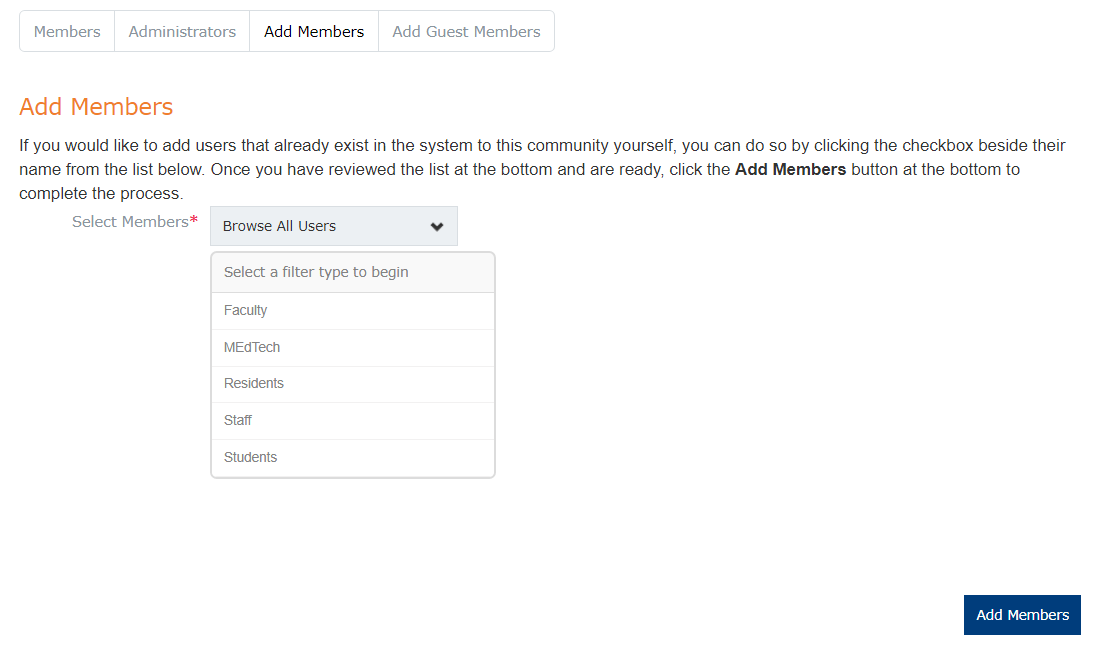
k. Add Members
1. Select Manage Members under the Admin Centre on the right panel.
2. Click Add Members and select members from the drop-down list. Click Add Members.