This guide covers steps on how administrators can setup gradebooks using Entrada.
This will help tutors mark student submissions such as care plans, case write-up, etc.
General Workflow

- The administrator creates a gradebook by uploading the mark sheet and creating the drop box for student submissions.
- During posting, the student downloads the blank assignment from the relevant course page or learning event, completes it when appropriate and submits it via Entrada > My Assignments.
- The tutor views the submission and marks it via Entrada > My Grading Tasks.
- The administrator monitors student submissions and grades, and downloads reports when needed.
1) Add New Gradebook Assignment
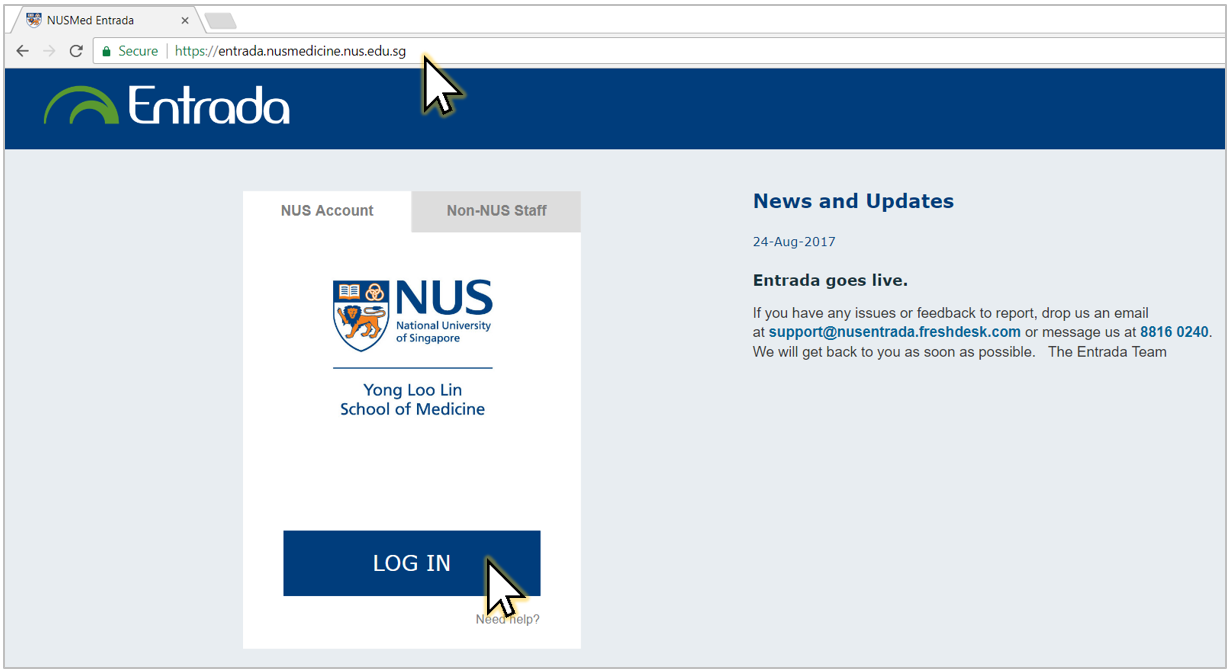
1. Go to https://entrada.nusmedicine.nus.edu.sg/.
2. Click Log In.
Note: If you do not have Entrada account, please write to medbox77@nus.edu.sg.
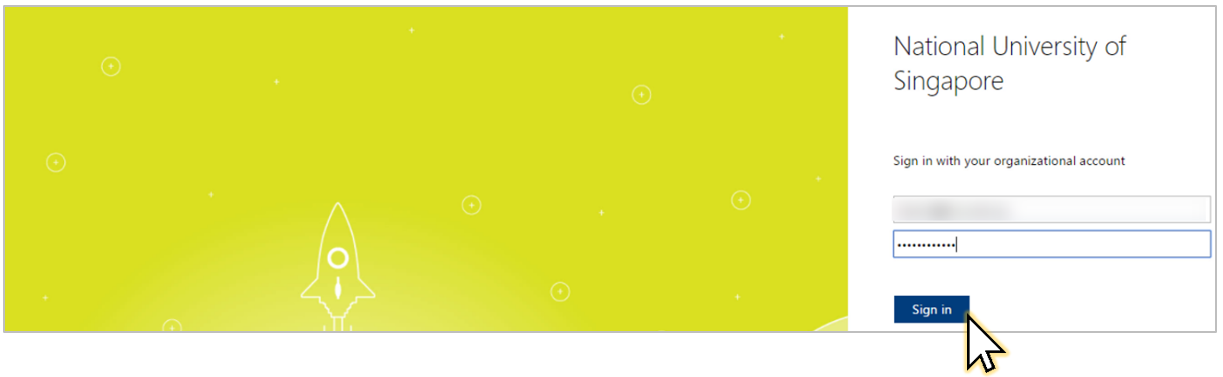
3. Sign in with your NUSNET ID, e.g. nusstf\userid and password.
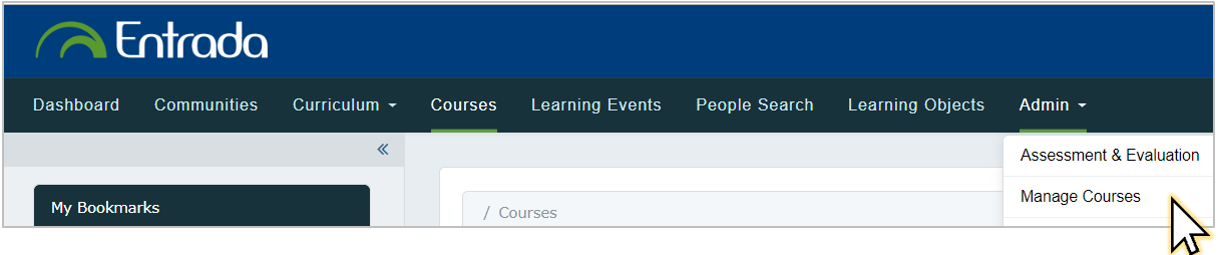
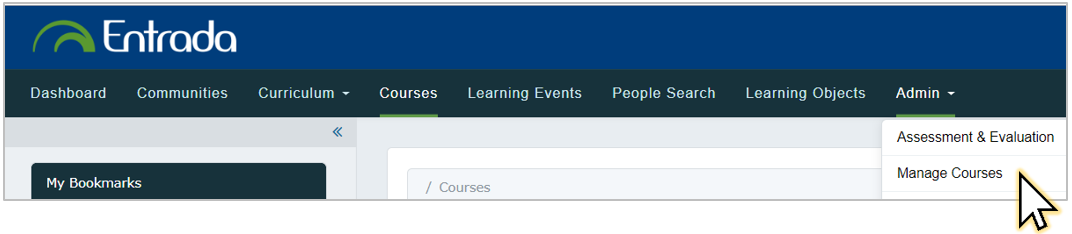
4. Go to Admin > Manage Course.
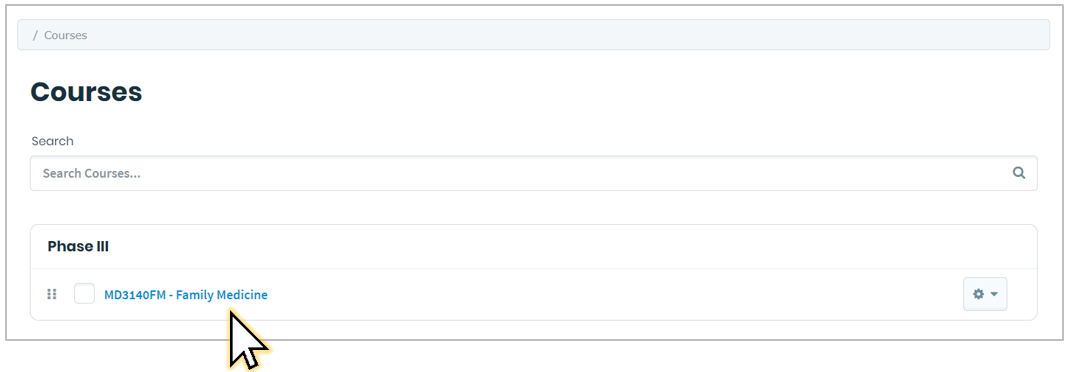
5. Select the course you have to create a gradebook assignment for.
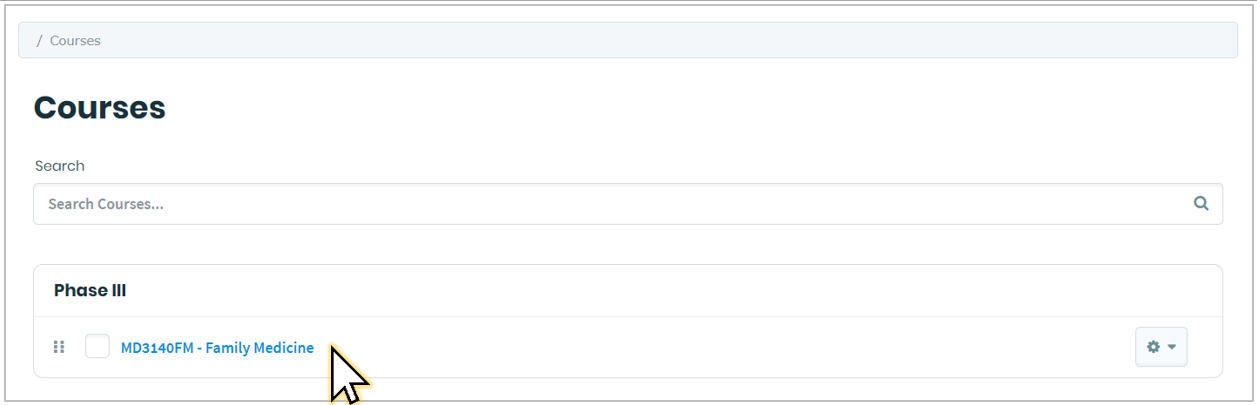
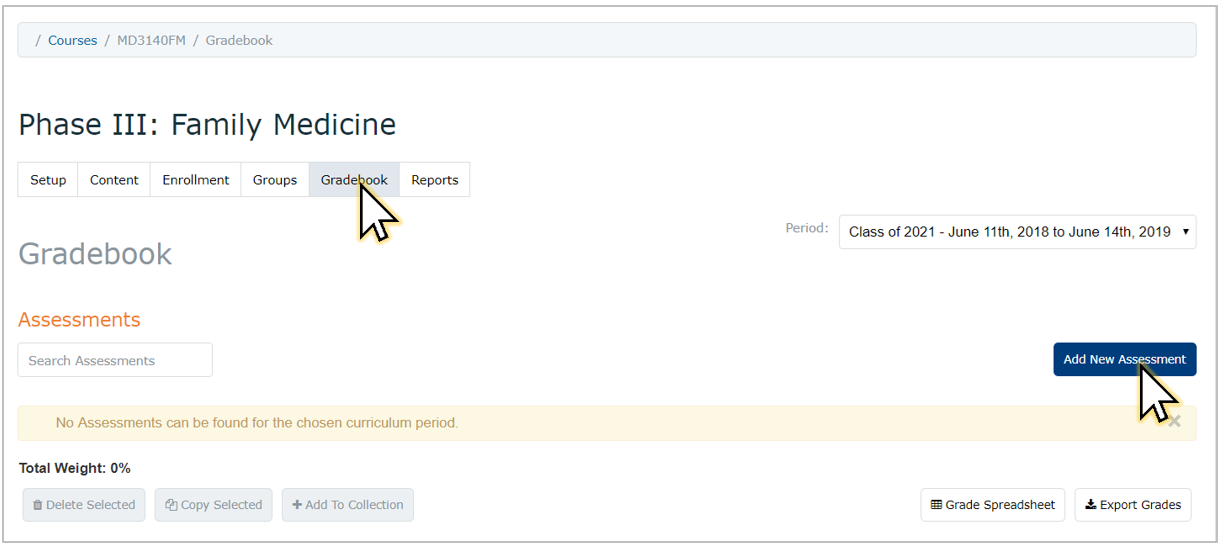
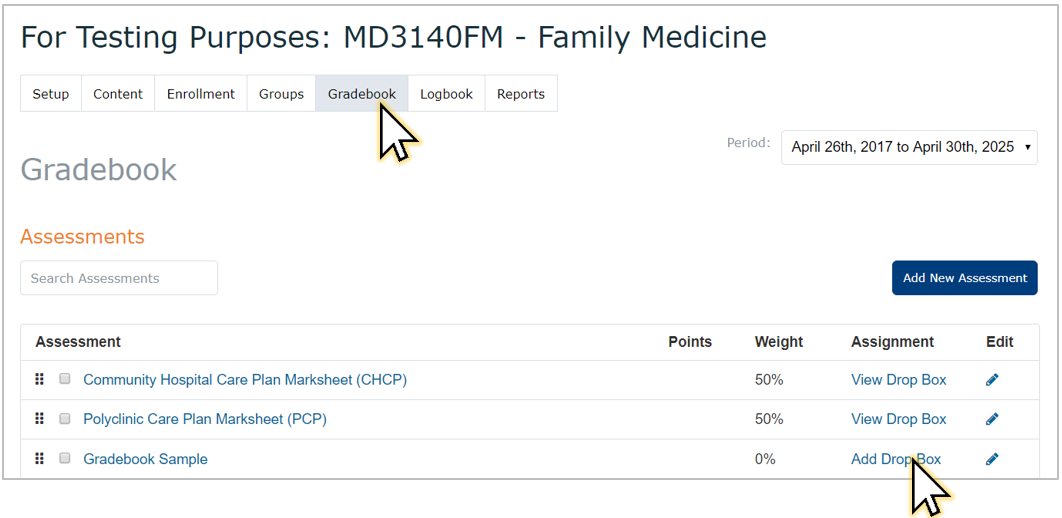
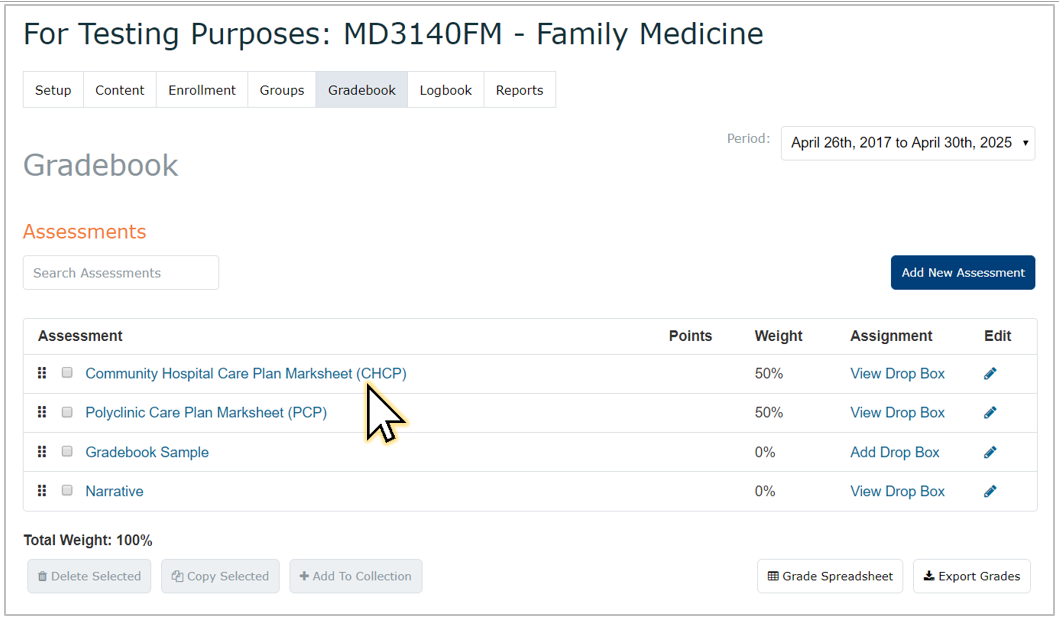
6. Select the Gradebook tab.
7. Click Add New Assignment.
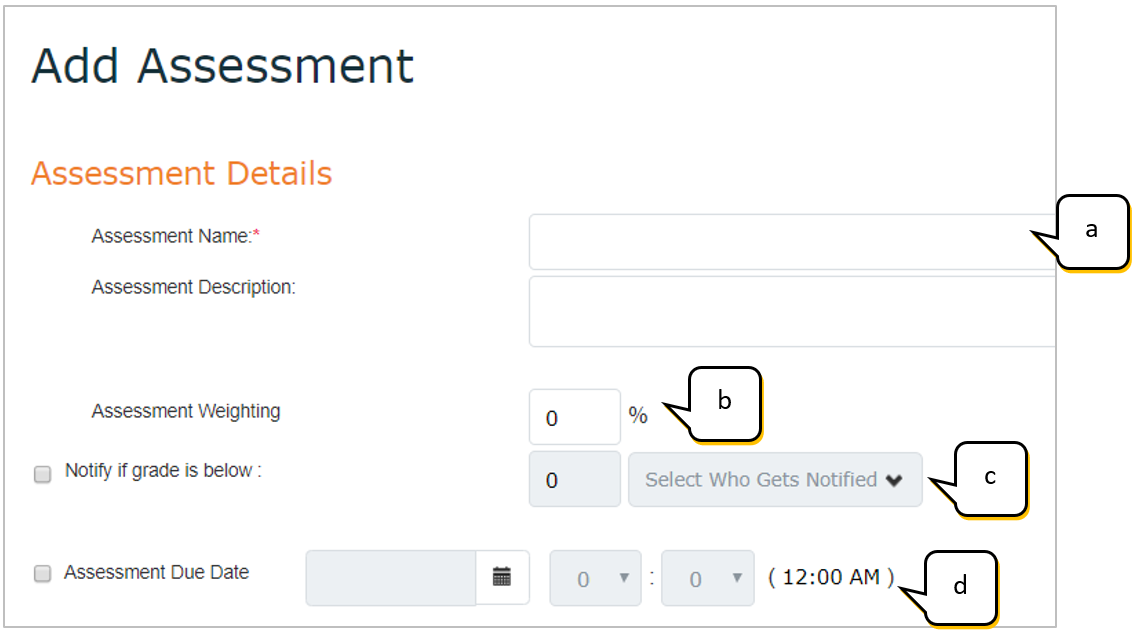
8. Complete all the Assessment Details.
- Assessment Name
- Assessment Weighting: If your course has a number of assessments, and you want this assessment to count towards the total 100% weight, add a value here. Otherwise, you can leave this as 0.
- Notify if grade is below: Select this if you want to automatically send an email to the course director/programme coordinator if a student’s score is below the designated threshold. To do this, enter a threshold and click Select Who Gets Notified to add the name(s) of people to notify.
- Assessment Due Date: Set this to show a due date to learners.
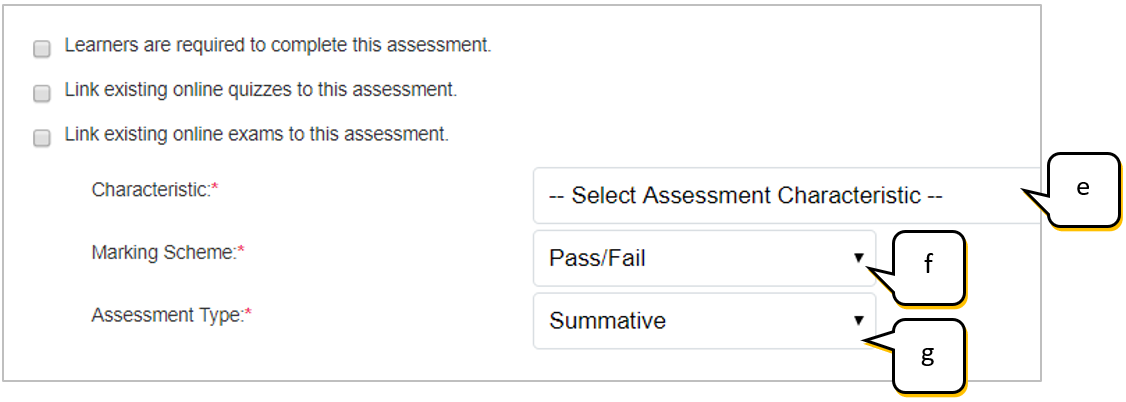
- Characteristic: Select whether the assignment is an assessment, paper, reflection, etc.
- Marking Scheme: Select whether you want tutors to mark students as Pass/Fail, to enter a Percentage, to enter a Numeric value or to select whether a submission is Complete/Incomplete.
- Assessment Type: Select whether the assignment is formative and summative.
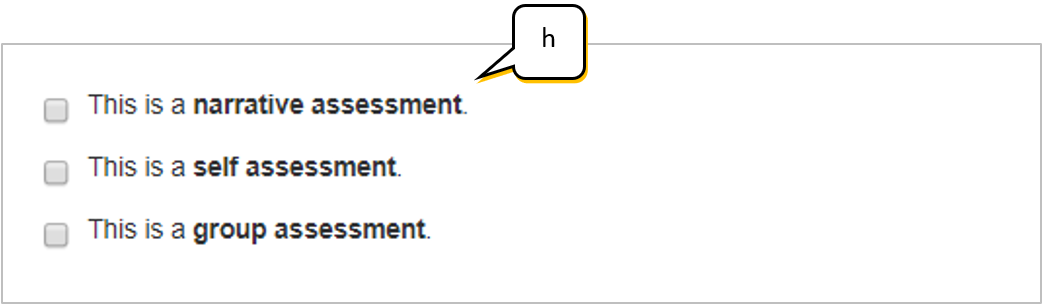
- Select the characteristic of the assessment.
- Narrative assessment
- Self-assessment: Select this if students will be assessing themselves.
- Group assessment: Select this if you want to have groups of students to submit the same assignment and be graded together.
- Don’t Show this Assessment in Learner Gradebook: Select this if you don’t want learners to see their grade.
- Show this Assessment in Learner Gradebook: If you select this, set the appropriate start and end times when the students can view comments from tutors.

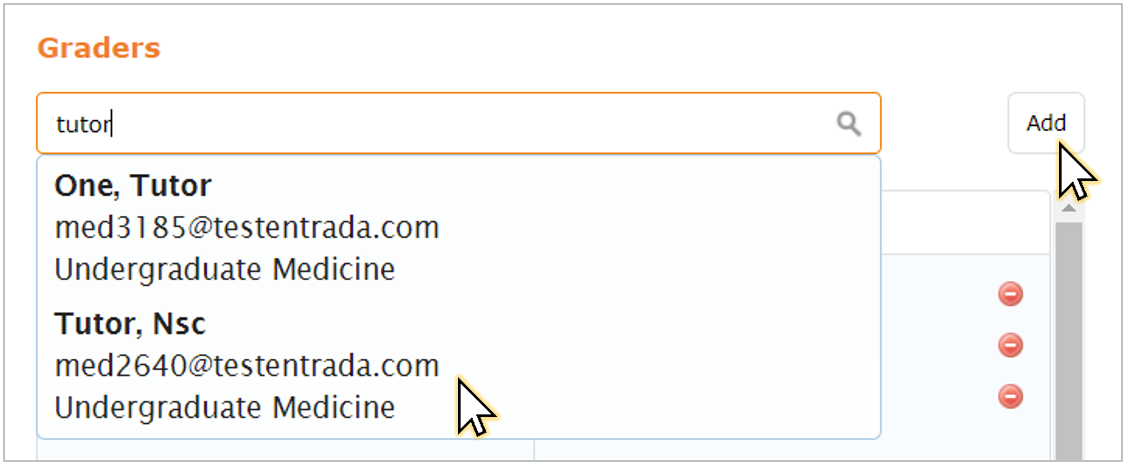
9. Use the Graders section to grant access to specific faculty so they can view assignments and enter grades for their assigned learners.
Type a grader name, select the name from the list that shows and select Add. You can add multiple graders to one assessment.
10. To assign learner(s) to a grader, select the checkbox beside the learner name(s) and click Assign Selected to Grader.
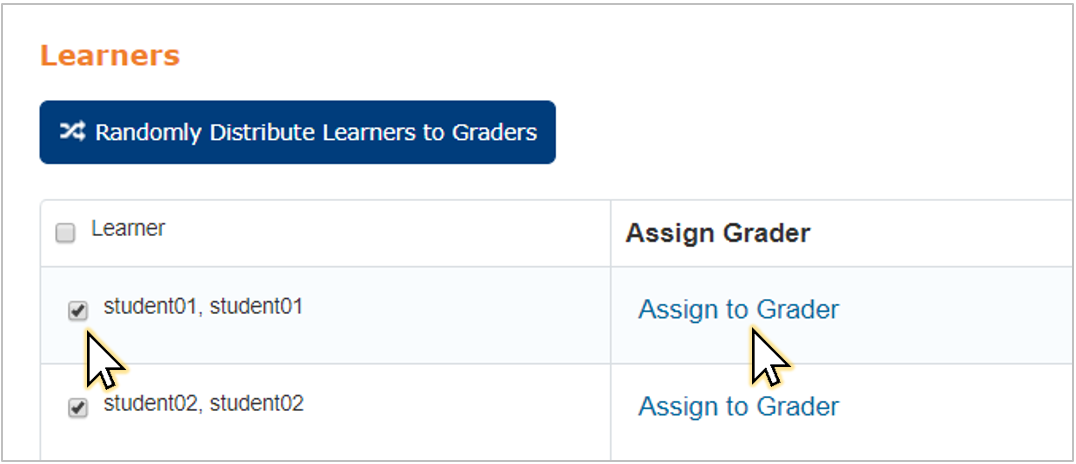
11. In the popup window, select the grader and click Assign Learner.

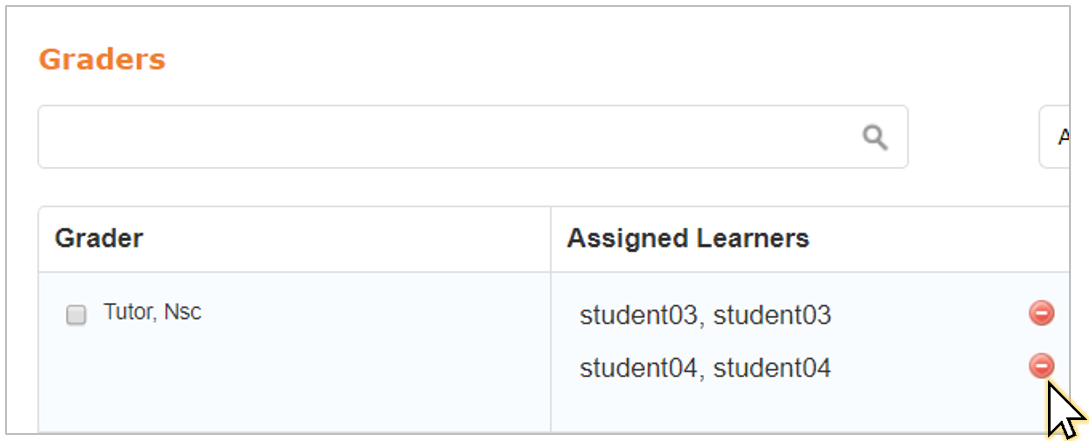
12. The selected learner(s) will appear beside the grader name.
13. To delete a learner from a graders list, click the red minus icon.
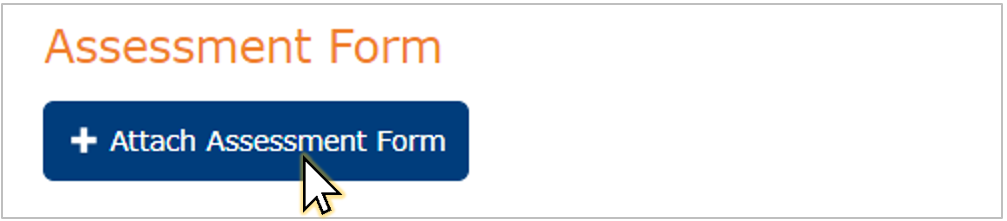
14. To upload a form for graders to fill in, click Attach Assessment Form.
15. Type the form title, select the form and click Attach Assessment Form.
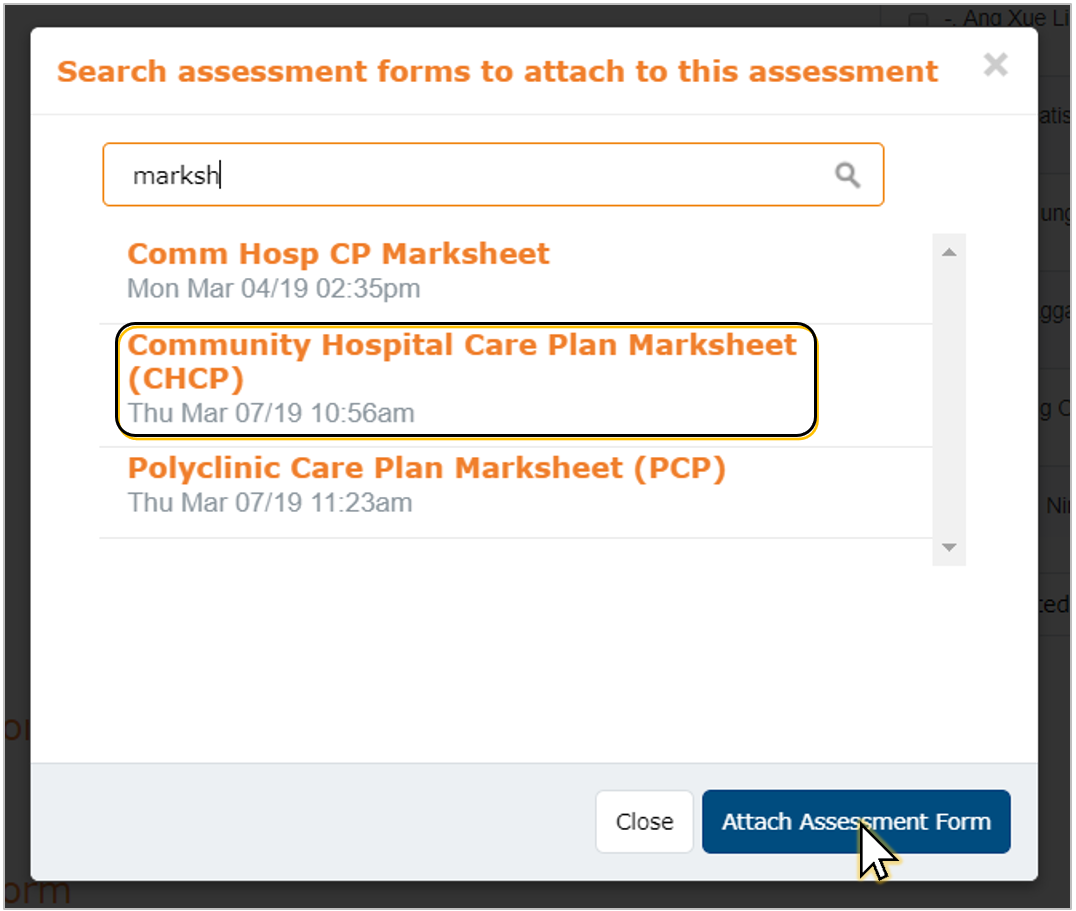
16. The assessment form will display.
You must indicate a score for each item on the form, and give a weight for each option.
The weight for the entire form should total 100%. You can refer to the lower right corner to check this.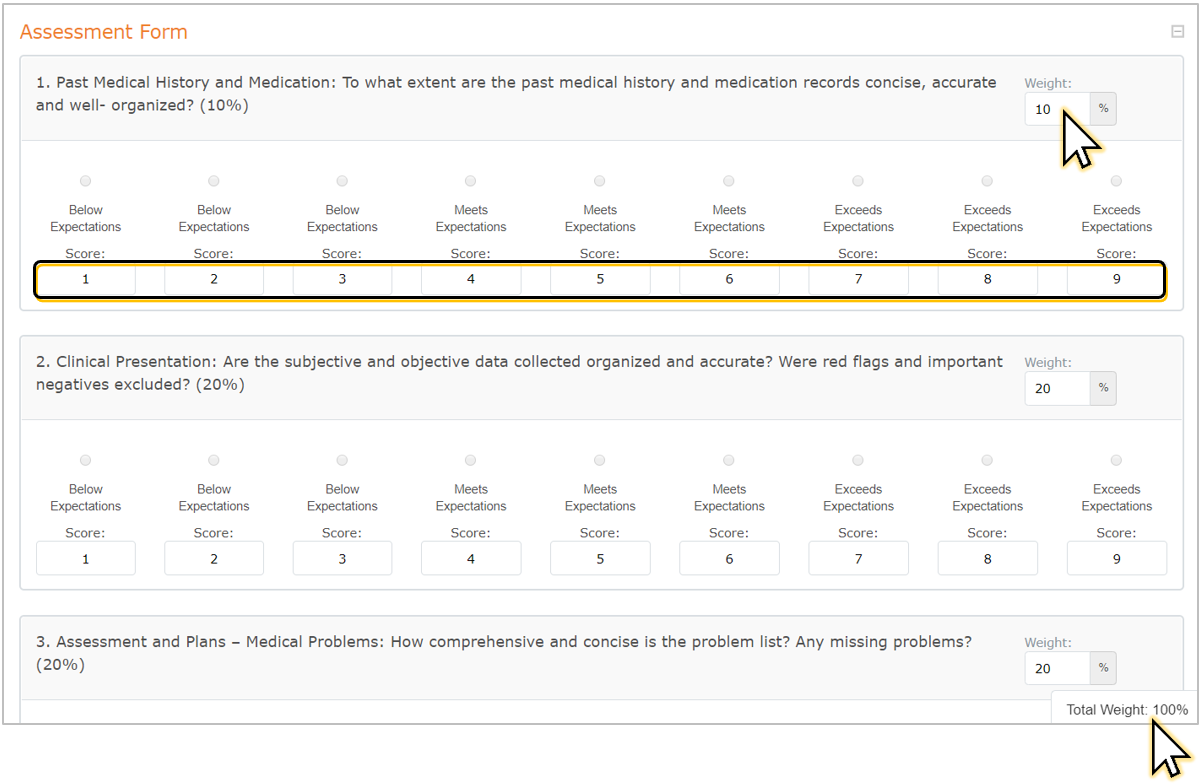
17. Click Save when done.
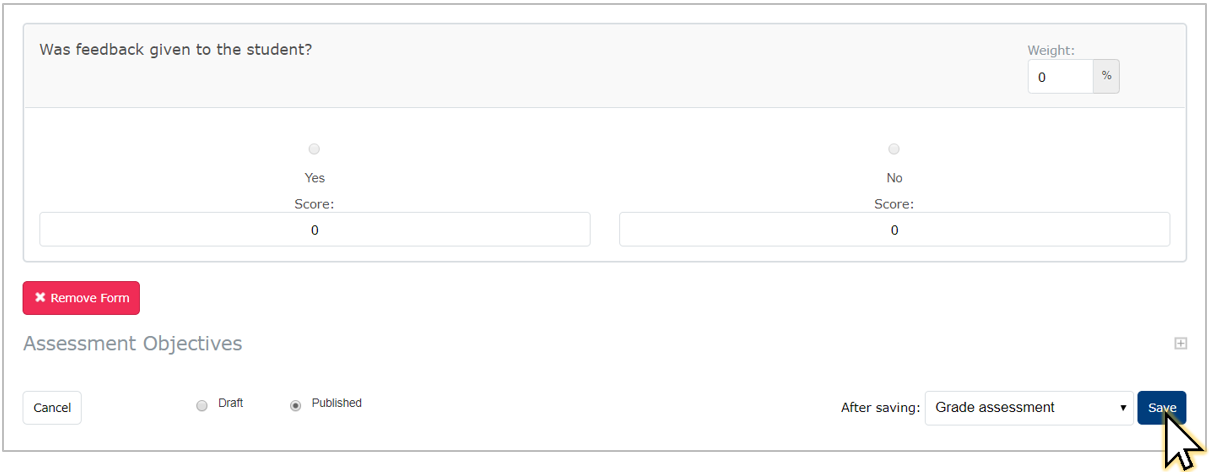
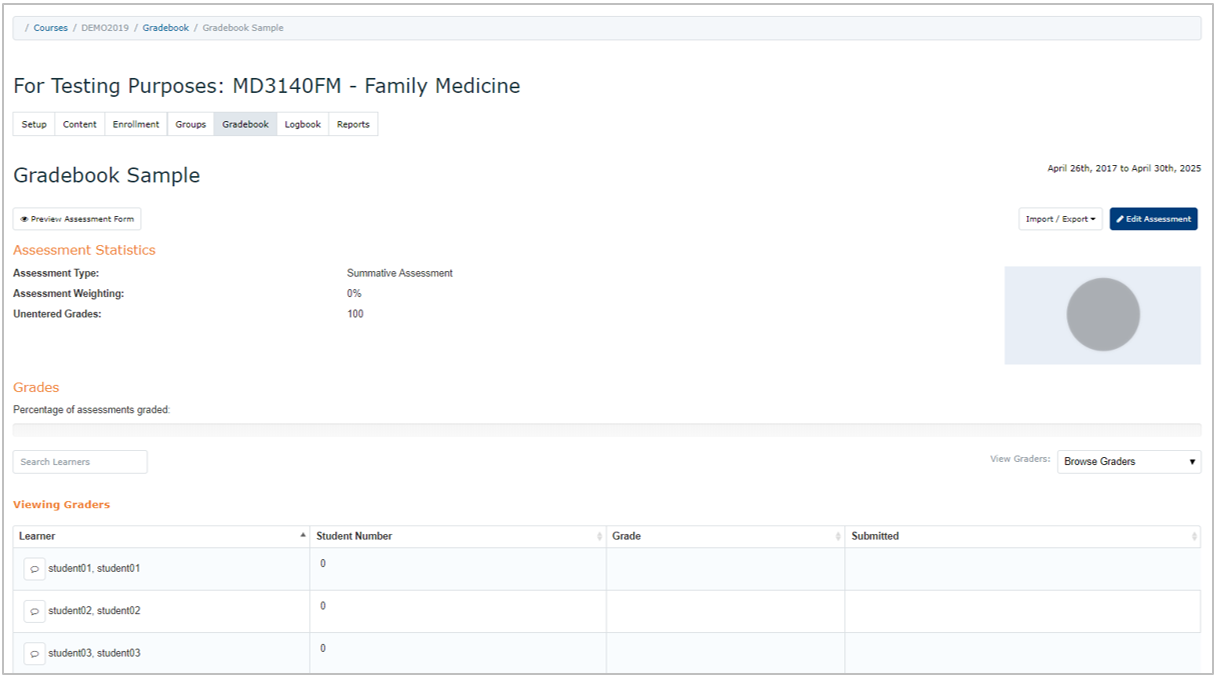
18. You’ll be directed to the main Grade Assessment page where you can monitor submissions and grades later.
2) Add Drop Box
You will need to create a drop box so students can submit their assignments via Entrada.
1. Go to Gradebook tab under the course page.
2. Click Add Drop Box.
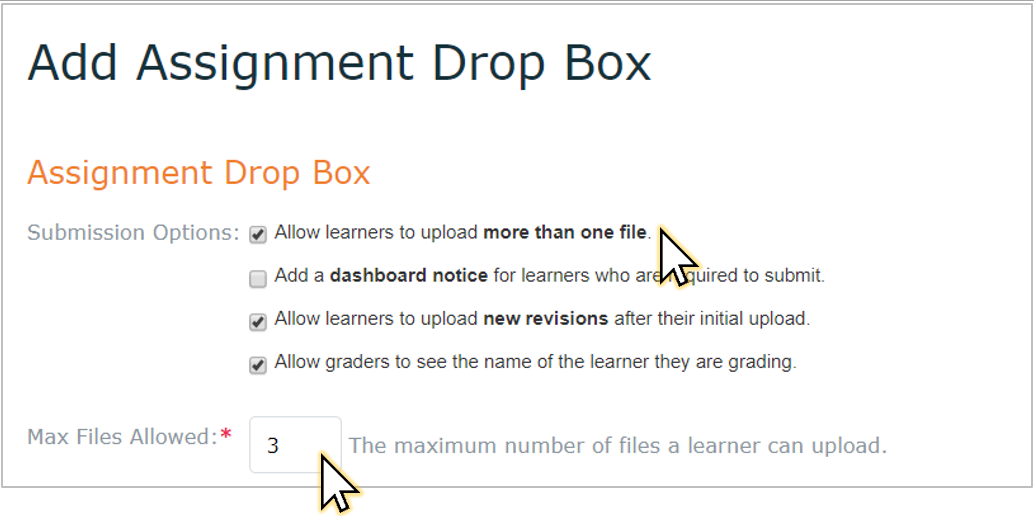
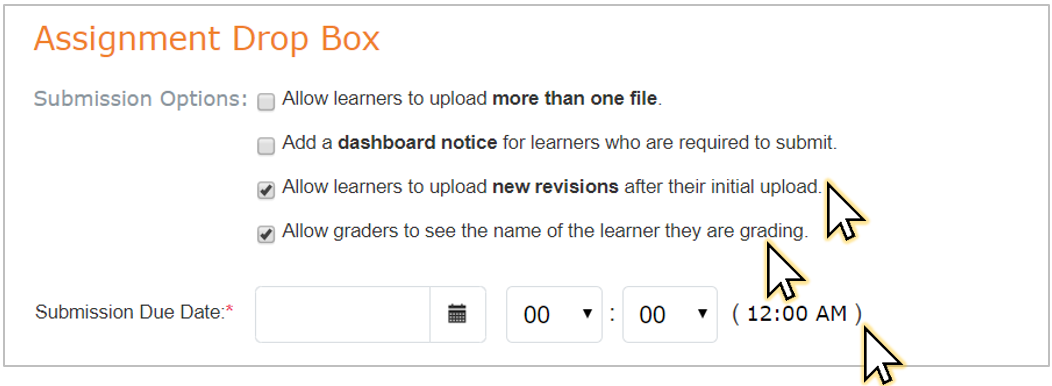
3. Select Allow students to upload more than one file if students need to submit several files.
You can also set the maximum number of files a student can upload, if multiple files are set.
4. Select Add a dashboard notice... to automatically generate a dashboard notice for students to see the assessment due date and drop box link.
The notice will be displayed immediately to students.
Otherwise, click Release notice on a custom defined date and set the release date.
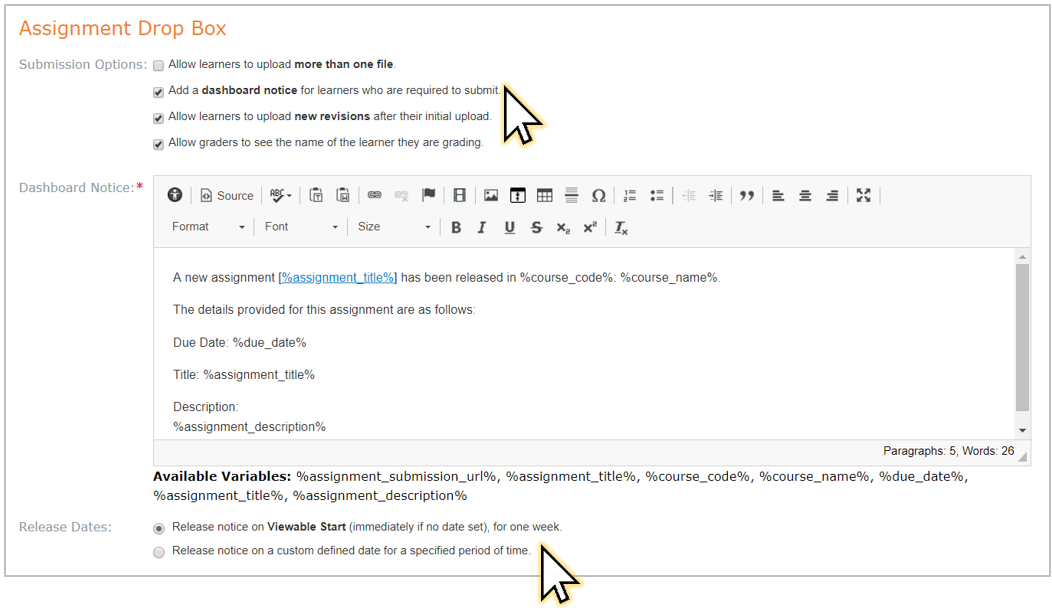
5. Select Allow learners to upload new revisions… if you want to allow students to replace an existing file.
6. De-select Allow graders to see the name of the learner they are grading if you want to hide student names from tutors while they are grading.
7. Set a Submission due date if required.
Note: This date is for student to note only. The system does allow learners to upload files after the submission due date.
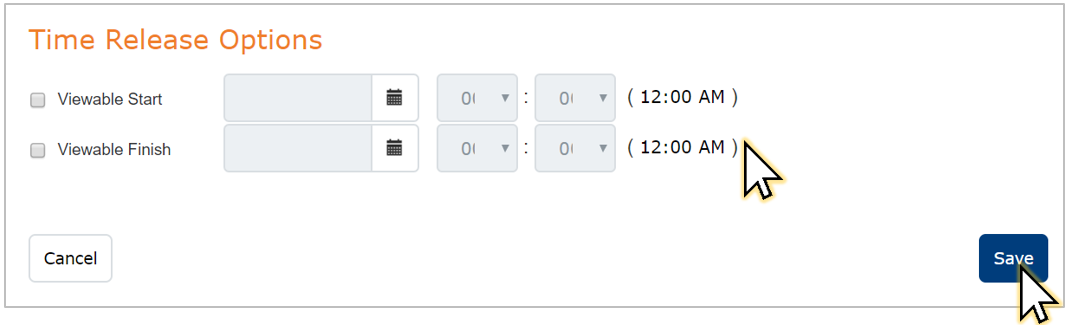
8. The default setting is that the drop box will be immediately visible to learners.
Otherwise, set the viewable start and finish dates to will control when the drop box will be visible to users.
9. Click Save.
3) Monitor and Export Grades
1. Go to Admin > Manage Course.
2. Select the course you want to monitor the gradebook report for.
3. For an overview of grades for all assignments, click Grade Spreadsheet.
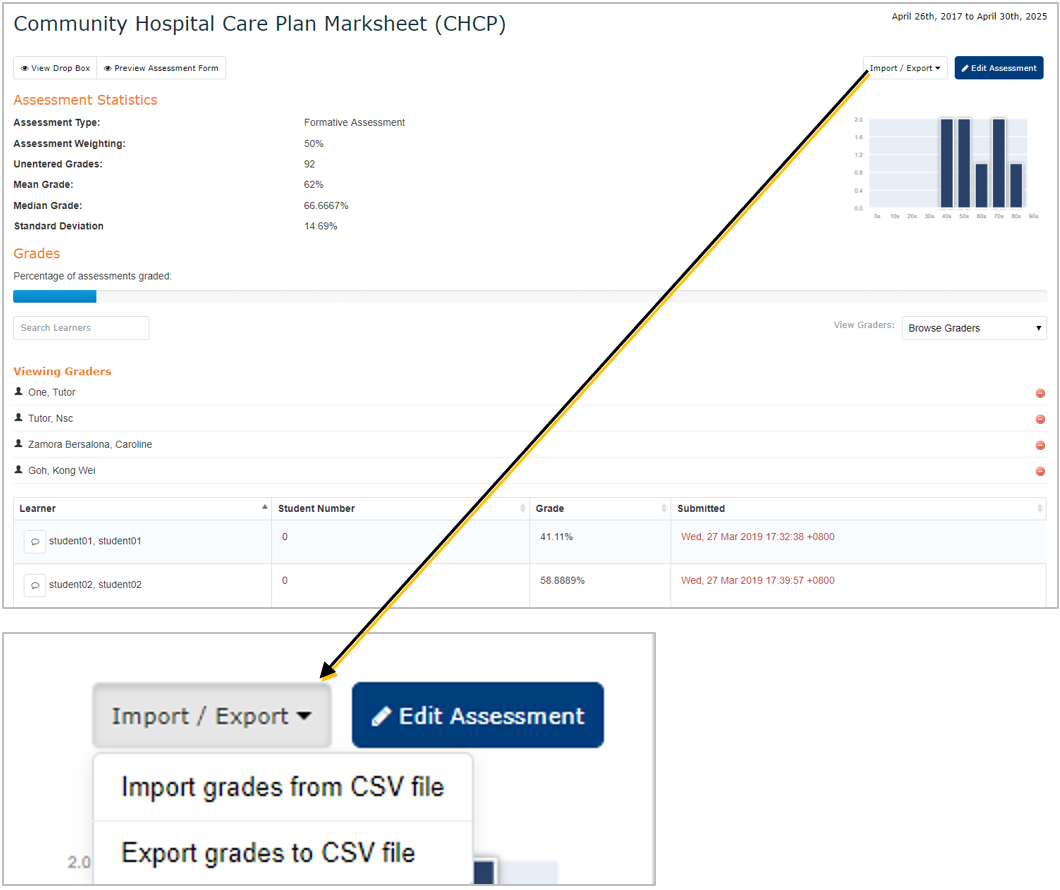
4. To export grades in CSV file, select Export Grades.

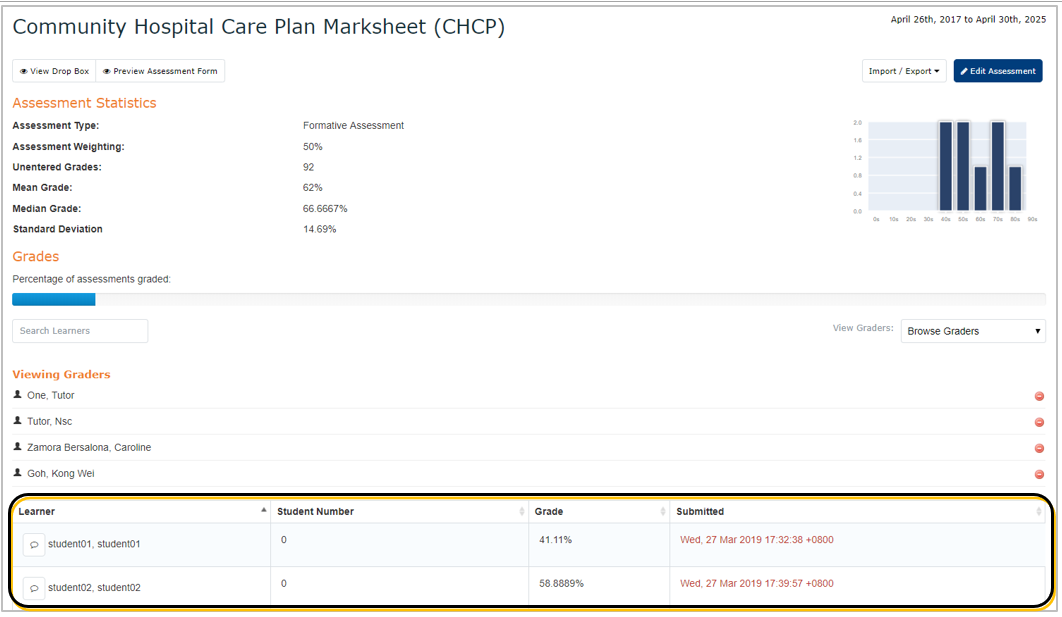
5. To view the grades for a particular assignment, select the assignment title.
6. The list of students with their corresponding grades and submission dates will be displayed.
7. To export grades in CSV file, select Import/Export > Export Grades to CSV file.