A learning event is any scheduled time in the School calendar, which includes lectures, tutorials, labs, clinical experiences, independent reading time, etc.
Scheduling events is accomplished through the Manage Events tab and is available to administratosr. Faculty members assigned as course/program directors can view and edit events within their own course(s), however, they cannot schedule events through the user interface.
Follow the steps below to create/edit learning events.
1. Go to Admin and select Manage Events.
2. If adding a new event, click Add New Event.
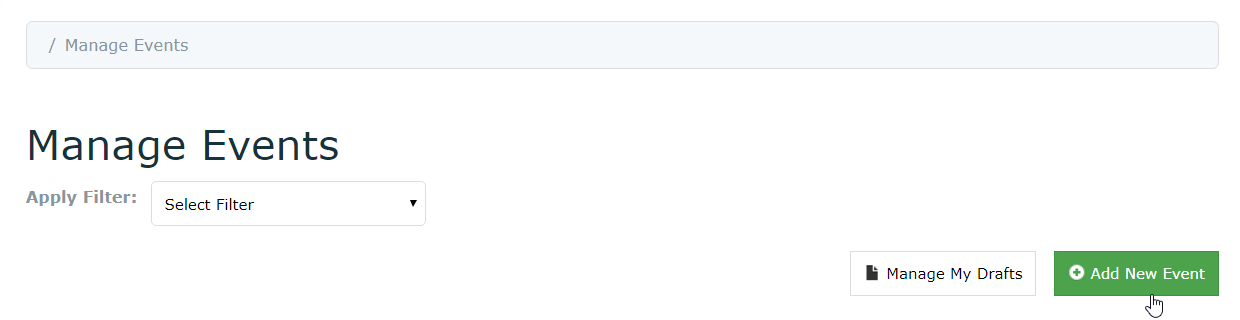
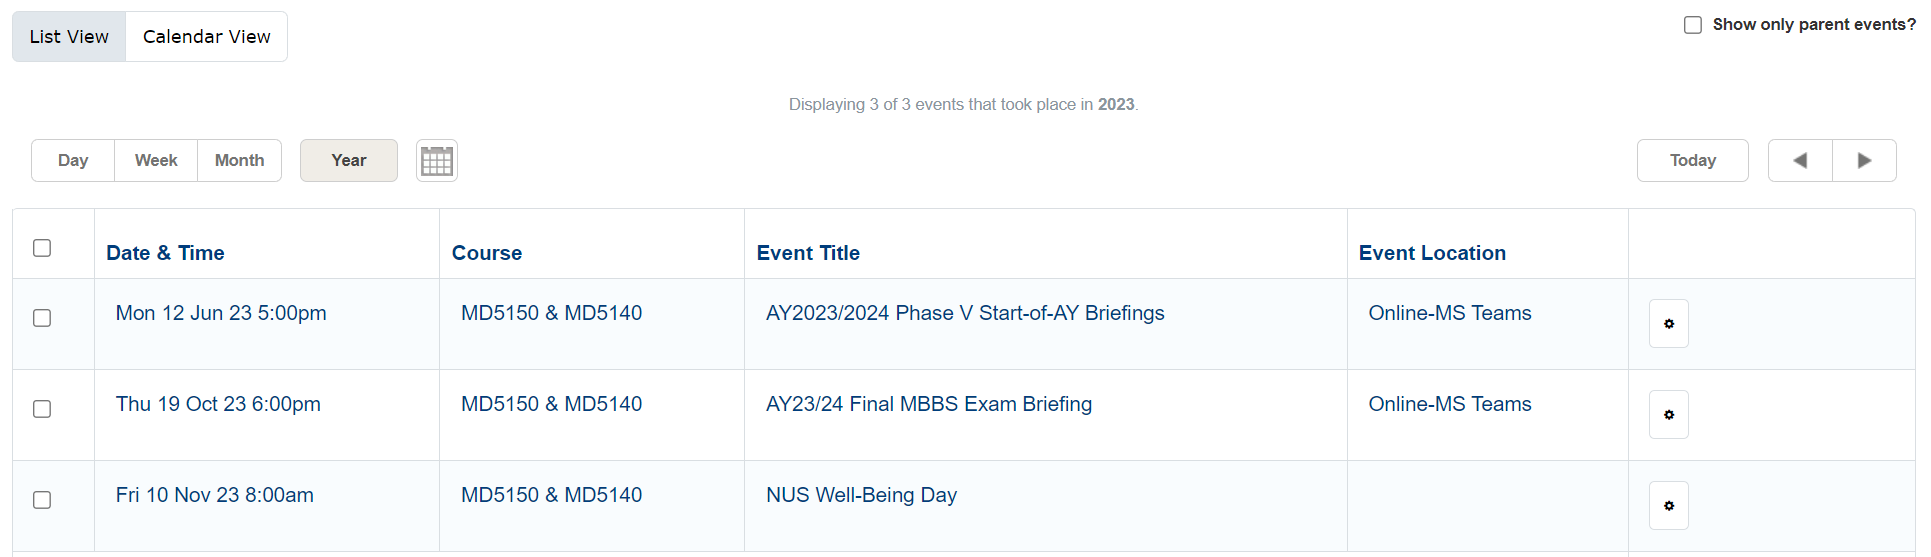
If updating an existing event, switch to list view, and select the event to update. You can use the day/week/month tabs to search for events.
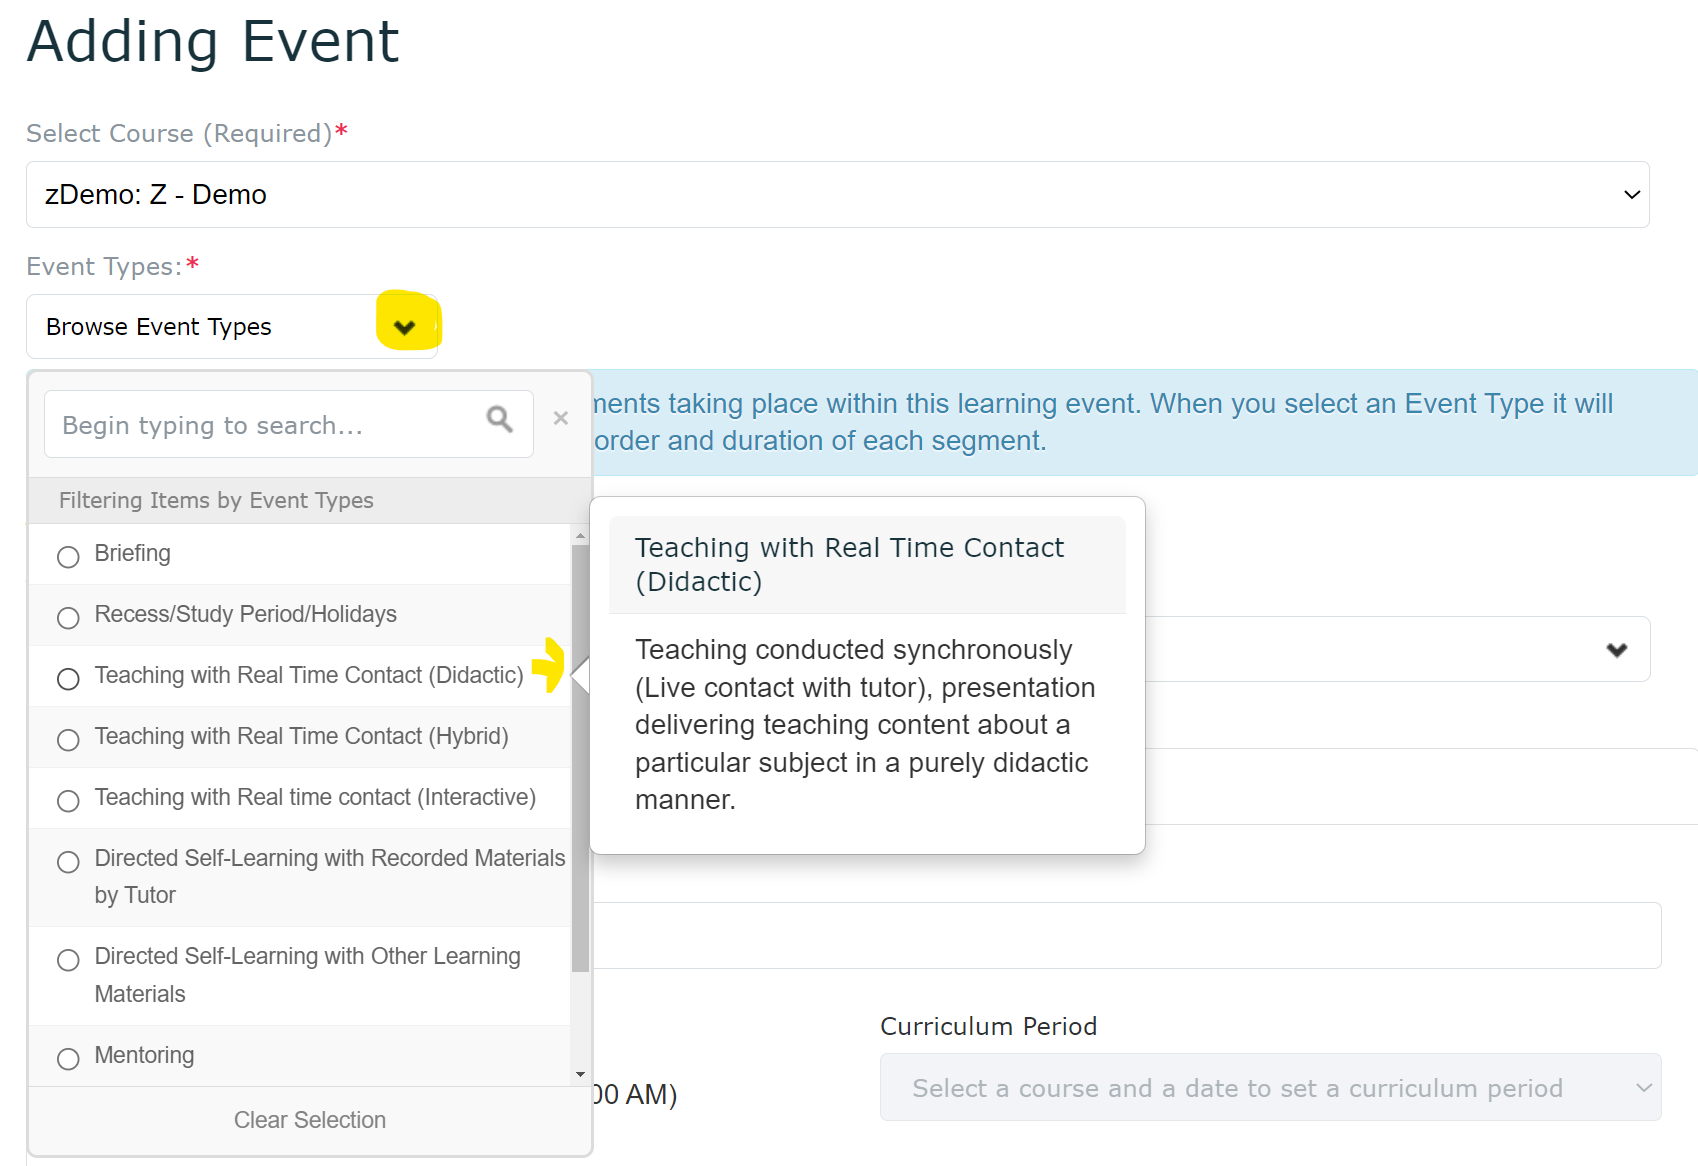
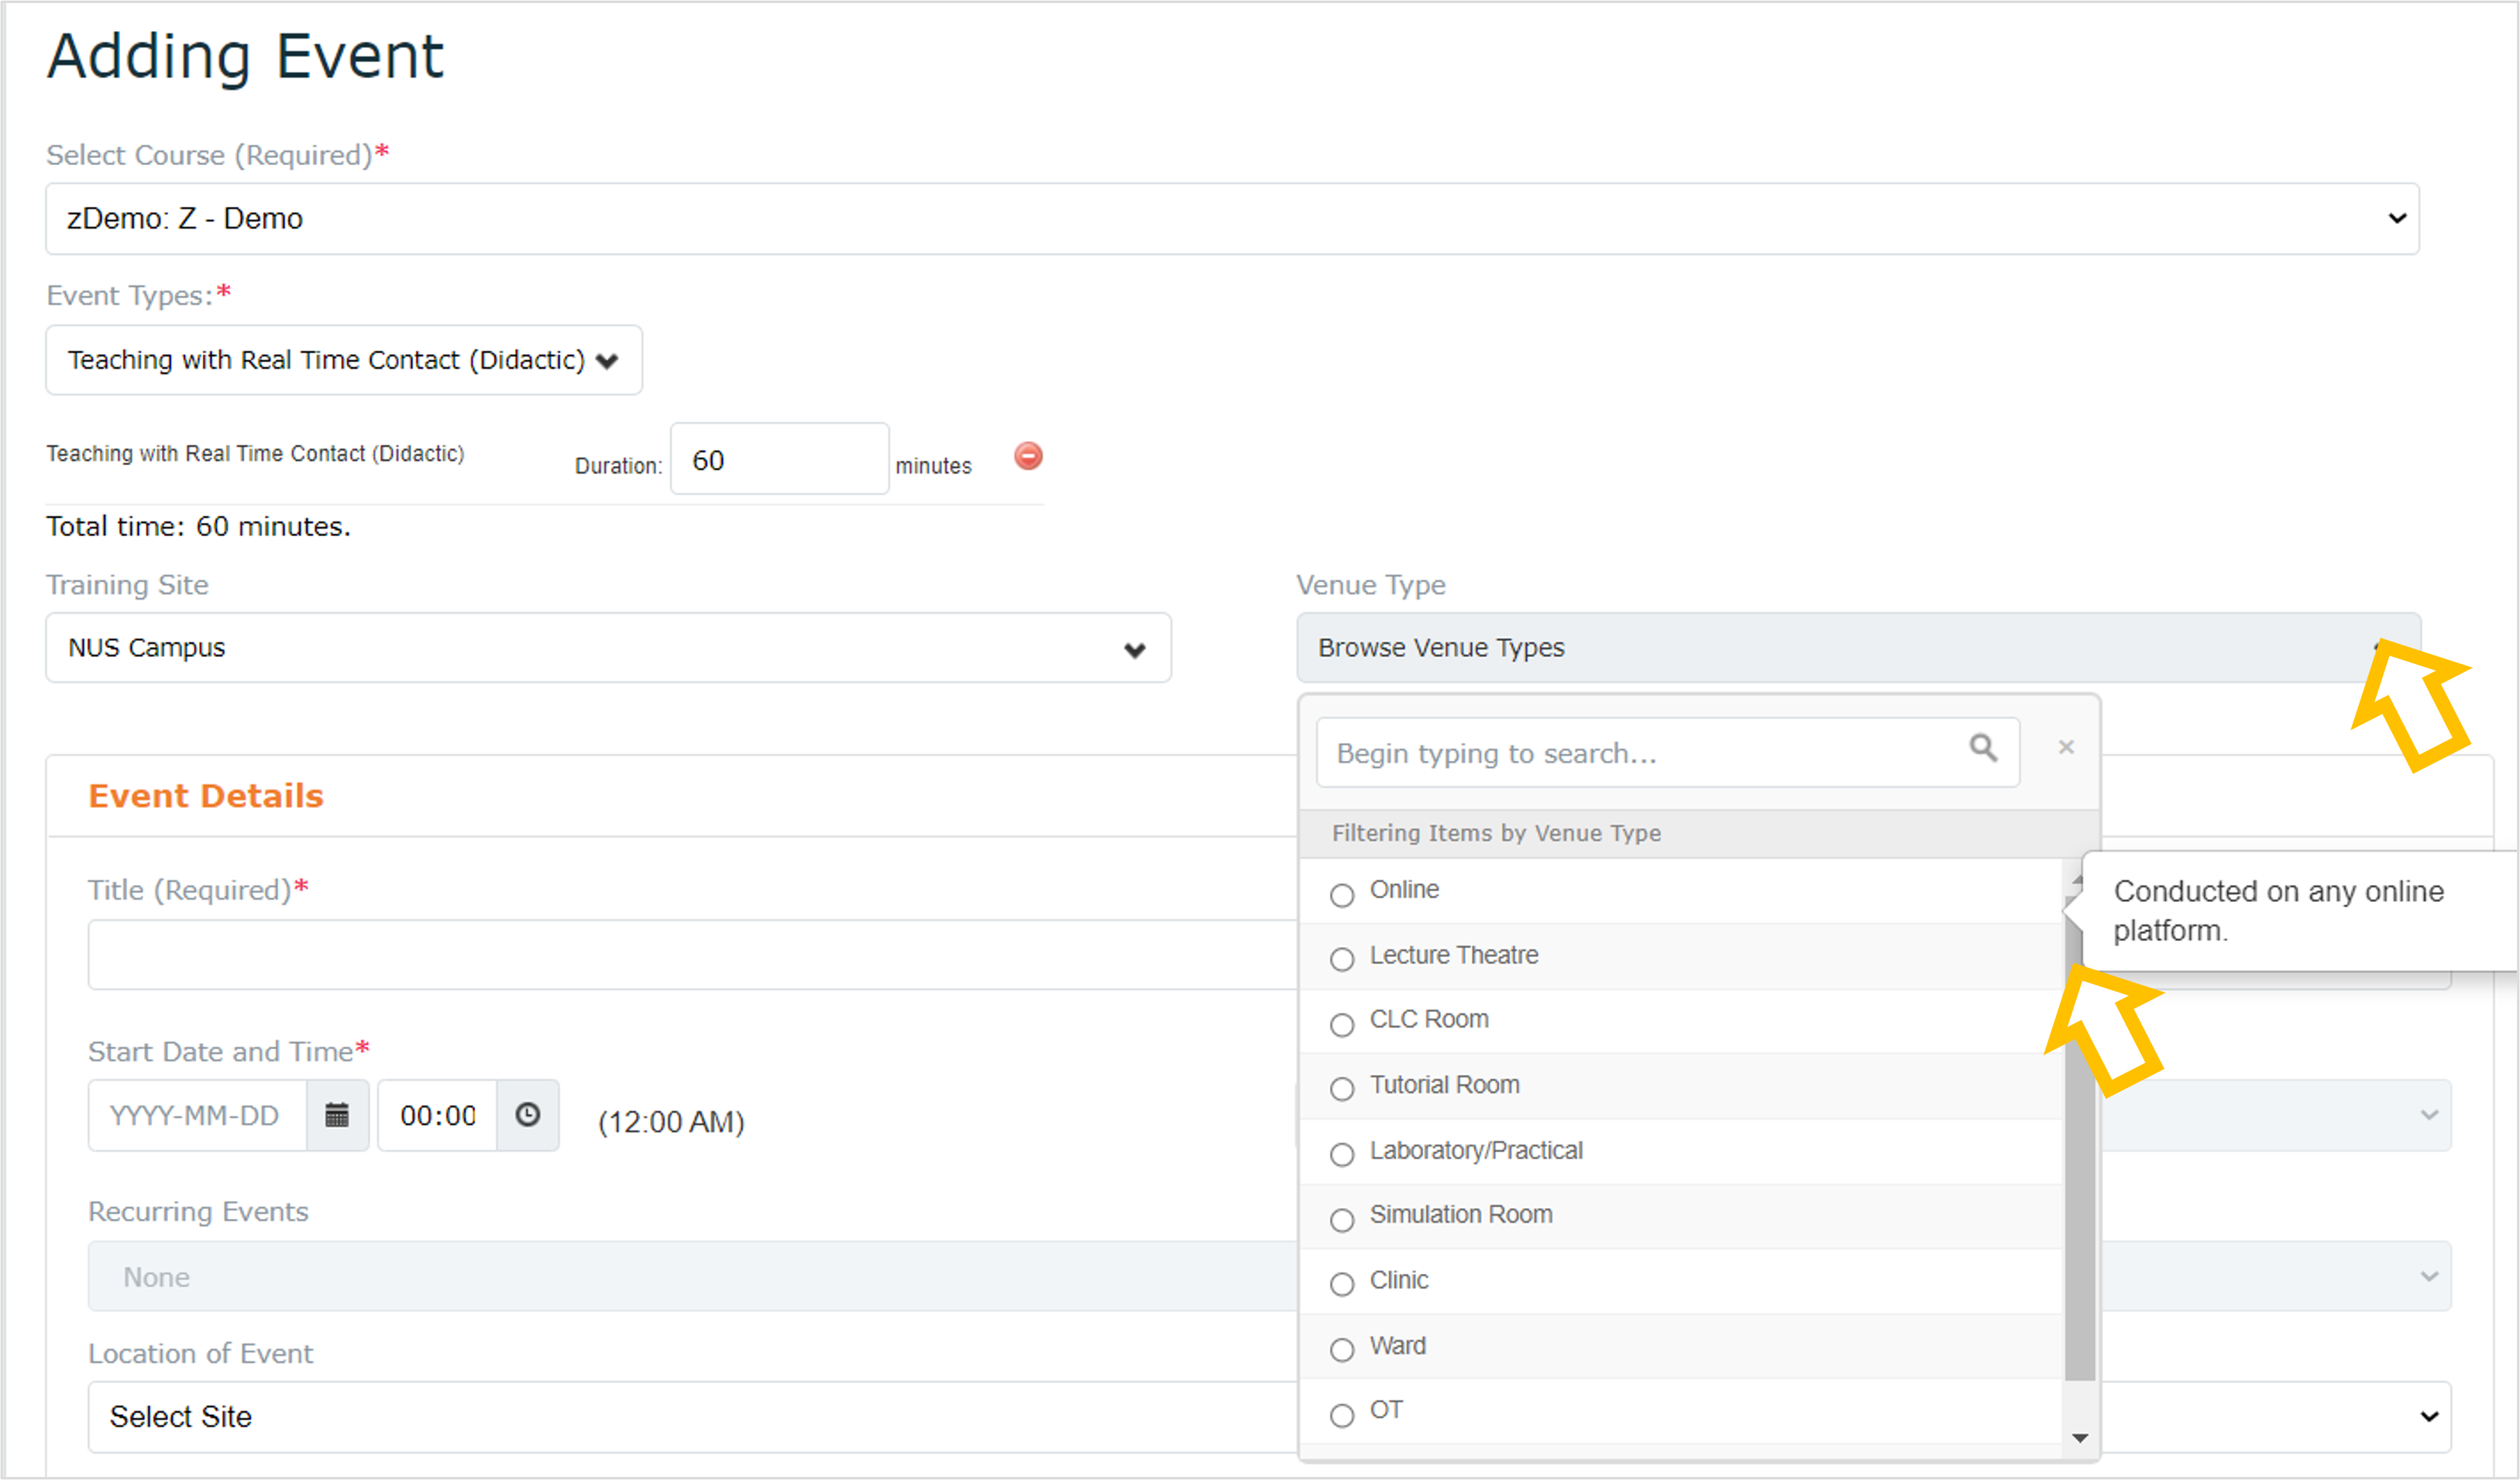
3. Next, select/update the Course where the event belongs to.
Then select/update the Event Types drop-down list. You can mouseover each item to read the description for each event type.
Event Types Available:
- Briefing
- Recess/Study Period/Holidays
- Teaching with Real Time Contact (Didactic)
- Teaching with Real Time Contact (Hybrid)
- Teaching with Real time Contact (Interactive)
- Directed Self-Learning with Recorded Materials by Tutor
- Directed Self-Learning with Other Learning Materials
- Mentoring
- Assessment
- Admission
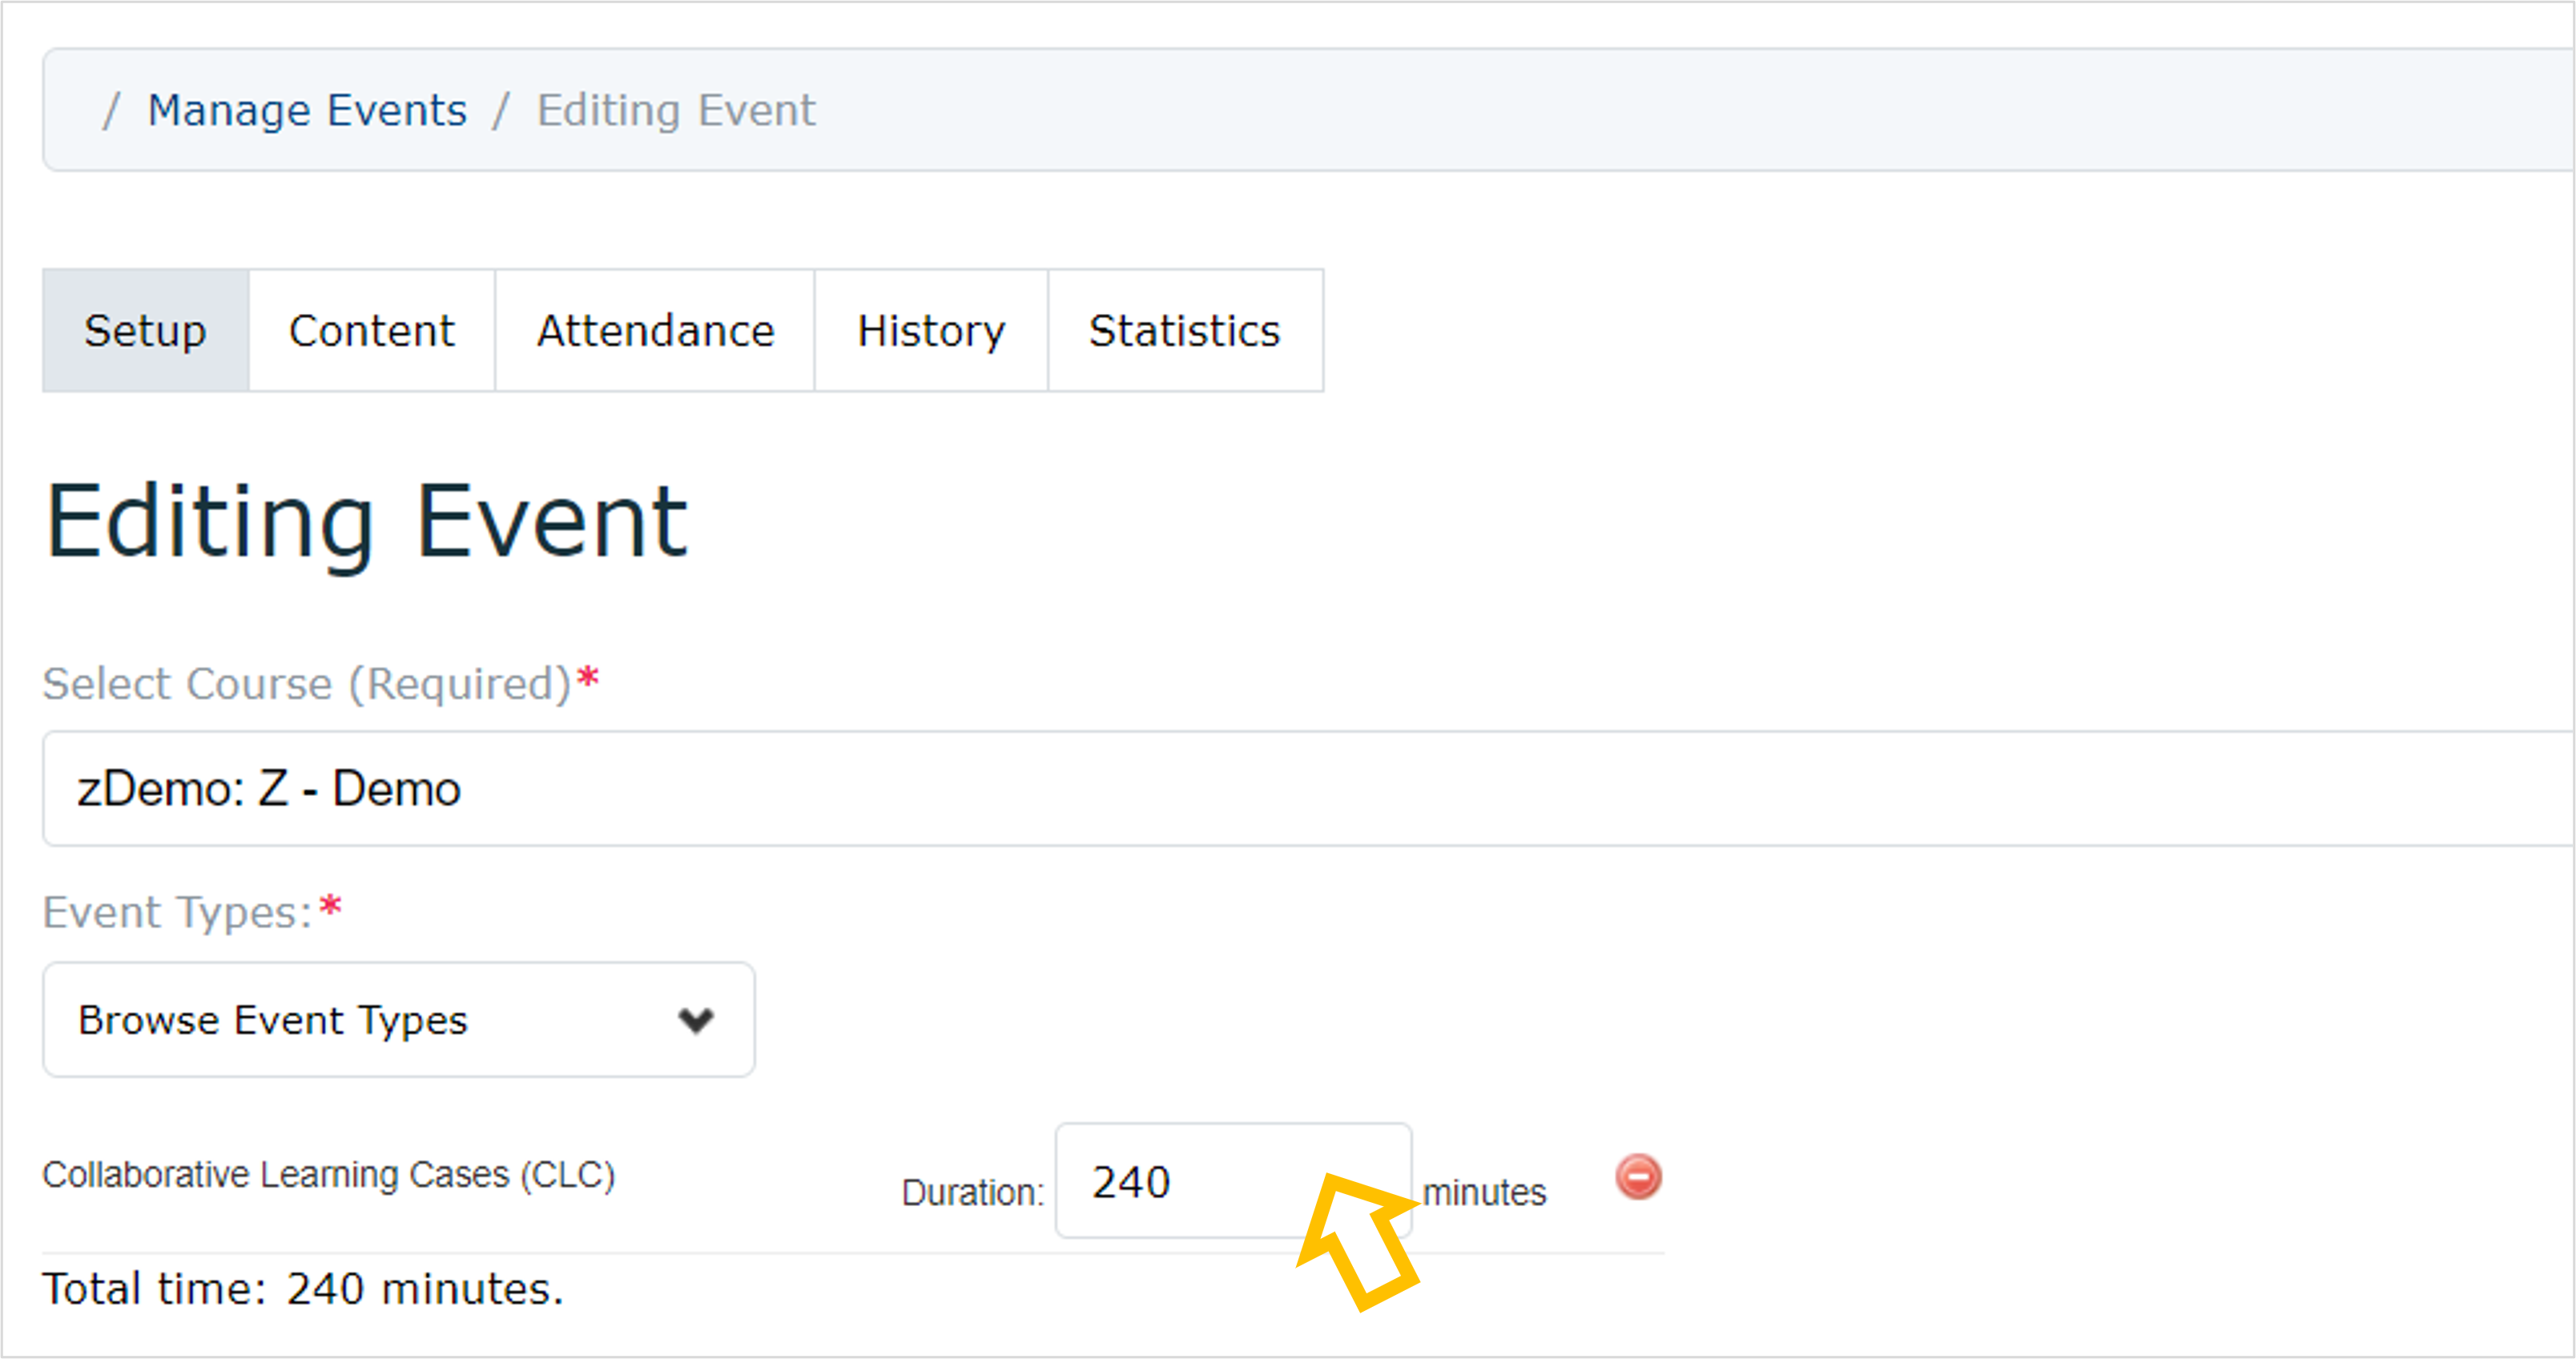
4. For each Event Type selected, enter/edit the Duration in minutes.
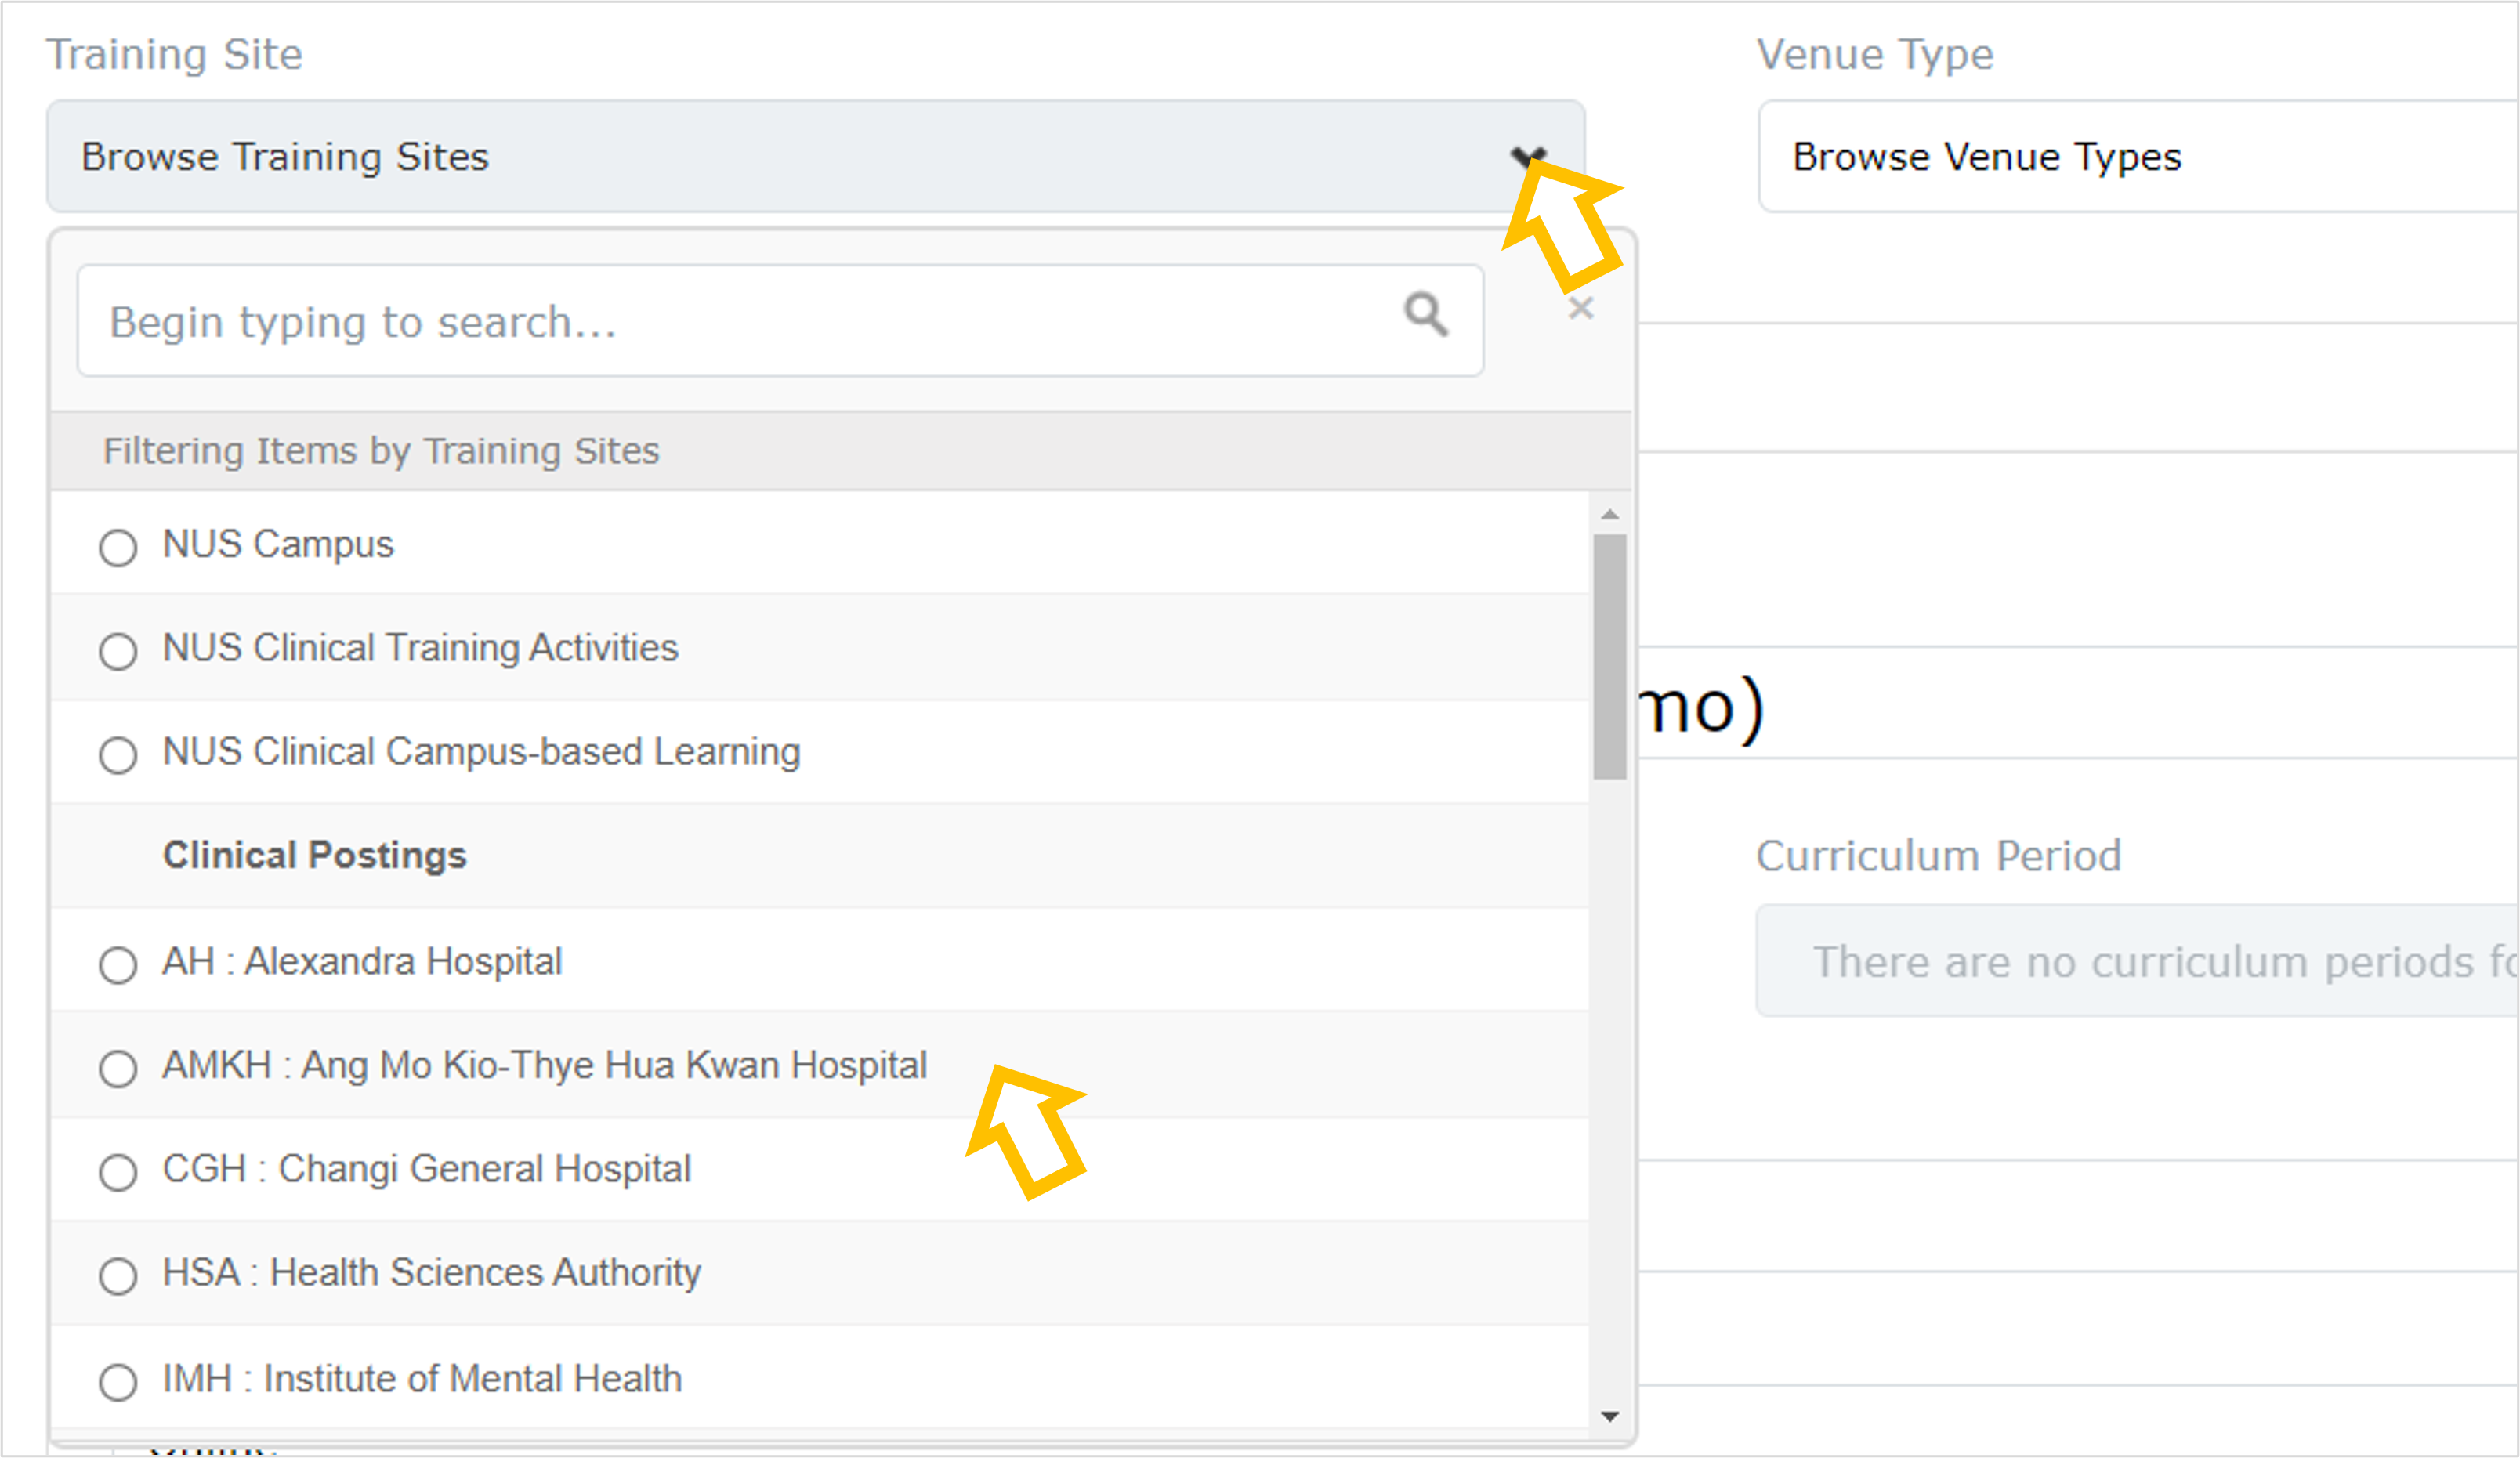
5. Next, select/update the Training Site drop-down list. You can mouseover each item to read the description for each site.
Training Sites Available:
- NUS Campus
- NUS Clinical Training Activities
- NUS Clinical Campus-based Learning
Clinical Postings:
- AH: Alexandra Hospital
- AMKH : Ang Mo Kio-Thye Hua Kwan Hospital
- CGH : Changi General Hospital
- HSA : Health Sciences Authority
- IMH : Institute of Mental Health
- JCH : Jurong Community Hospital
- KTPH : Khoo Teck Puat Hospital
- NCCS : National Cancer Centre Singapore
- NHGP : National Healthcare Group Polyclinics
- NHC : National Heart Centre Singapore
- NNI : National Neuroscience Institute
- NSC : National Skin Centre
- NUH : National University Hospital
- NUP : National University Polyclinics
- NTFGH : Ng Teng Fong General Hospital
- PTE : Private
- RCH : Ren Ci Hospital
- SKH : Sengkang General Hospital
- SERI : Singapore Eye Research Institute
- SGD : Singapore General Hospital
- SNEC : Singapore National Eye Centre
- SHP: SingHealth Polyclinics
- SLH : St Luke's Hospital
- SACH : St. Andrew's Community Hospital
- TTSH : Tan Tock Seng Hospital
- WHC : Woodlands Health Campus
- YCH : Yishun Community Hospital
6. Select/update the Venue Type drop-down list. You can mouseover each item to read the description for each type.
Venue Types Available:
- Online
- Lecture Theatre
- CLC Room
- Tutorial Room
- Laboratory/Practical
- Simulation Room
- Clinic
- Ward
- OT
- Community/Home
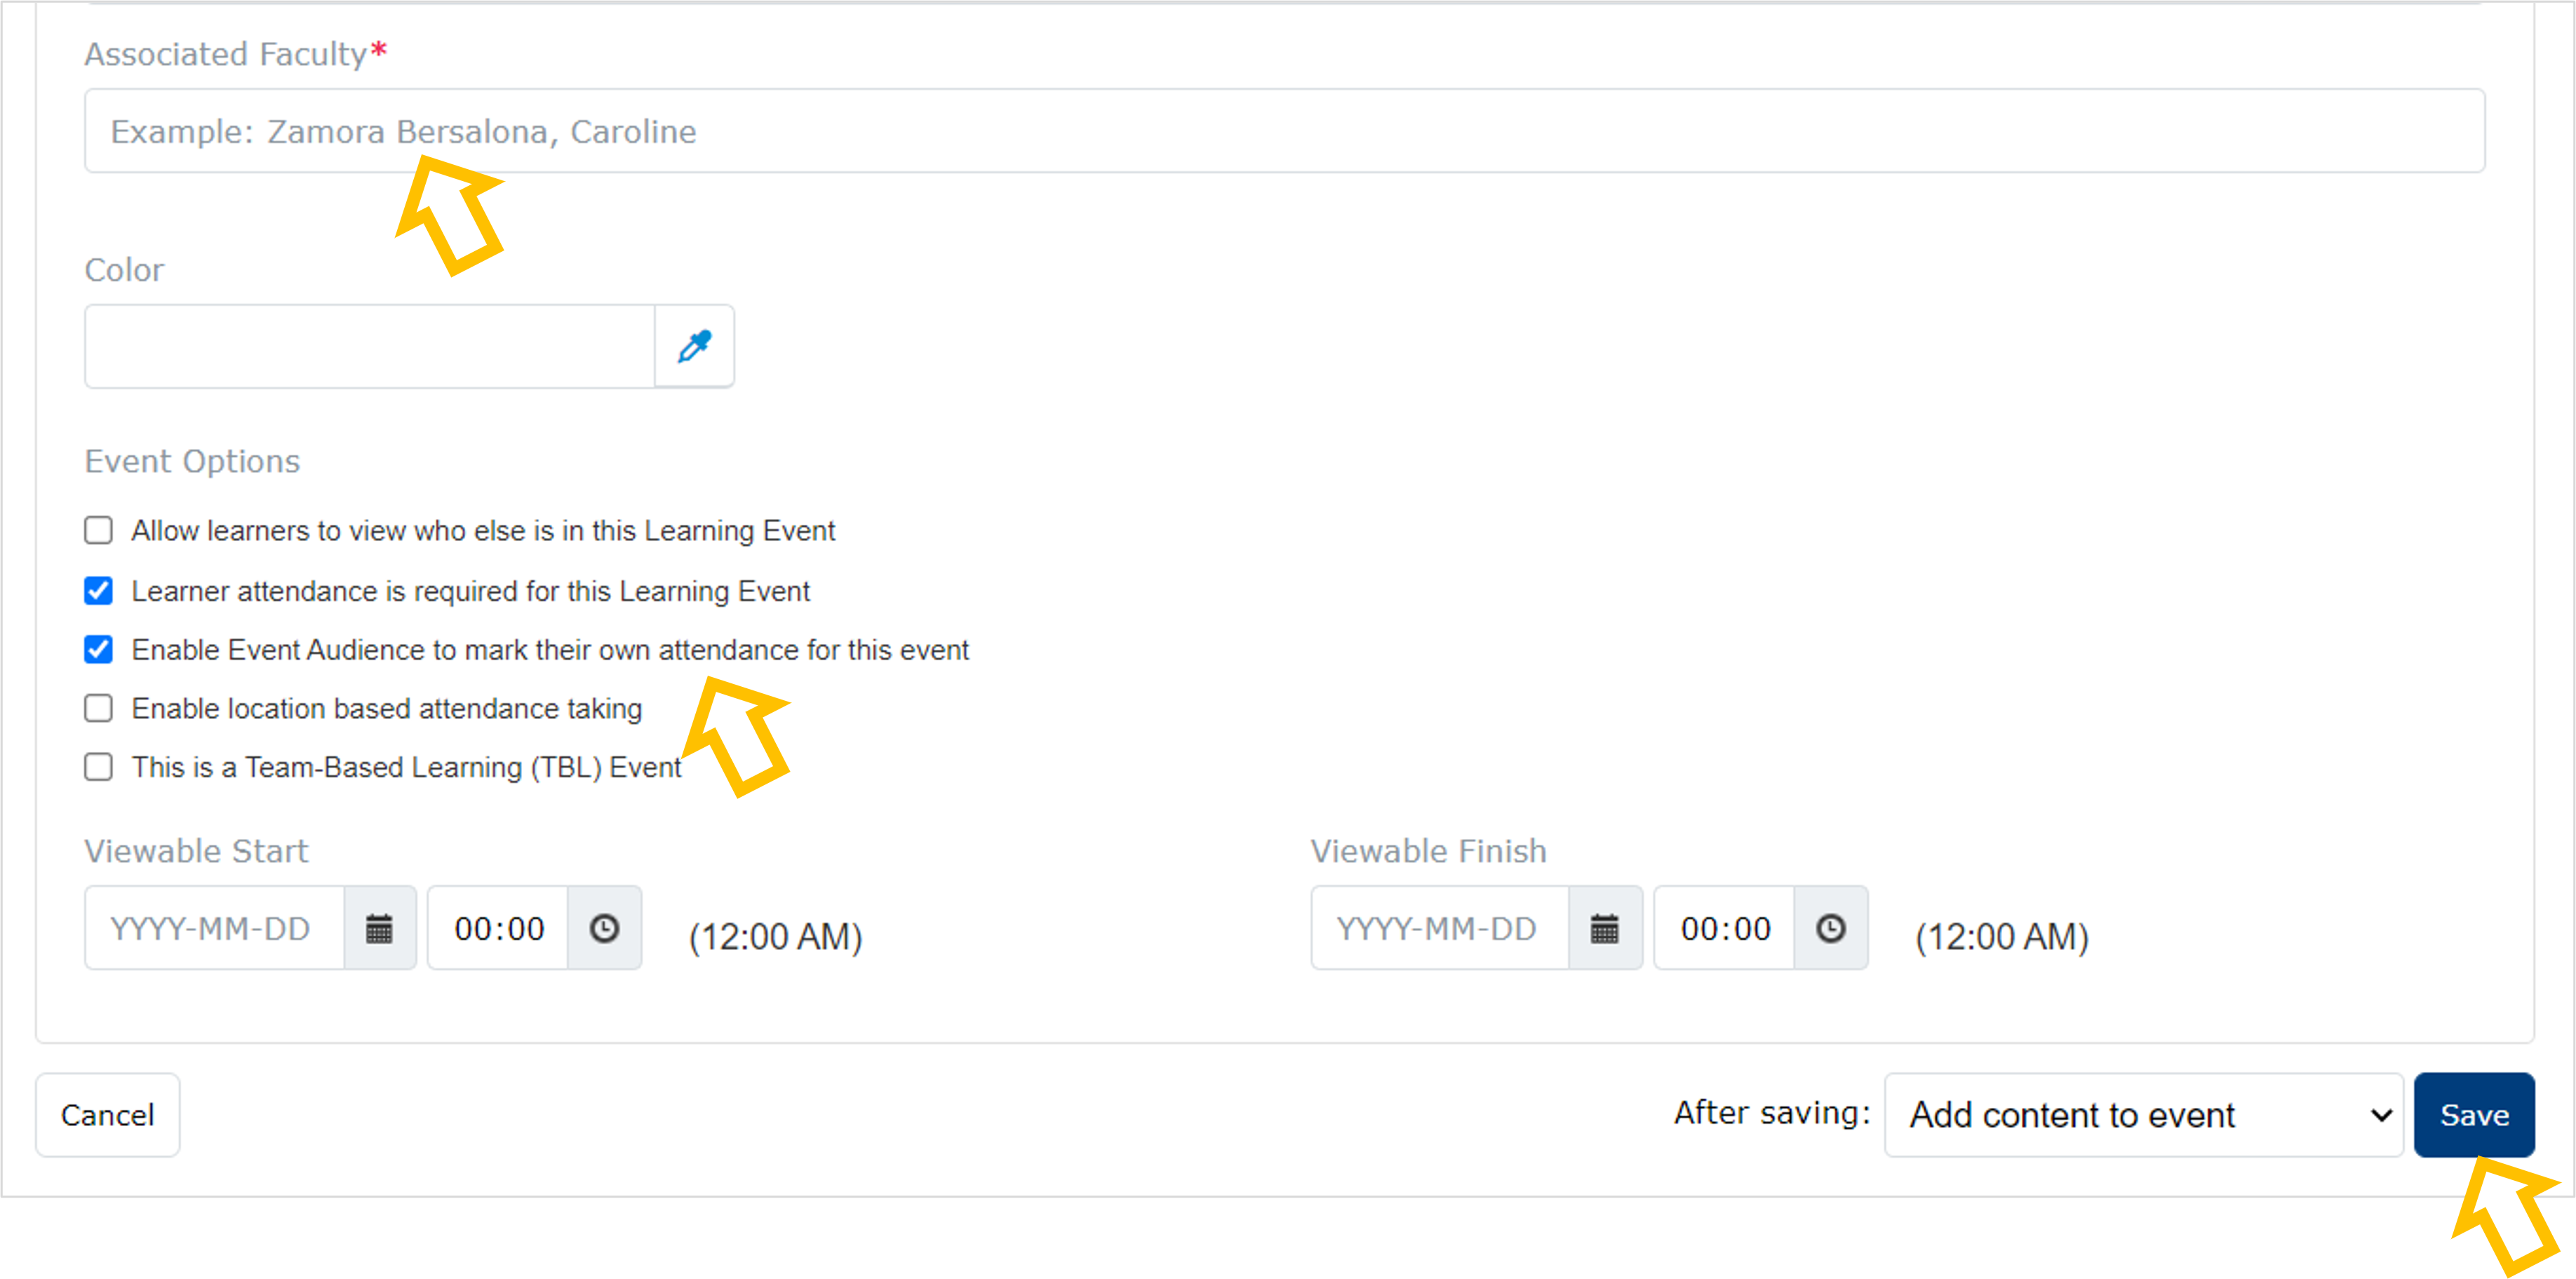
7. Select/update Associated Faculty and Learners.
The attendance-taking feature for events will be turned on by default. With this, students should be able to mark their attendance during the learning event date/time.
Click Save.
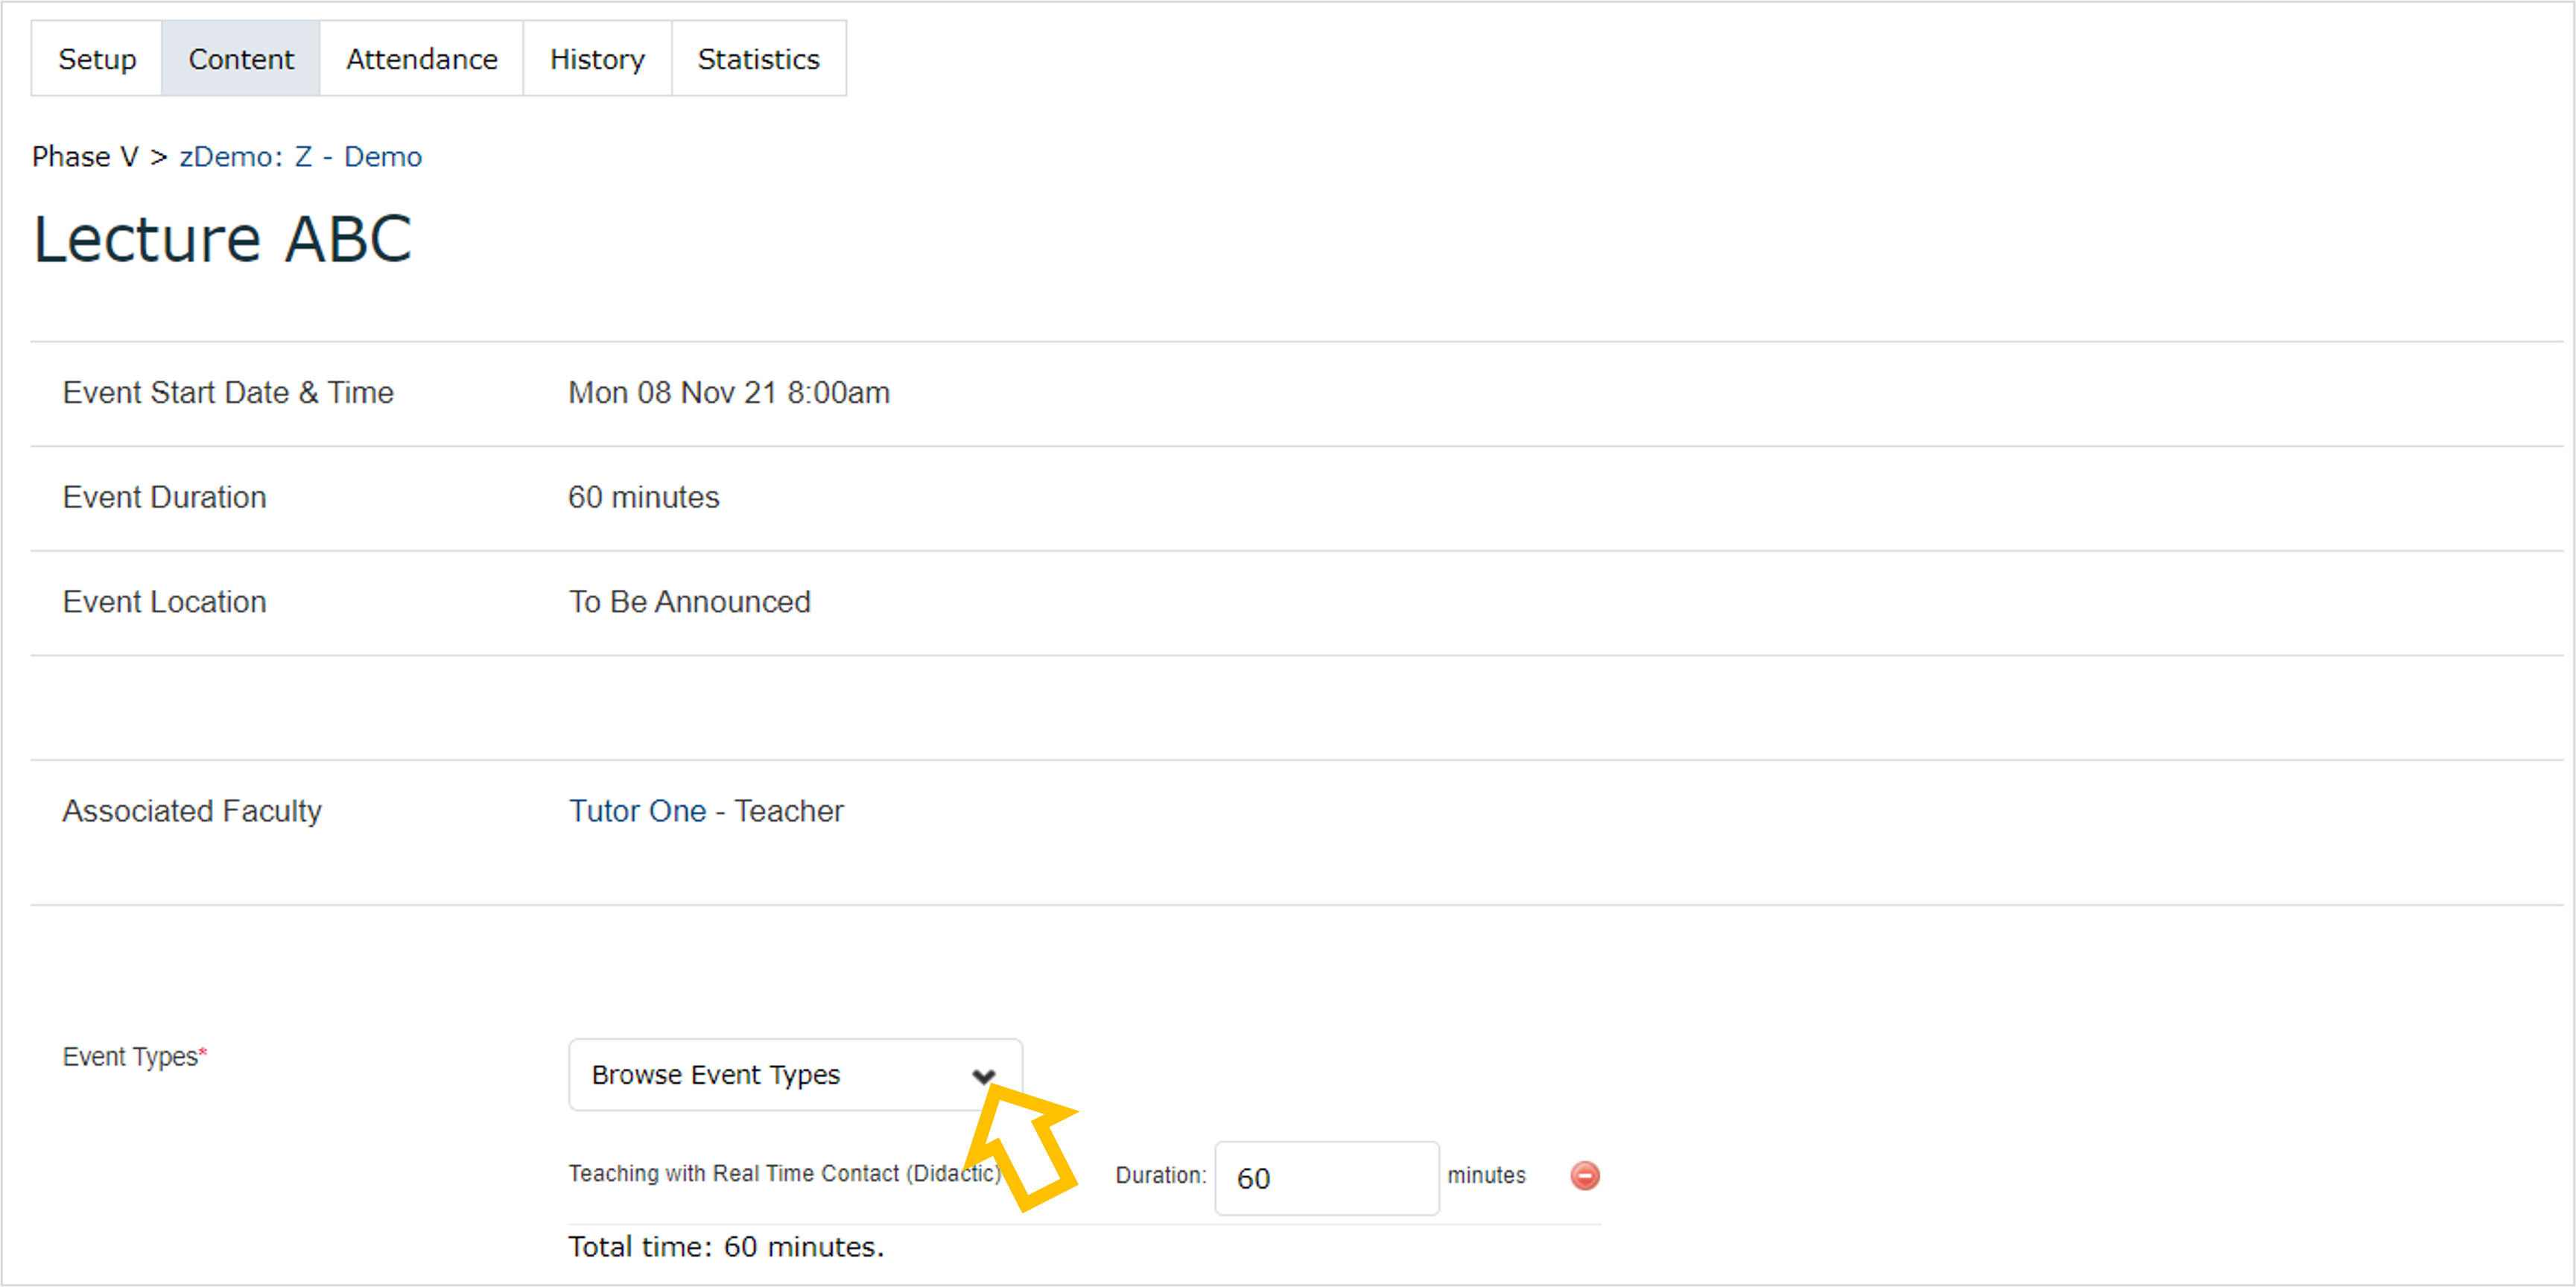
8. In the Content tab, you can add more event types and enter the duration, if applicable. Otherwise, move to step 9.
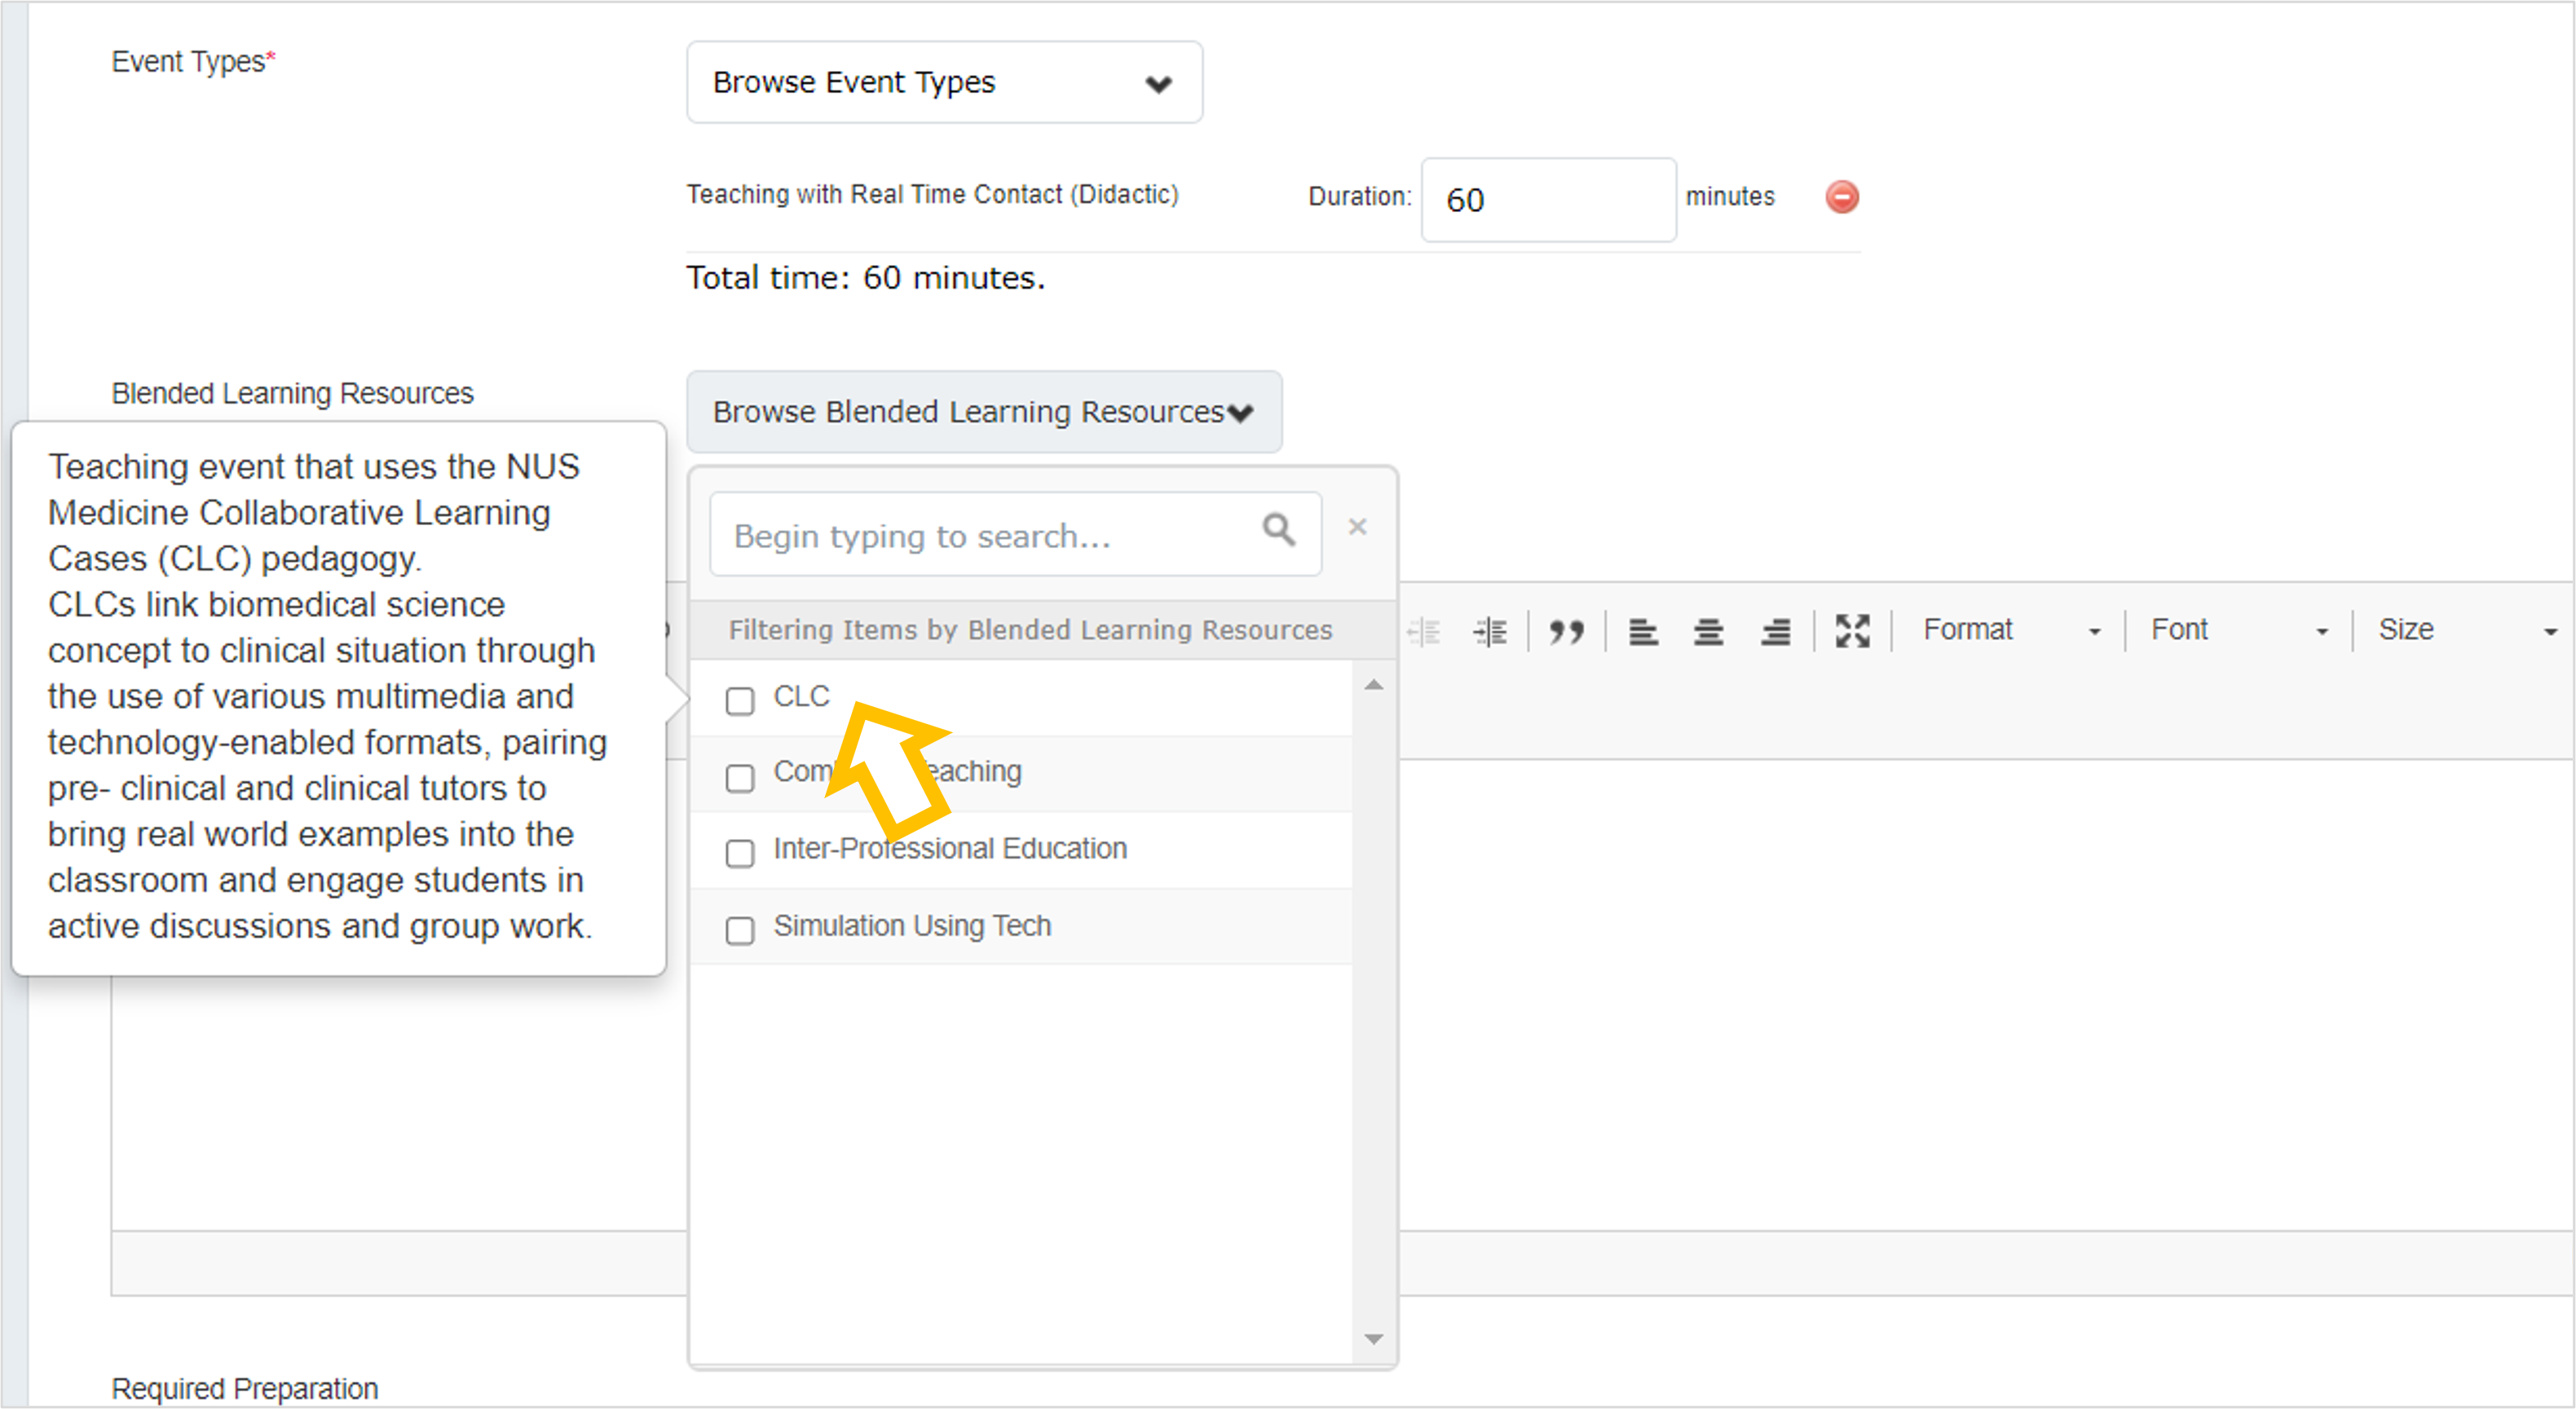
9. Select/update the Blended Learning Resources drop-down list. You can mouseover each item to read the description for each item.
Blended Learning Resources:
- CLC
- Combined Teaching
- Inter-Professional Education
- Simulation Using Tech
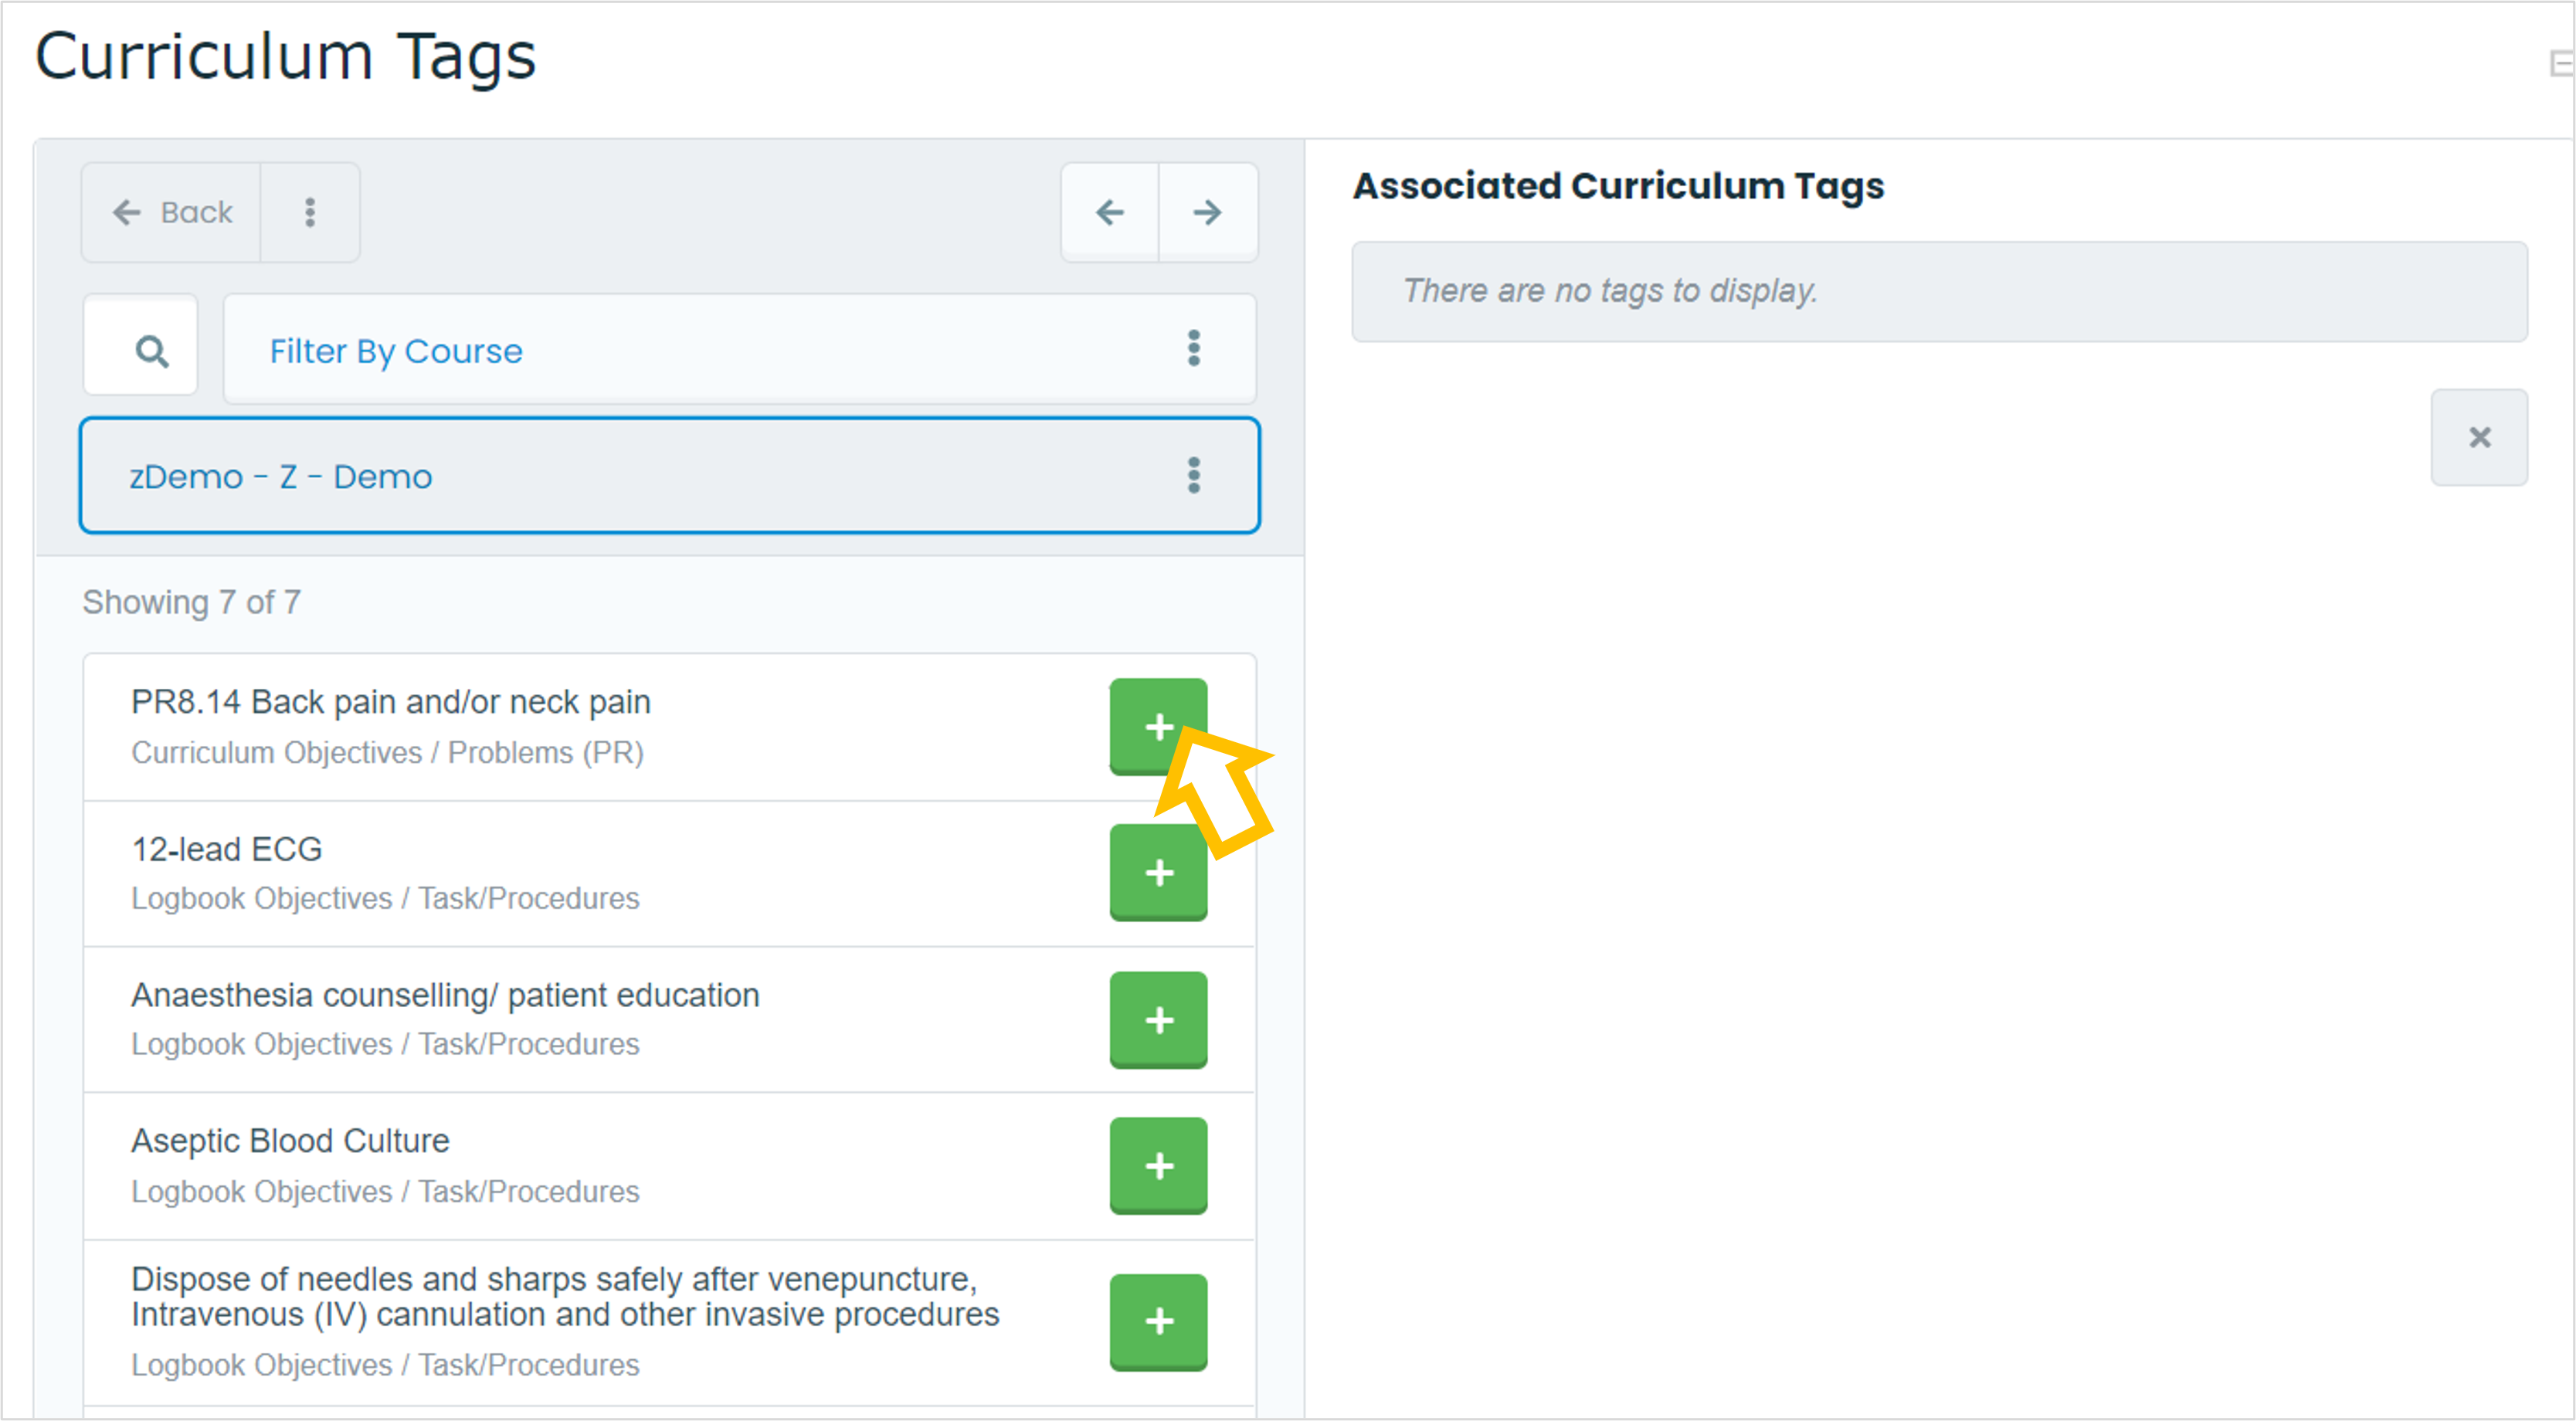
10. Curriculum Tags will be displayed according to what has been pre-selected for the course. To add a tag to the learning event, click +.
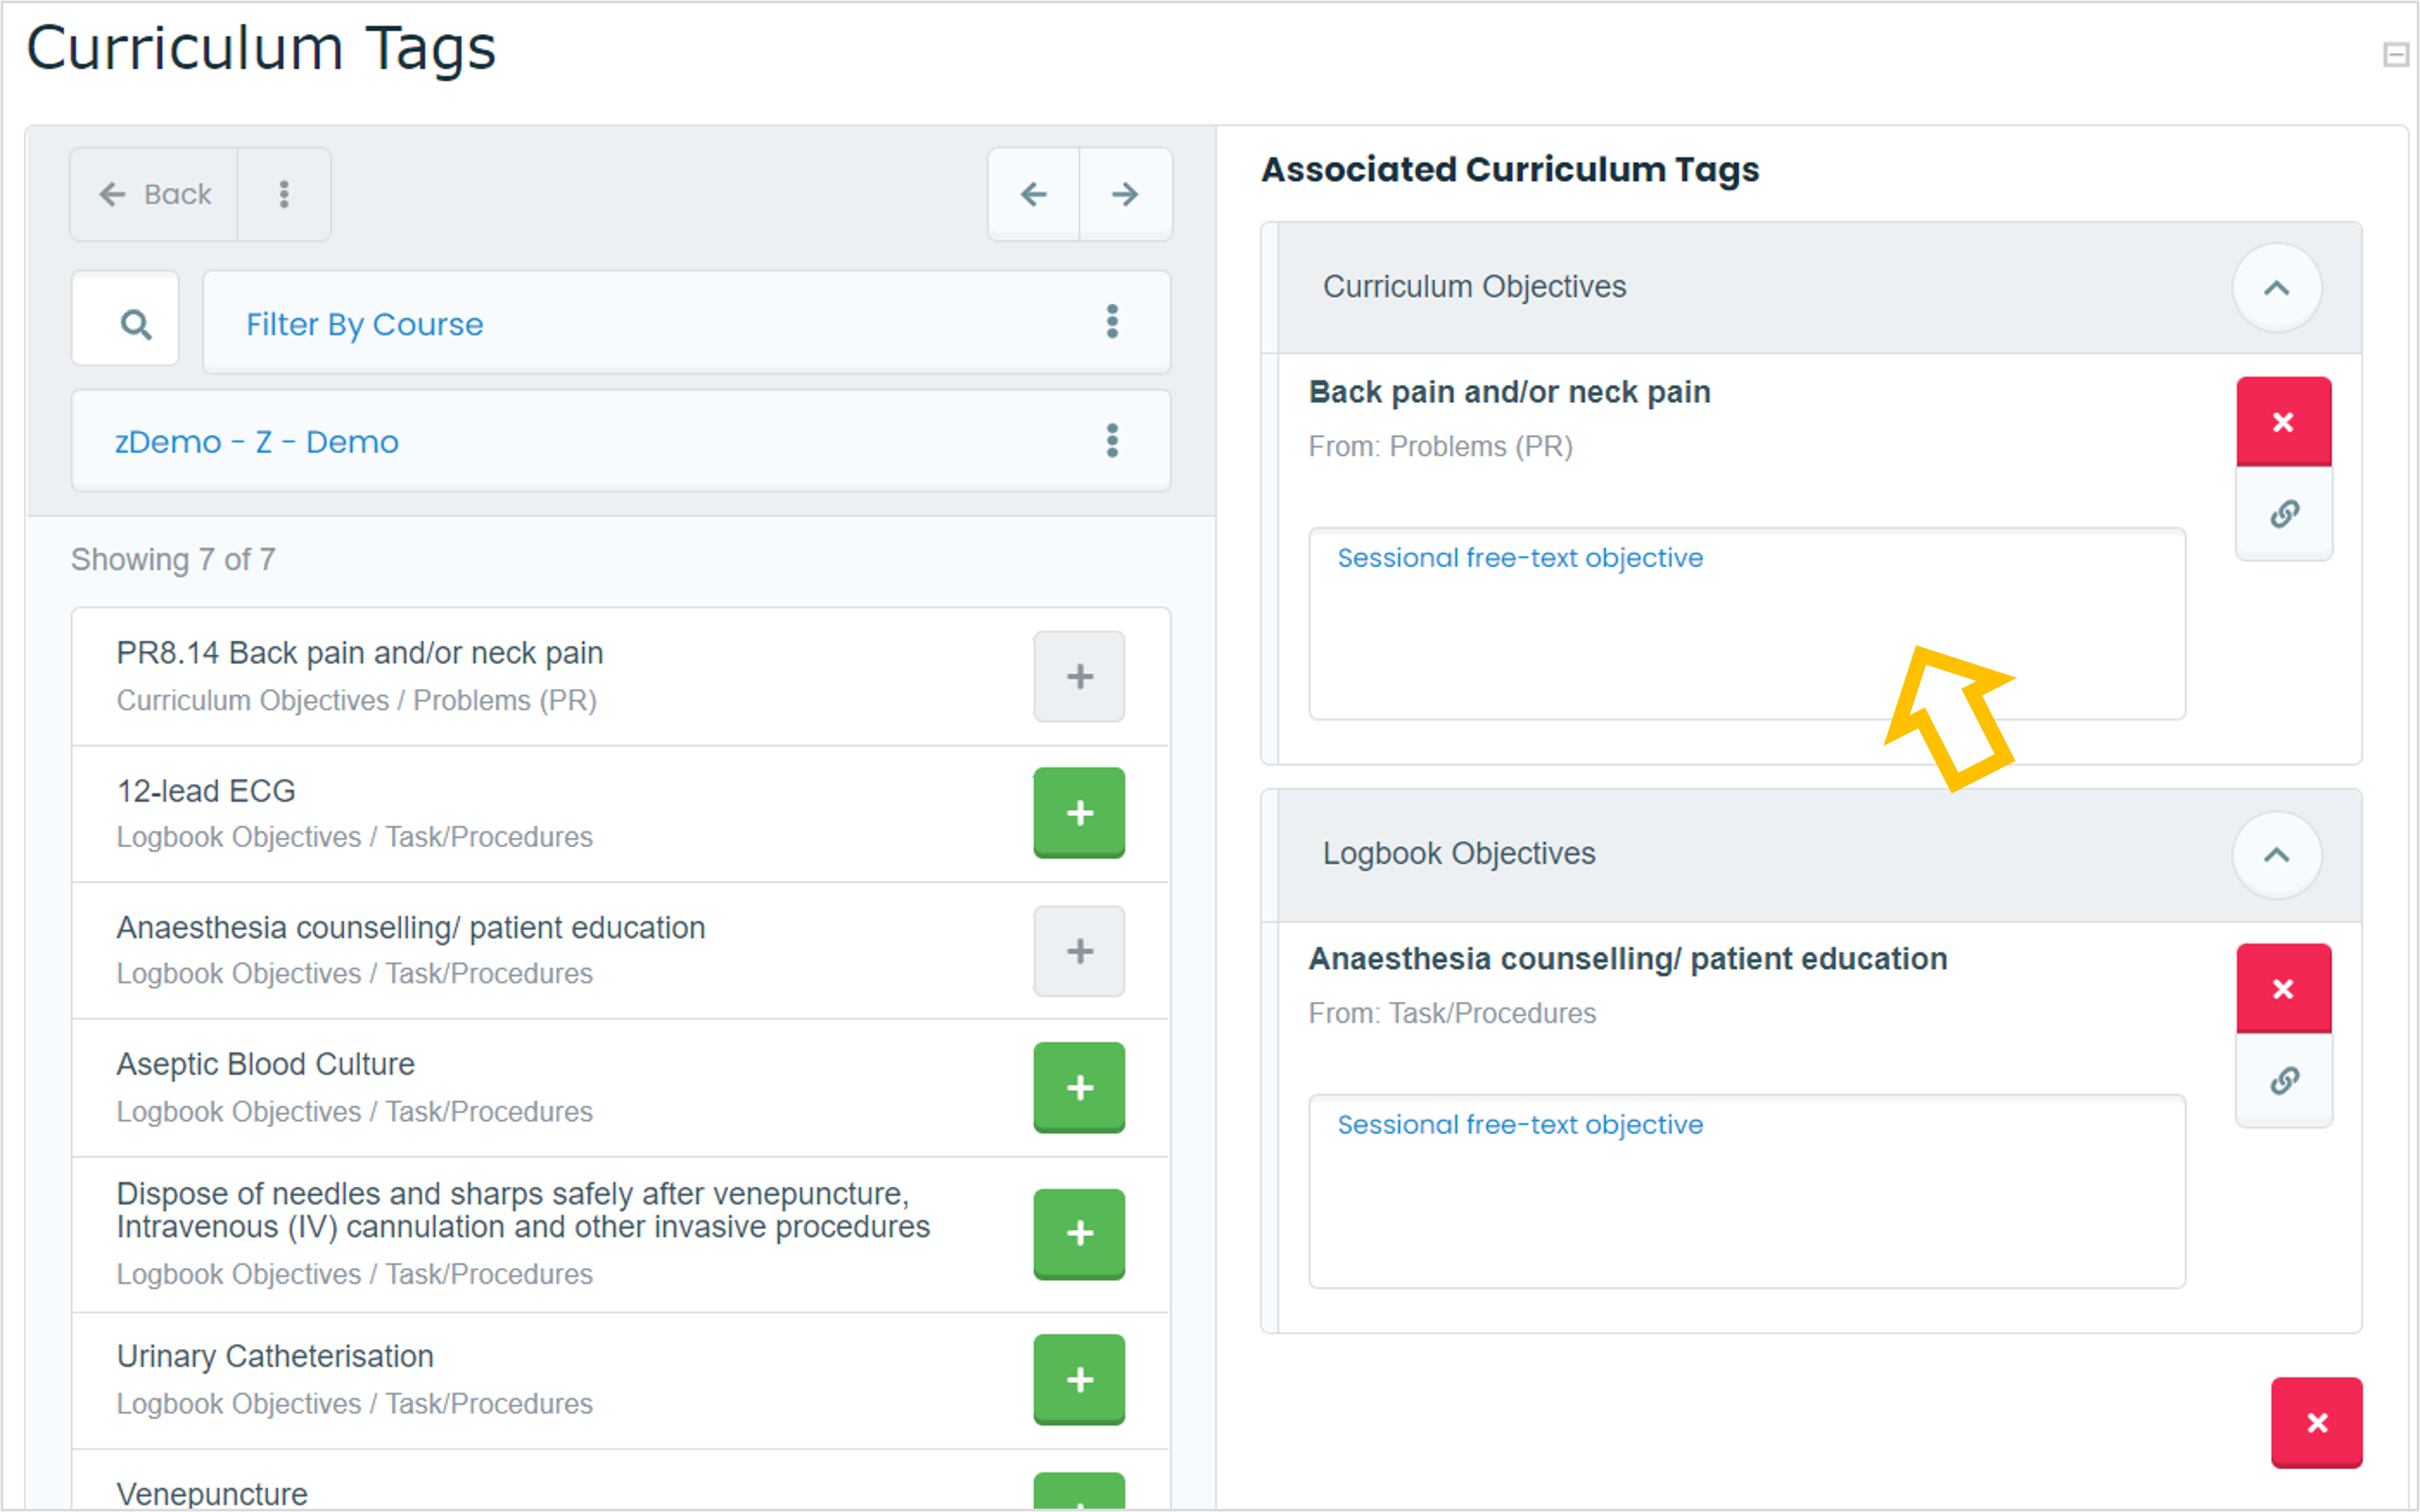
11. The curriculum tag will be added on the right column. To remove it, click X. To add text objectives, you can enter it on the text-box.
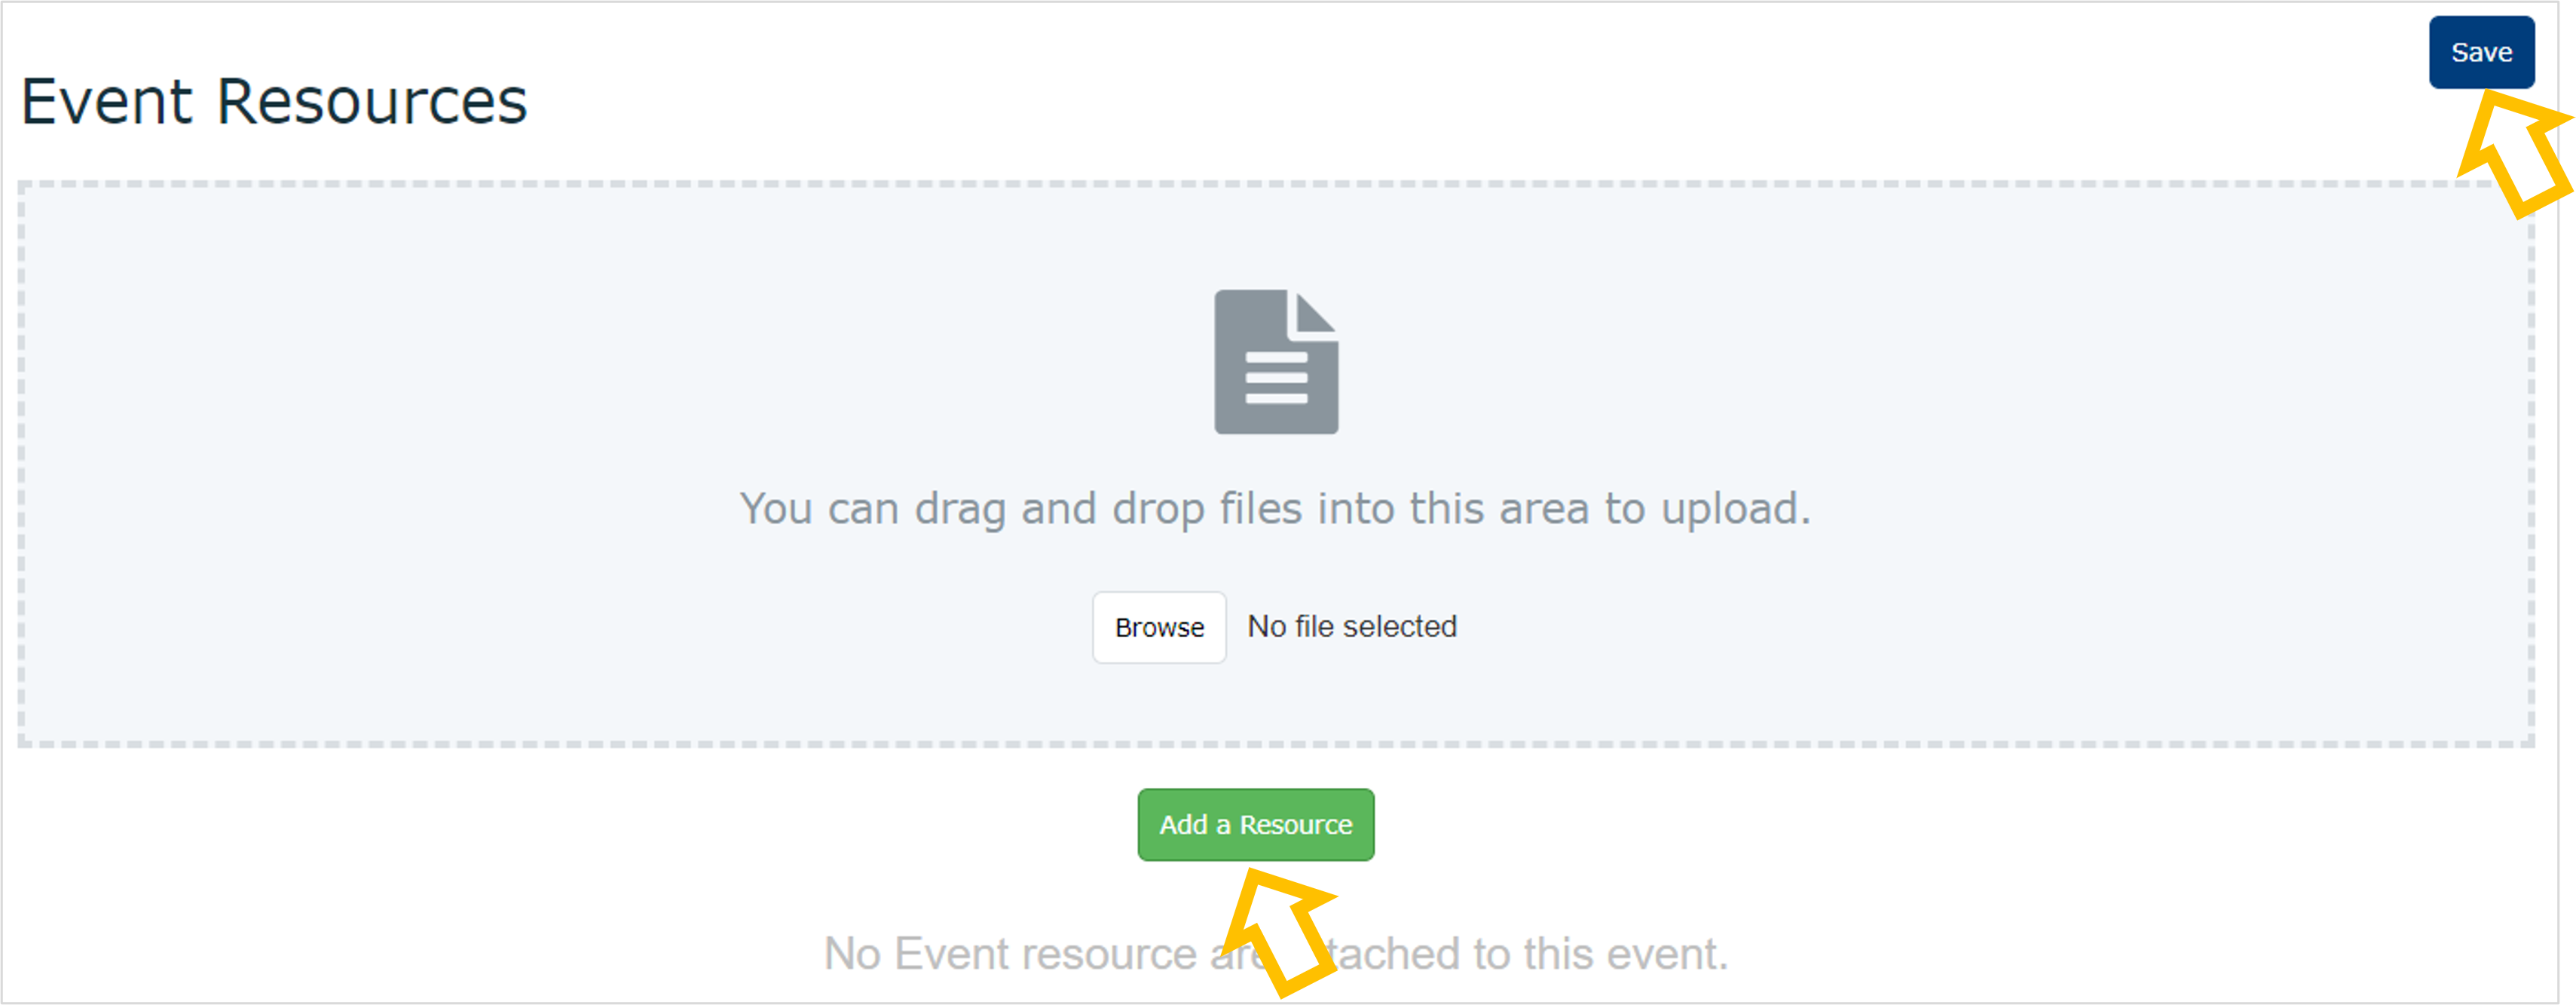
12. Add/update any resources. Then click Save.
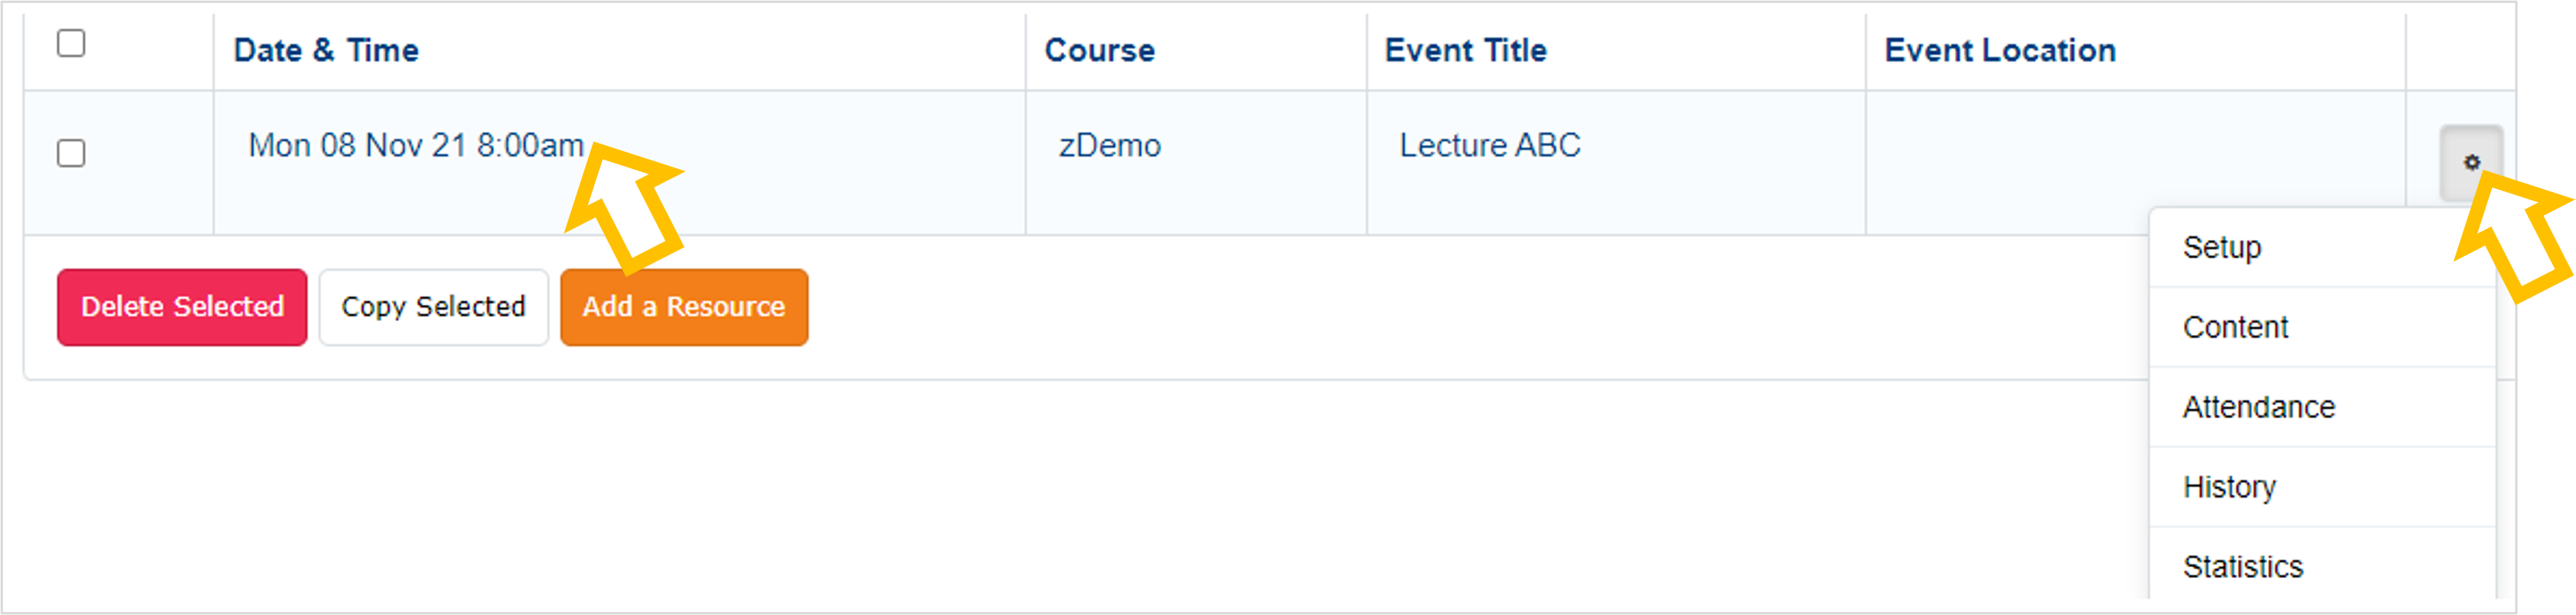
13. To update more learning events, return to Admin > Manage Events and select the events.
Alternatively, click on the gear icon and select Setup to edit the details.
14. Then follow Steps 3-12, depending on which section you would like to update.
Remember to click SAVE for changes to take effect.