The Assessment & Evaluation function in Entrada is used to assess learner performance in a pre-clinical (e.g. Professionalism), and clinical (e.g. Mini-CEX) environments.
Administrators can pre-assign assessments to assessors, or students can trigger them to the assessors on the spot at the clinical settings. You can then monitor the completion of these tasks.
Main Functions
- Login and access assessment and evaluation page
- Create new distribution
- Monitor progress of a distribution
- Download assessment reports
Appendix:
1) Login and access assessment and evaluation page
1. Go to https://entrada.nusmedicine.nus.edu.sg/.
2. Click Log In.
Note: If you do not have Entrada account, please write to medbox77@nus.edu.sg.
3. Sign in with your NUSNET ID, e.g. nusstf\userid and password.
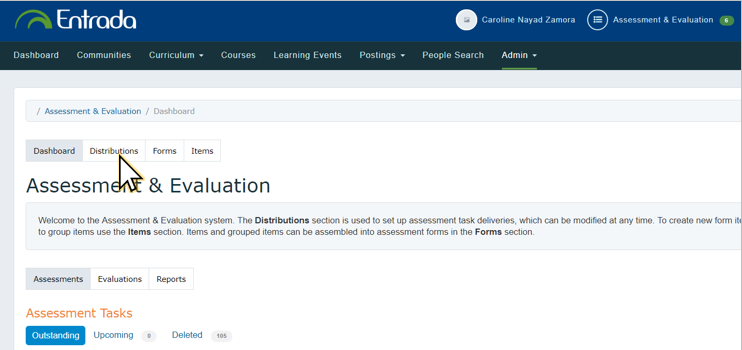
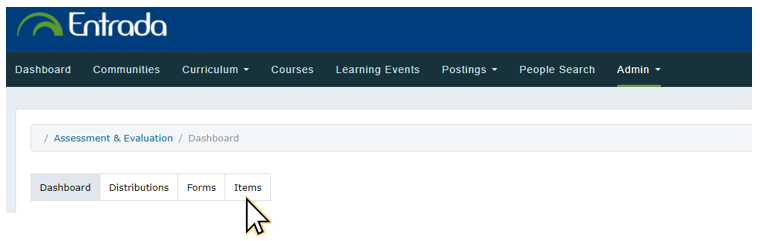
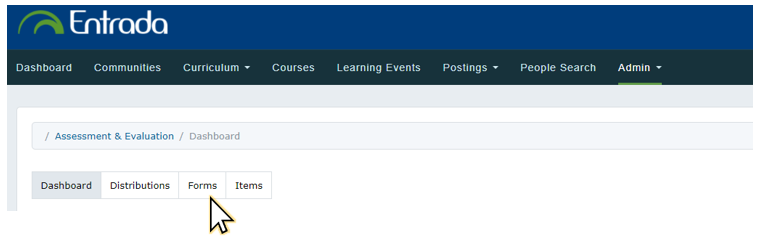
4. Go to Admin > Assessment and Evaluation.

2) Create new distribution
The following are the standardised forms made available in Entrada for your posting assessment needs:
• Mini-Clinical Evaluation Exercise (Mini-CEX)
• Student Internship Programme (SIP)
All you need to do is to create a ‘Distribution’ so you can send any of the above forms to the right assessor(s), for the right targets and at the right time.
(If you need to create a form other than the above, refer to create new assessment form.)
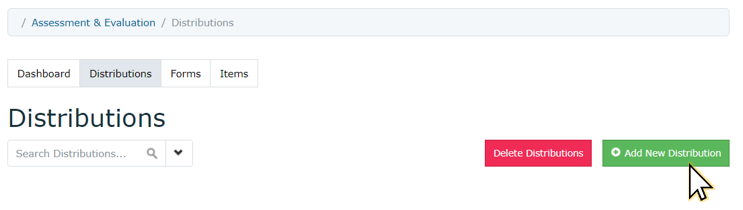
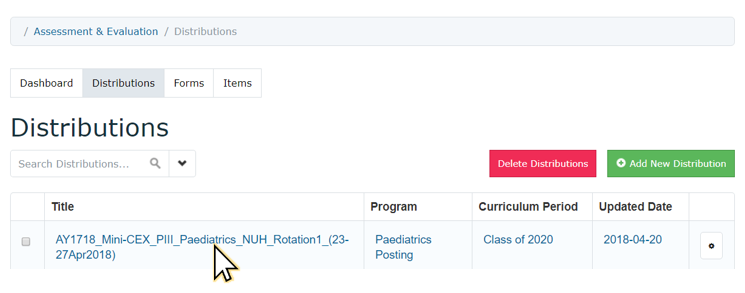
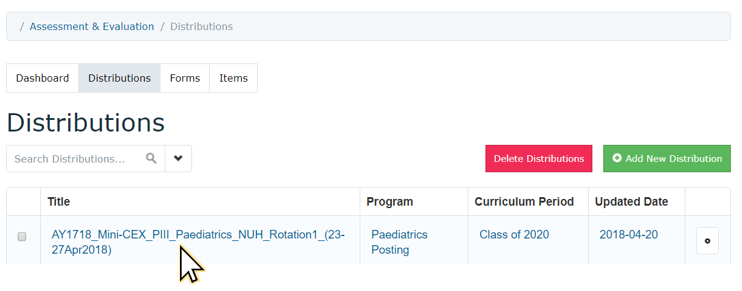
1. Click Distributions.
2. Click Add New Distribution.
3. You will be taken to the 5 steps in creating a new distribution. At any time, click on these tabs to return to a step.
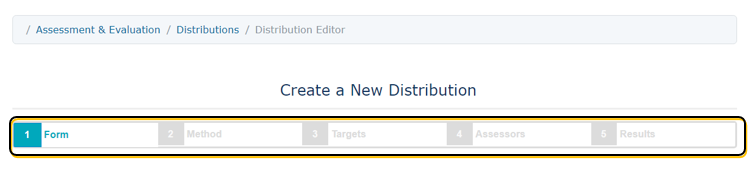
4. Under the Form tab:
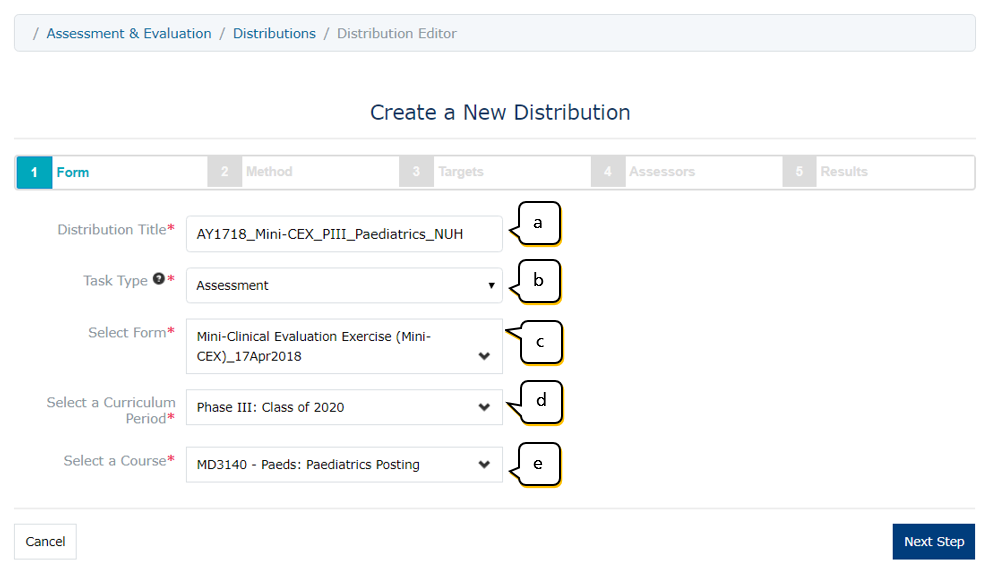
- Enter the Title for the distribution.
- Suggested format for easy retrieval: AY_Assessment Type_Phase_PostingName_Location_Rotation/Batch Number_(Posting Period)
- Example: AY1718_Mini-CEX_PIII_Paediatrics_NUH_Rotation1_(23-27Apr2018)
- Leave the Task Type as Assessment.
- Select the form to be used.
- Select the Curriculum Period, also referred to as the applicable phase.
- Select the Course associated with this assessment.
5. Click Next Step.
6. Under the Method tab:
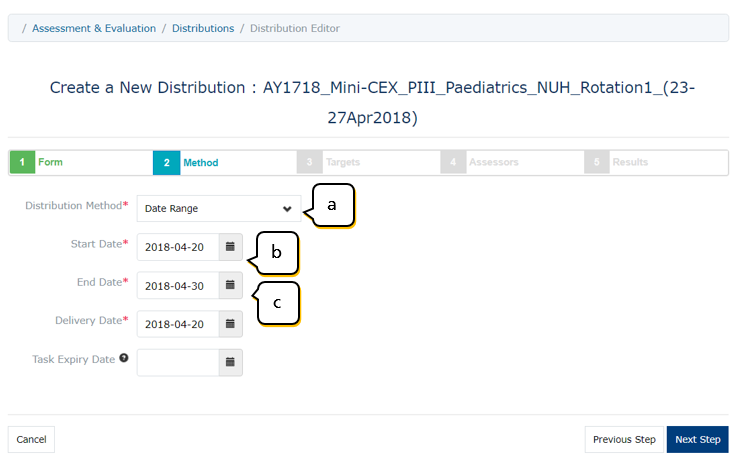
- Select Distribution Method as Date Range.
- Select the Start and End Dates when the assessor needs to complete the assessment.
- Select the Delivery Date. This is when the assessor will receive an email notification to complete the new assessment task.
Note: If you want to set a closing date, select ‘Task Expiry Date’ only. On this date, the assessor will no longer be able to access the task.
7. Click Next Step.
8. Under Targets tab:
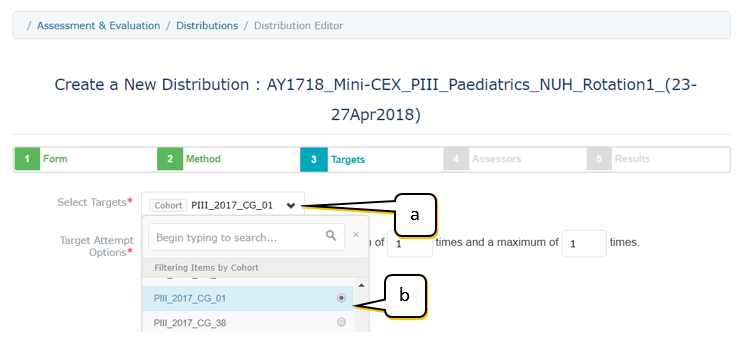

- Select who will be the subject(s) of the assessment. You can select Cohort to look for specific cohort or clinical group (CG), or Individual for specific students.
- From the drop-down list, select the specific CG number or individual student.
- Under Target Attempt Options, leave the minimum and maximum number of times each assessor can mark each target as 1.
9. Click Next Step.
10. Under the Assessors tab:
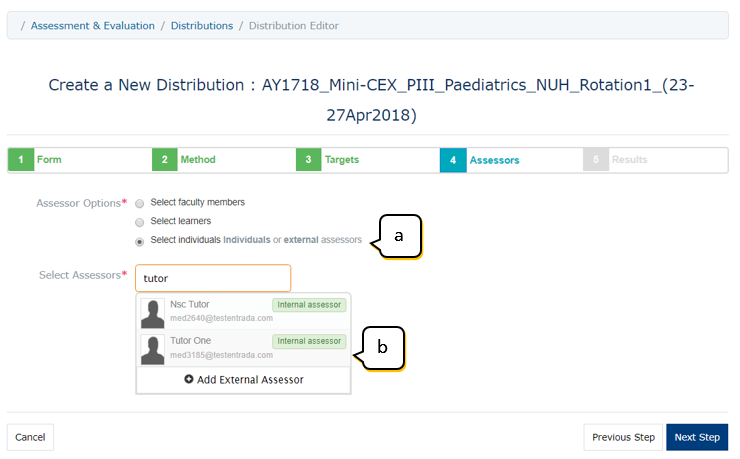
- Select who will be assessing the target(s) selected. To select faculty or clinician assessor, select faculty members or individuals.
- Type part of the name of the assessor, then select the name from the drop-down list.
11. Click Next Step.
Note: If you have more than one assessor-student pair, you can add new task to this distribution later after saving it (Step 14).
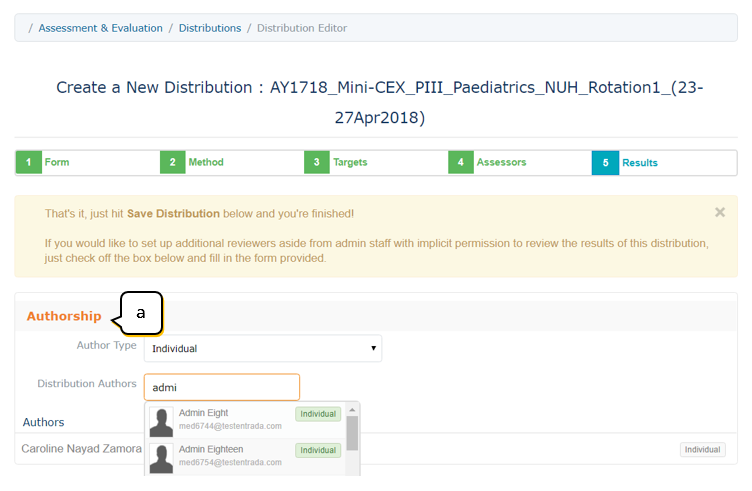
12. Under the Results tab:
a) Click Authorship to add more users who will be able to monitor and view results of this distribution.
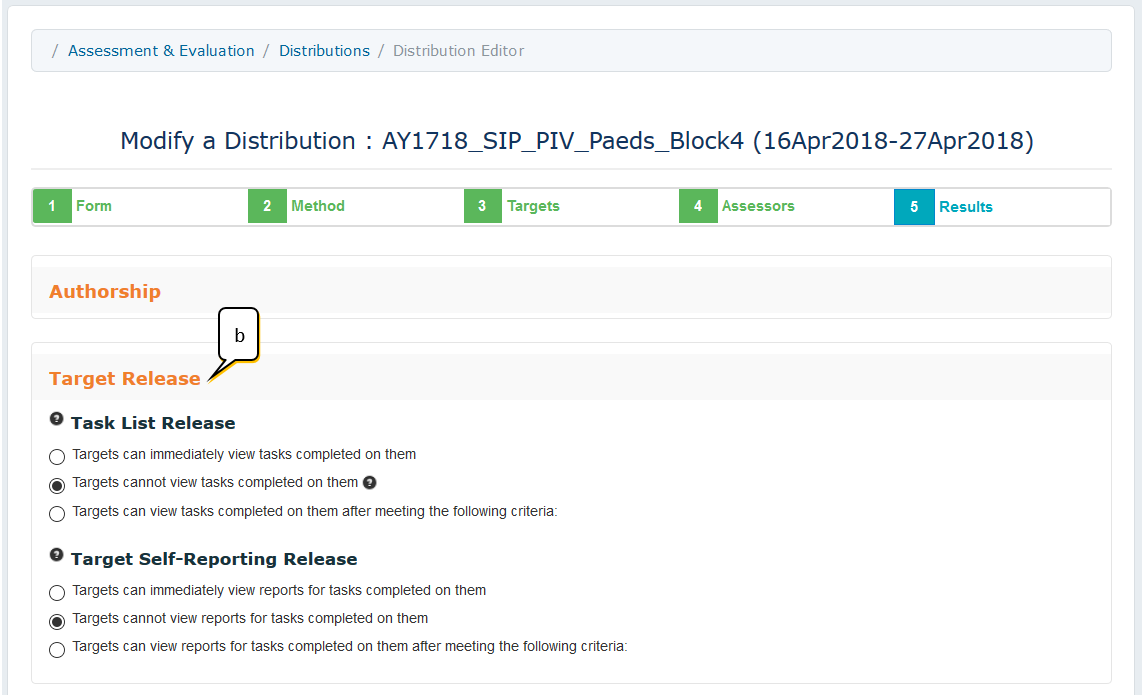
b) Click Target Release to select whether or not you want to release results to students.

- If you don’t want students to view assessment results, please ensure that both choices below are selected:
- ‘Targets cannot view reports for tasks completed on them’ (Watch Video - Adhoc)
- 'Targets cannot view tasks completed on them' (Watch Video - Date Range)
- If you want students to immediately view their assessment results, select:
- ‘Targets can immediately view tasks completed on them’
c) Click Save Distribution.
Note: Skip ‘Self-Reporting Options’ and ‘Prompted Response Notifications’ as we are not using these options.

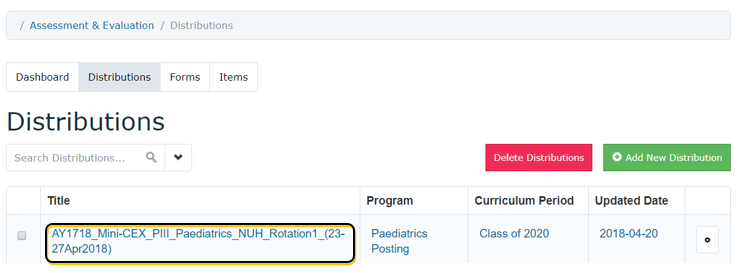
13. After saving the distribution, you will be brought back to the Distribution tab. It will display the distribution you just created.
The assessor will receive an email notifying him/her to login to Entrada and complete the assessment, 15mins after saving the distribution.
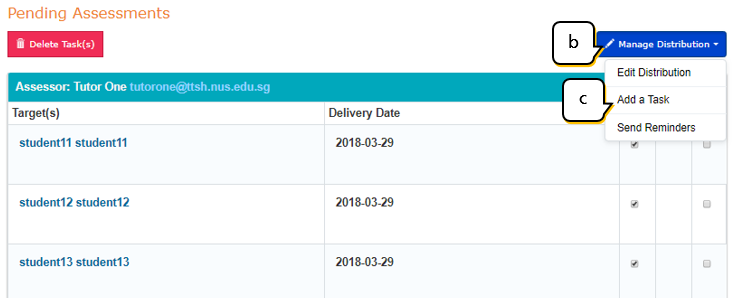
14. If you want to add more assessors to use the same form, but for a different set of student(s), you can add a new task.
a) Select the distribution title.
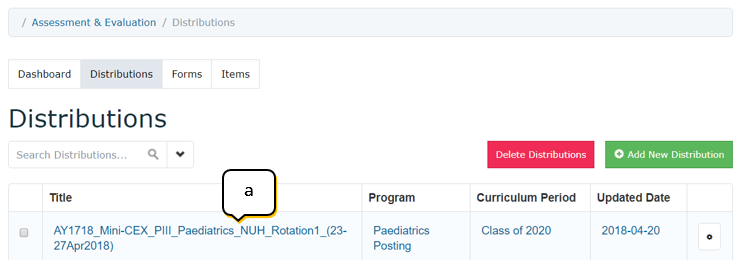
b) Click Manage Distribution.
c) Select Add a Task.
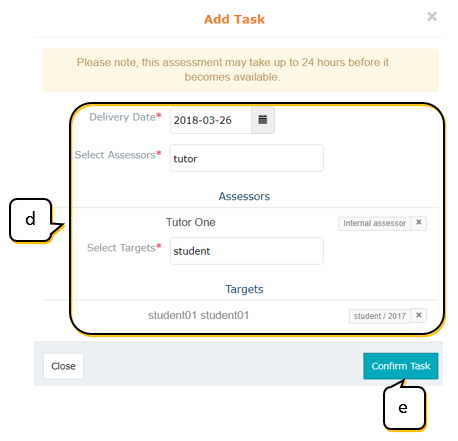
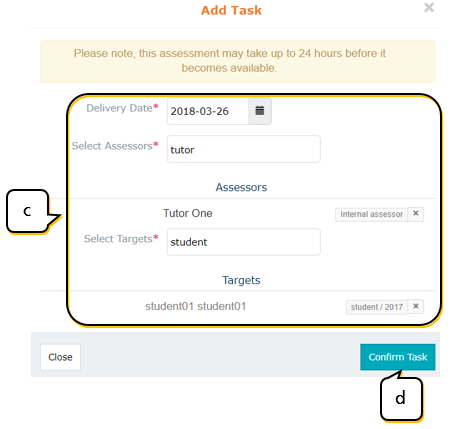
d) In the pop-up, select the Delivery Date, additional Assessor and additional Target.
e) Click Confirm Task.
The new assessor-student pair will be added on the same distribution.
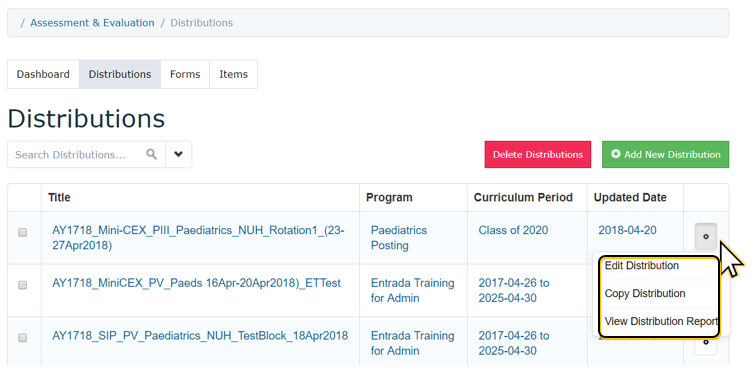
15. If you need to amend the distribution settings, click on the gear icon and select Edit Distribution.
To duplicate this distribution and use it for another set of students and assessors, click Copy Distribution.
To view the status of forms at any time, click View Distribution Report.
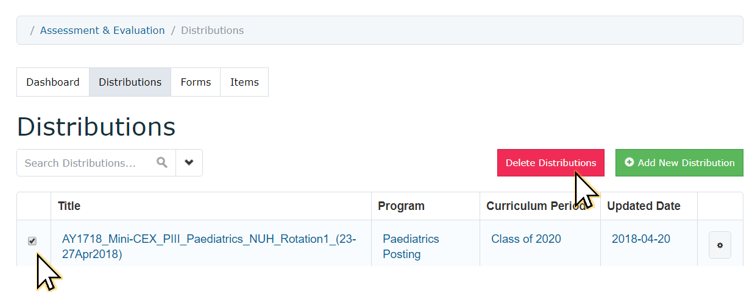
16. To remove the distribution completely, select it and click Delete Distributions.
The assessment task will no longer be accessible to the assessor.
3) Monitor progress of a distribution
1. Click Distributions.

2. Select the distribution title.
Alternatively, you can click the gear icon and click View Distribution Report.
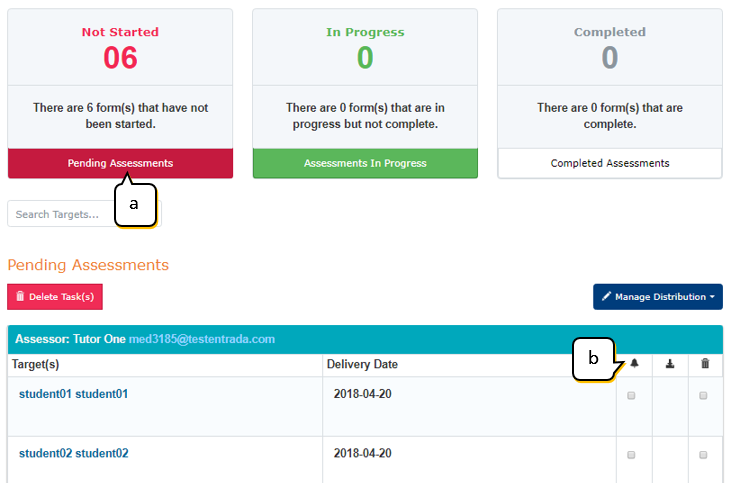
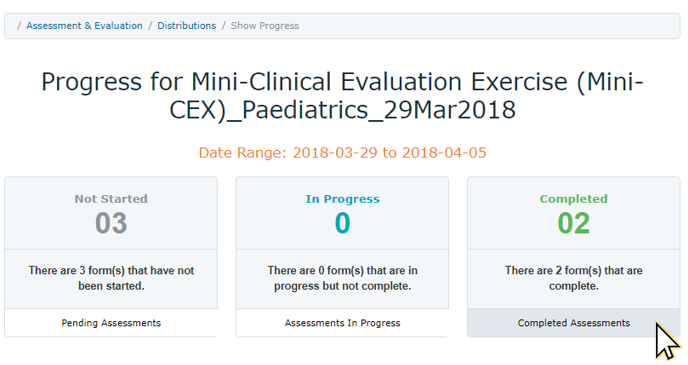
3. Click on the Pending Assessments, Assessments In Progress or Completed Assessments tabs to view the list of students for each.

1) How to Remind Assessor to Complete Tasks
a) Click Pending Assessments or Assessments in Progress tab.
b) Click  to select student names.
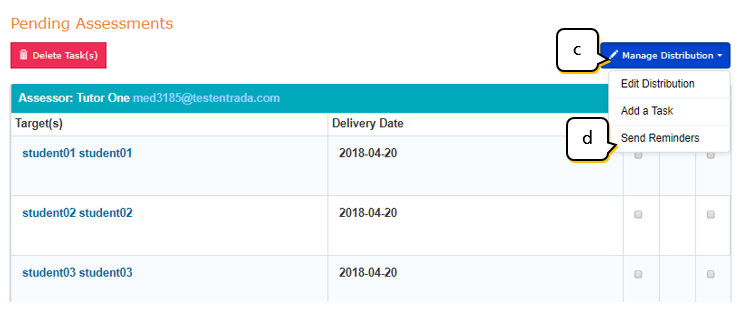
c) Select Manage Distribution.
d) Click Send Reminders.
The assessor will receive an email reminder to login to Entrada and complete the assessments.
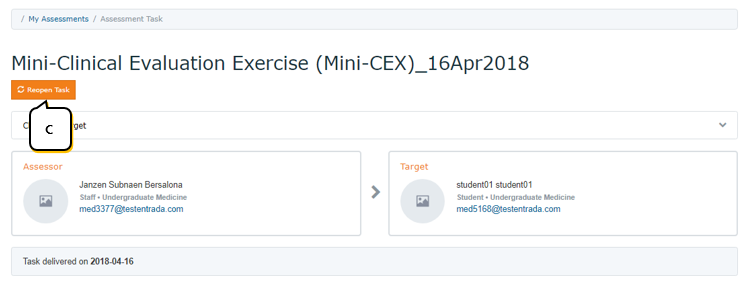
2) How to Enable an Assessor to Make Changes to a Task
Once a form is submitted by an assessor, he/she will not be able to change scores.
You can re-open the task if the assessor requests to be able to update the form.
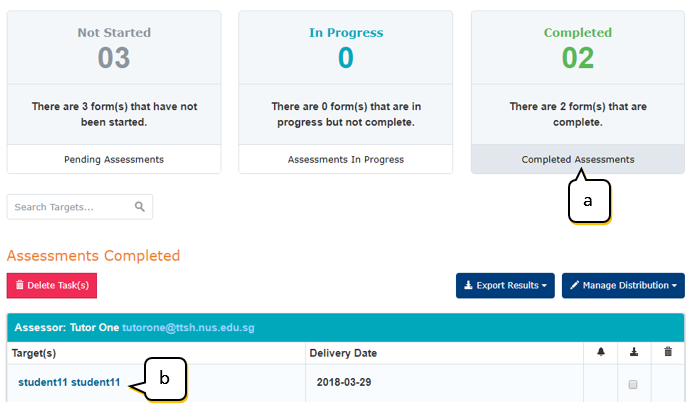
a) Click Completed Assessments tab.
b) Select the name of the student whose form needs to be amended.
c) Click Re-open Task.
This will set the task to ‘Assessments in Progress’. Advise the assessor to access the form again from this tab to make the changes and re-submit the form.
3) How to Add a New Task
If you want to add another form under this distribution, but for a different assessor and student, you can add a new task.
a) Click Manage Distribution.
b) Select Add a Task.
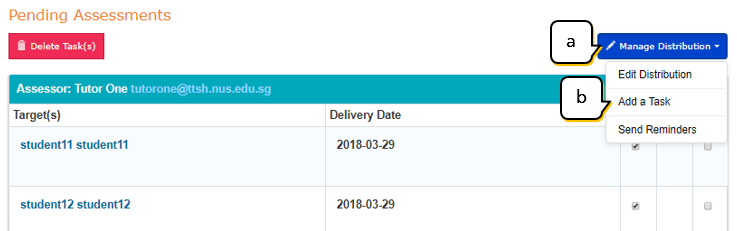
c) In the pop-up, select the Delivery Date, Assessor and Target.
d) Click Confirm Task.
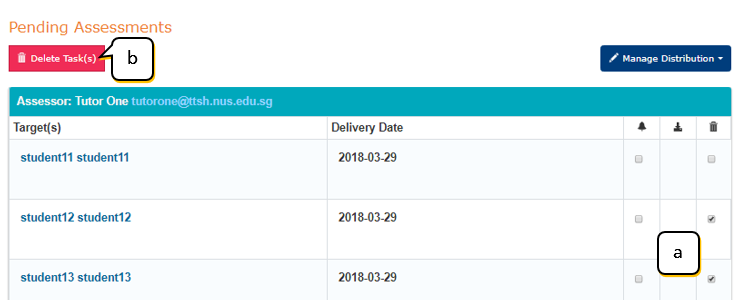
4) How to Delete a Task
If you have mistakenly added a student under a distribution, or if a form is no longer needed, you can delete a task.
a) Tick the box next to the form(s) to be deleted.
b) Click Delete Task(s).
4) Download assessment reports
1. Select the distribution title you wish to download reports for.
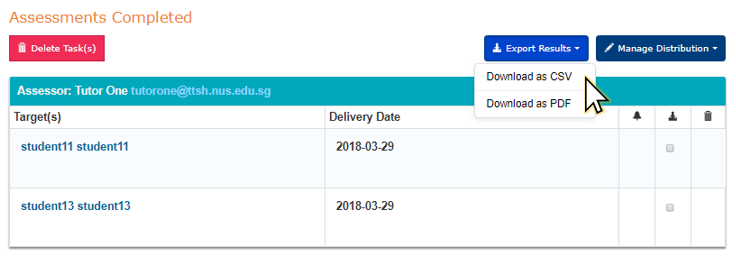
2. Click on the Completed Assessments tab.
3. Click Export Results and select Download as CSV.
To download individual results, select the target(s) first under Download column  , then select Export Results > Download as CSV.
Appendix I. Create new assessment form
This section will help you build a form from scratch. To do this, you will have to:
a) Create items – also known as questions or fields
b) Create form – the container for the questions which will be sent to assessors
1) Create items
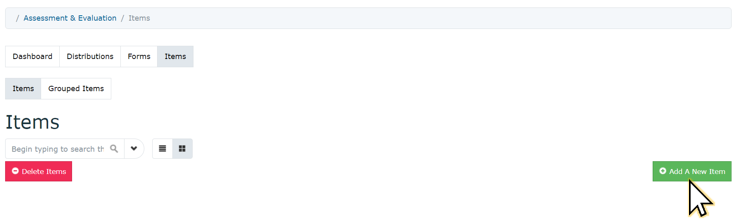
1. On the Assessment & Evaluation dashboard, click Items.
2. Click Add a New Item.
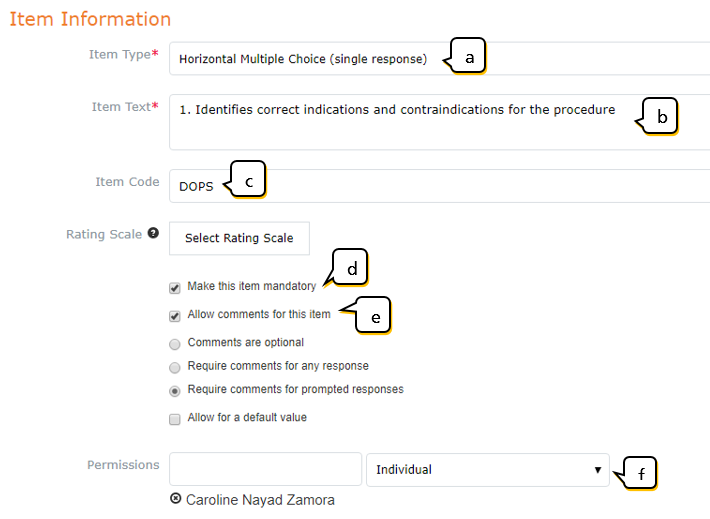
3. Complete the Item Information fields:
a. Select the Item Type. Refer to Appendix B for available item types/questions.
b. Enter Item text, i.e. question.
c. For ease of search later, enter Item Code.
d. Tick Make this item mandatory if the item is required to be completed by the assessor before he/she is able to submit.
e. Select Allow comments for the item if you want to add a text field after a prompted option is selected.
f. Search and select users under Permissions, if you want additional users to be able to use or edit this item later.
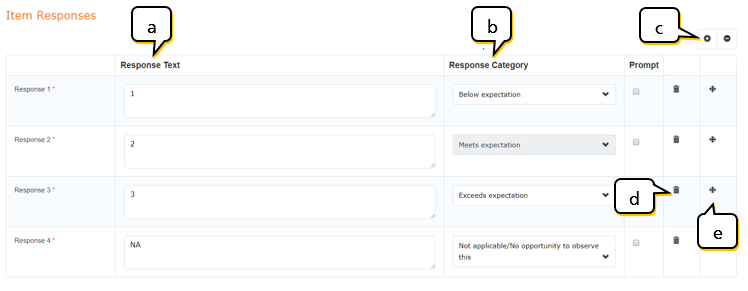
4. Scroll below and complete the Item Responses fields:
a. For multiple-choice items, enter the options under Response Texts. For scales, enter the rating scores/numbers.
b. The Response Category is used if you want a descriptor to appear for each option, e.g. Below expectation 1, Meet expectation 2, etc.
c. To add more options, click  .
.
d. To delete an option, click  .
.
e. To arrange options, click and hold  and move the item to the appropriate position.
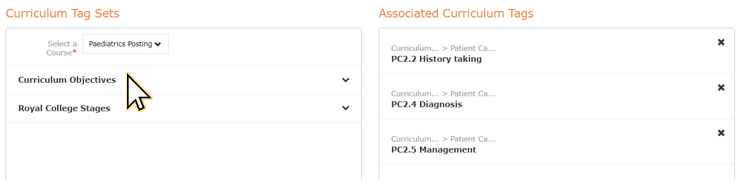
5. To tag the item/question with a curriculum objective, scroll below and click Curriculum Objectives. Selected items will appear on the right.
6. Click Save.
7. To create more items, click Items on the bread crumb and repeat steps 2-6.

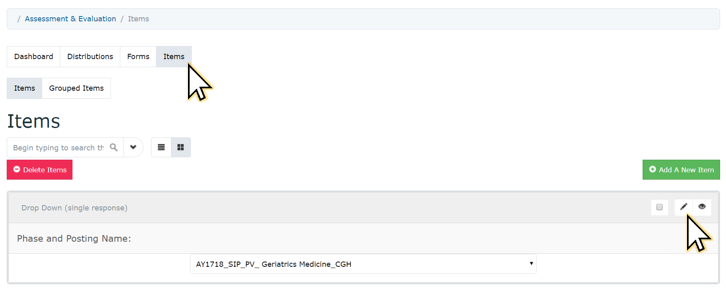
8. All items created will be displayed under Items tab.
To edit items, click on the pencil icon.
2) Create form
After creating the items, you can now create the form.
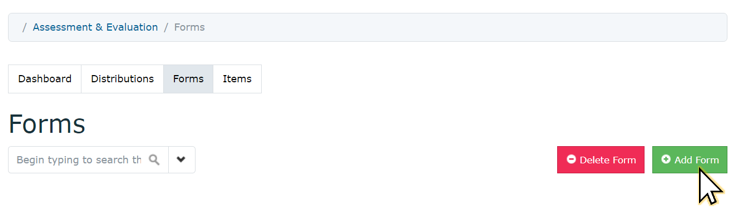
1. On the Assessment & Evaluation dashboard, click Forms.
2. Click Add Form.
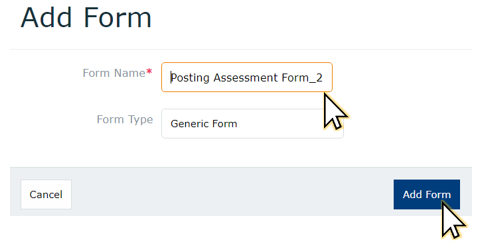
3. Enter the Form Name and click Add Form.
4. Search and select users under Permissions, if you want additional users to be able to use and edit this form.
5. Click Save.

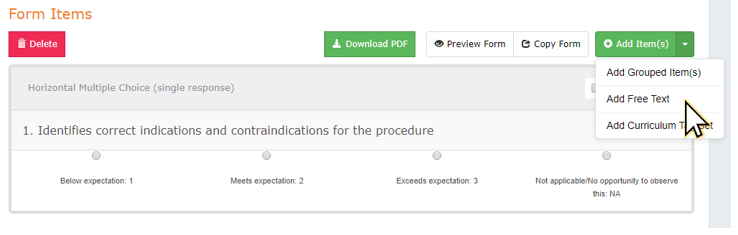
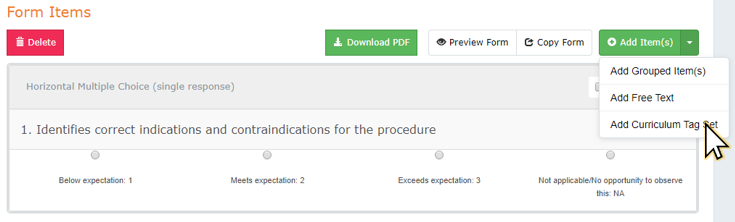
6. Click Add Item(s) to add items to the form shell.

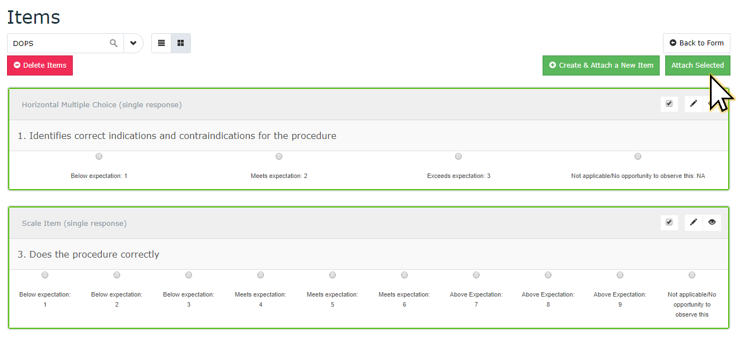
7. Search for the items using the item code used, select them and click Attach Selected.
8. To add instructions or text labels on the form, select Add Item(s) > Add Free Text.
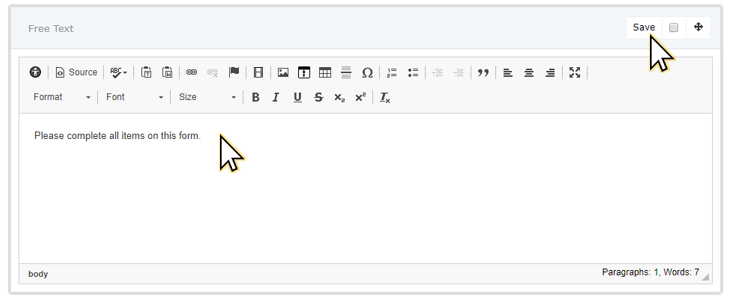
9. Enter your text. Click Save then click and drag  to move the free-text to the appropriate position, e.g. top of the form.
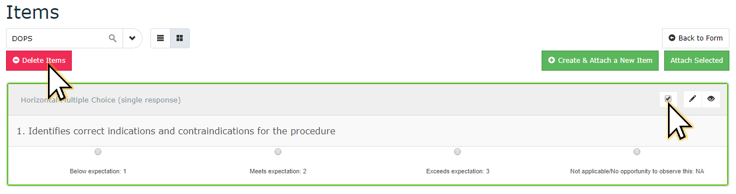
10. To delete any item, select the item and click Delete.
11. To tag the item with curriculum objectives, select Add Item(s) > Add Curriculum Tag Set.
12. To check that the form displays correctly, click Preview Form.
13. Click Save.
After creating the new form, you can now distribute the form to your assessors.
Note: A form that has been used in a distribution cannot be edited. To make edits and use for another distribution, you can Copy Form.
Appendix. II Item/Question types available in Entrada
These are the item types you can create in Entrada:
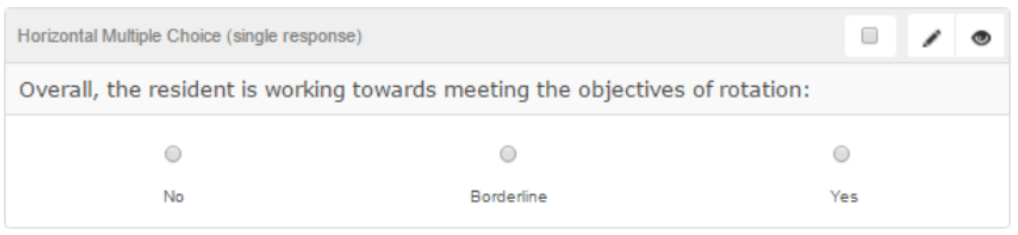
1. Horizontal multiple choice (single and multiple response)
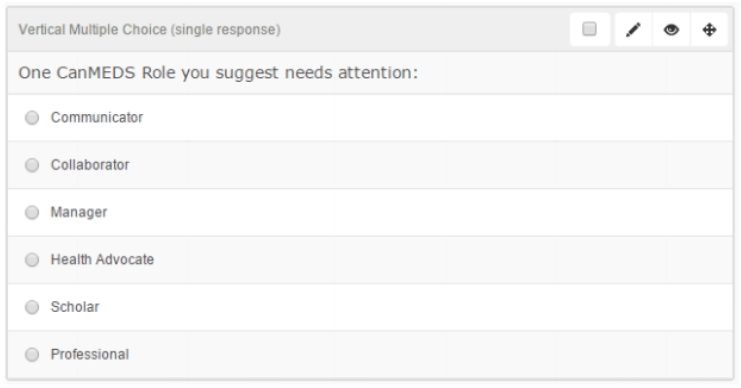
2. Vertical multiple choice (single and multiple response)
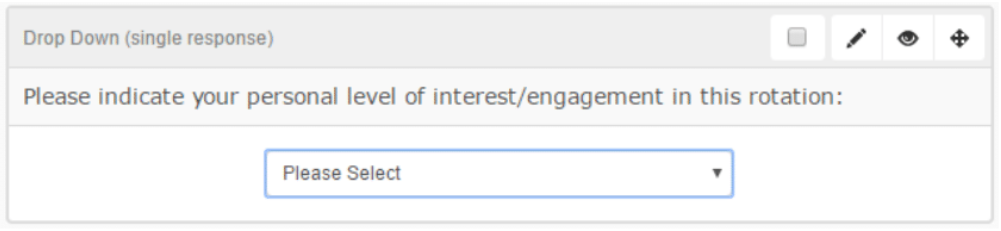
3. Drop down (single and multiple response)
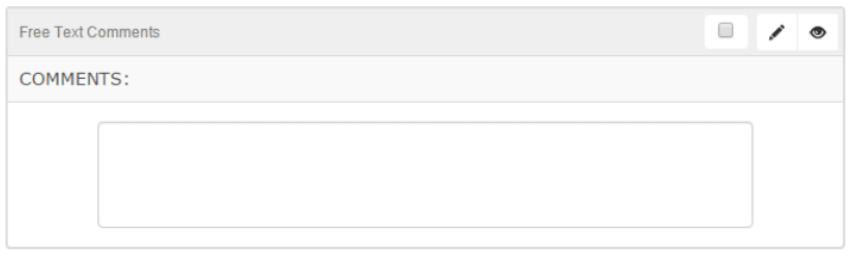
4. Free text comments
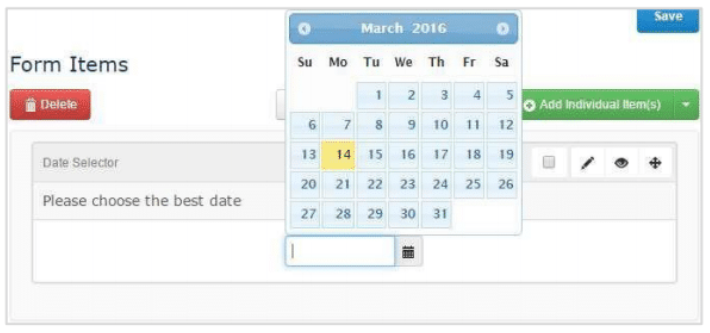
5. Date selector
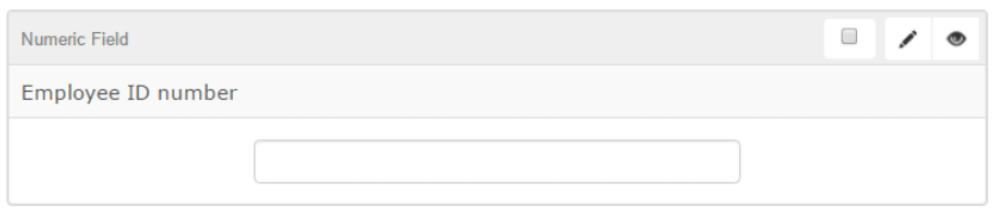
6. Numeric field