To create a schedule of events that can be populated with instructors, learners, resources, etc., you must be logged in with administrator or pcoordinator permissions.
To batch import events, you should have completed the CSV file first and accompanying files.
Below are some details for your noting.
- Venue Type Name (Column M), please refer to venue_type_names.csv > Column B
- Training Site Code (Column N), please refer to training_site_codes.csv > Column B
- Location Room (Column O), please refer to sitesnames_building_code_and_room_code_list_v2.csv > Column K.
- Please note that Location Room needs to follow the format to read the building/room # loaded in Entrada. Free-text is not allowed.
- Event Code:
https://htmlcolorcodes.com/#:~:text=Color%20codes%20are%20ways
%20of,HTML%20color%20names%2C%20amongst%20others
Once ready, you can then batch import events into the system.
1. Go to Admin and select Manage Events

2. Click Manage My Drafts

3. Click Create New Draft

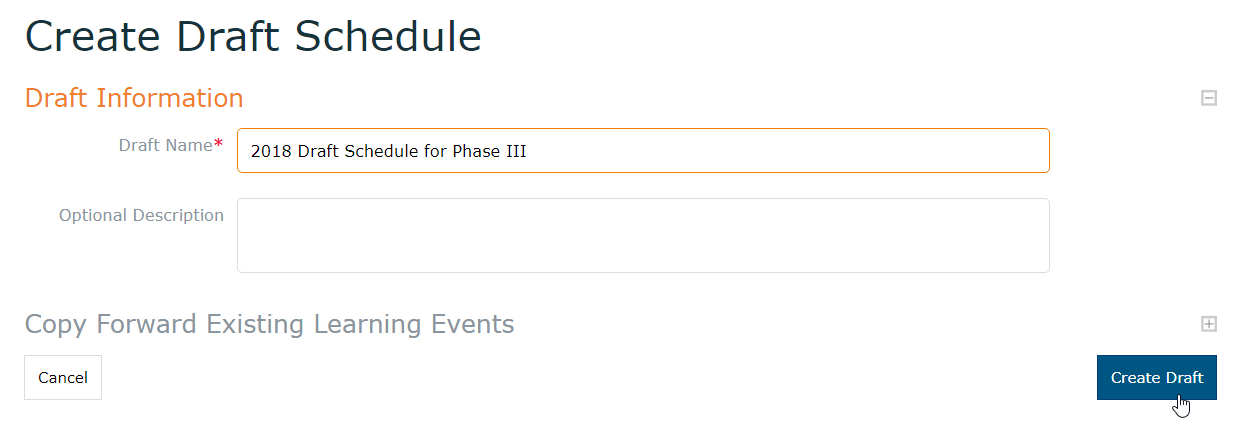
4. Enter Draft Name and description. Click Create Draft

5. Click Import CVS File

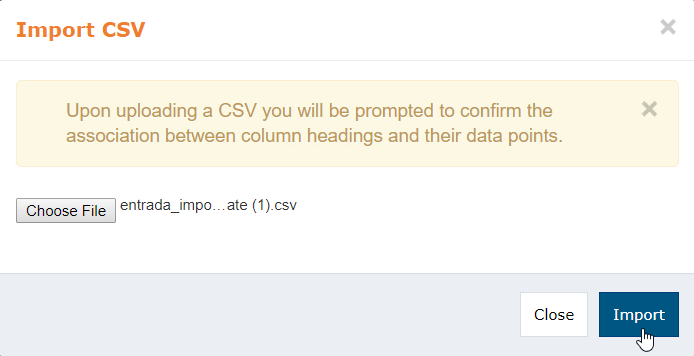
6. Choose the file from you computer. Click Import

9. Click Import.
10. Events will be imported. Click on each event and review the details. Once event details are confirmed accurate and complete, click Publish Draft. It will take around 30 minutes before the learnings events will be visible to learners' and faculty's calendars.
Note: If you need to re-import the events due to many changes, delete the previously uploaded events first before re-importing the new CSV. This will prevent duplicated events in the system.
11. To preview your events in calendar view, go to Courses > select your Course > then select Course Calendar on the Course Navigation panel on the left.